Applications
Printed Models for Clinics and Dental Labs
A model for a conversation is a different object from a guide that touches a patient. The resin decides which one you printed.
- 3 min read
- Applications
- Eight more stories

Clinics and dental labs print two very different things. One is a model: a jaw, a vessel, a bone, used to look, to teach, or to explain. The other is a piece that enters a treatment, such as a surgical guide, a splint, or a model that sets an appliance. The first can be a careful shop job. The second is a device workflow, with a named resin, a validated printer, a cleaning process, and a record. Mixing them is how a useful model becomes an unreviewed medical object.
Questions that keep the line clear
Ask who is responsible for the clinical decision. A printer operator is not that person by default. Ask what accuracy the case needs, and measure a known feature instead of trusting the slider in the software. Ask which resin is cleared for mucosal contact if contact is even possible. Model resins can look identical to a certified bottle and still be the wrong bottle.
3D Catia does not supply instructions for making implants, guides, or anything that touches a patient. If that is the job, work with the lab and the manufacturer process that already carries that responsibility. Use the desk notes to understand the questions, not to skip them.
- Label display models so they are not later reused as devices.
- Keep scan files and print settings with the case number.
- Do not sterilize a part unless the resin maker says that cycle is allowed.
- Sunlight continues to cure some resins. Store them in the dark.
Do this next
- 1
Ask whether the part touches a patient. If it does, stop and use the validated product path.
- 2
For a display model, record the source scan, the scale, and the date.
- 3
Choose a resin sold for that job. A hobby bottle is not a silent upgrade.
- 4
Clean and cure the way the resin sheet says, then store it away from sunlight.
More from the desk
Eight other notes from the rest of the bench.
 PrintersHow to Compare Resin Printers Without the Spec FogResolution numbers are the loud part. The vat, the film, and the smell decide whether you live with the machine.
 SoftwareCAD for a First Bracket That Has to FitA bracket is a few sketches and the holes that match the hardware. The software should stay out of the way.
 SoftwareFrom a Sentence to a Printable MeshA model generator can hand you a shape in a minute. The slicer still needs a closed, scaled, thick-enough solid.
 MaterialsPLA, PETG, and ABS After the Part Leaves the BedThe easy spool is not always the one that survives a warm car, a clamp, or a weekend outdoors.
 MaterialsCopper Alloys on a Laser Powder BedCopper shrugs off heat and throws light back. That is why it is useful, and why the laser struggles.
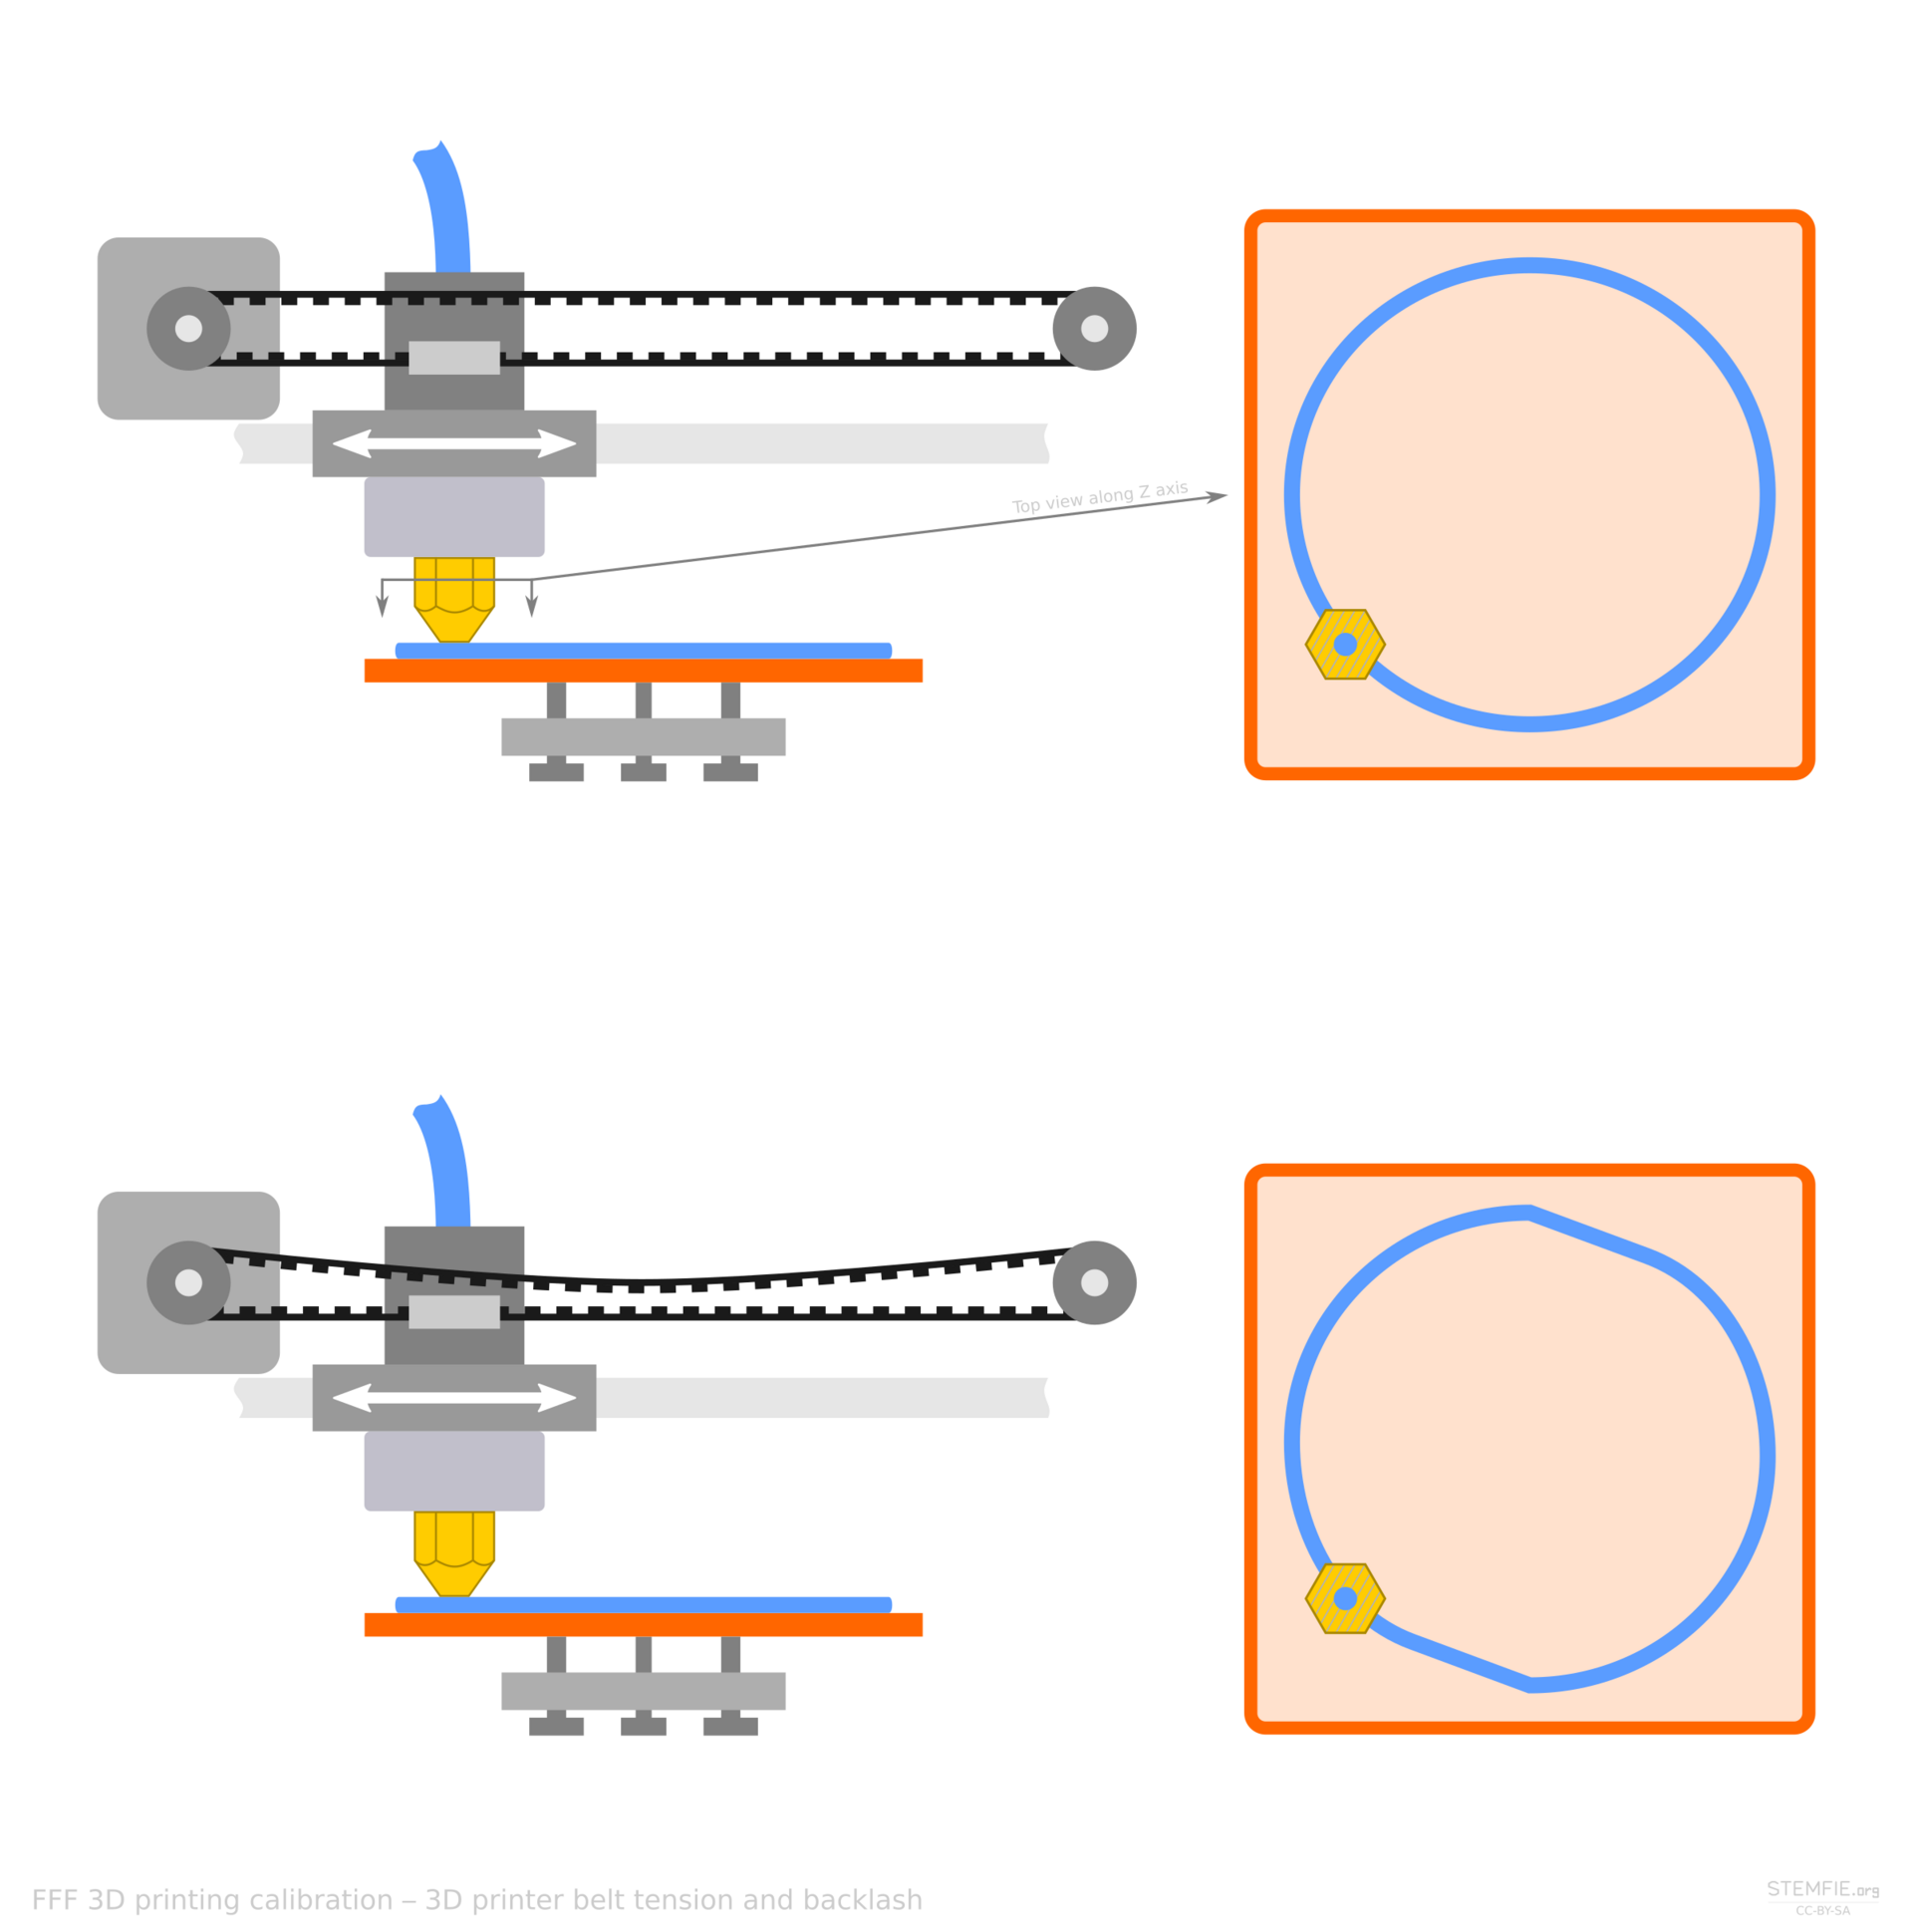 PrintersBelts, Lead Screws, and Linear MotorsMost desks move with belts. Screws trade speed for stiffness. Linear motors remove the belt, and the modest price.
 GuidesVolumetric Printing in Plain LanguageInstead of drawing a part one layer at a time, volumetric printing tries to cure the whole shape in one exposure.
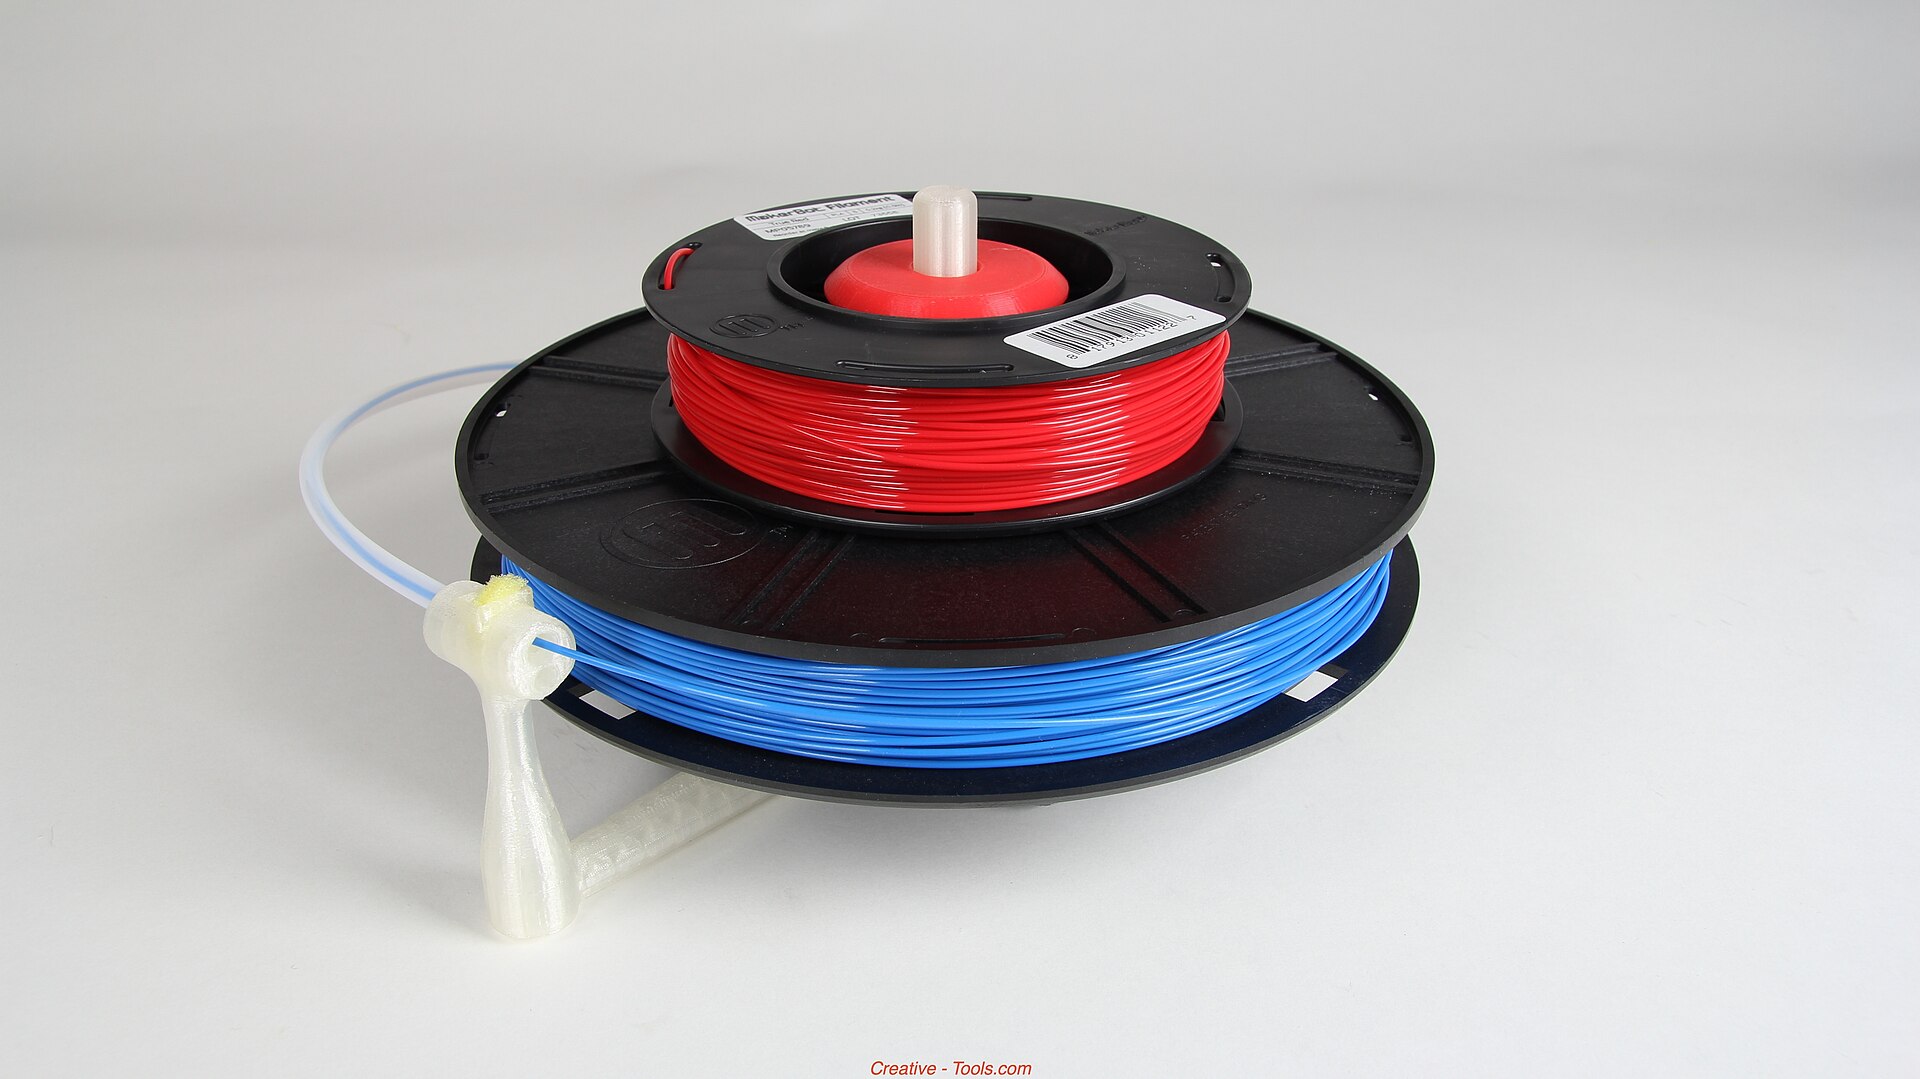 MaterialsTurning Scrap Plastic Into FilamentA filament extruder can reuse one clean plastic. Mixed scrap, wet flake, and a wandering diameter will not.