Software
From a Sentence to a Printable Mesh
A model generator can hand you a shape in a minute. The slicer still needs a closed, scaled, thick-enough solid.
- 3 min read
- Software
- Eight more stories
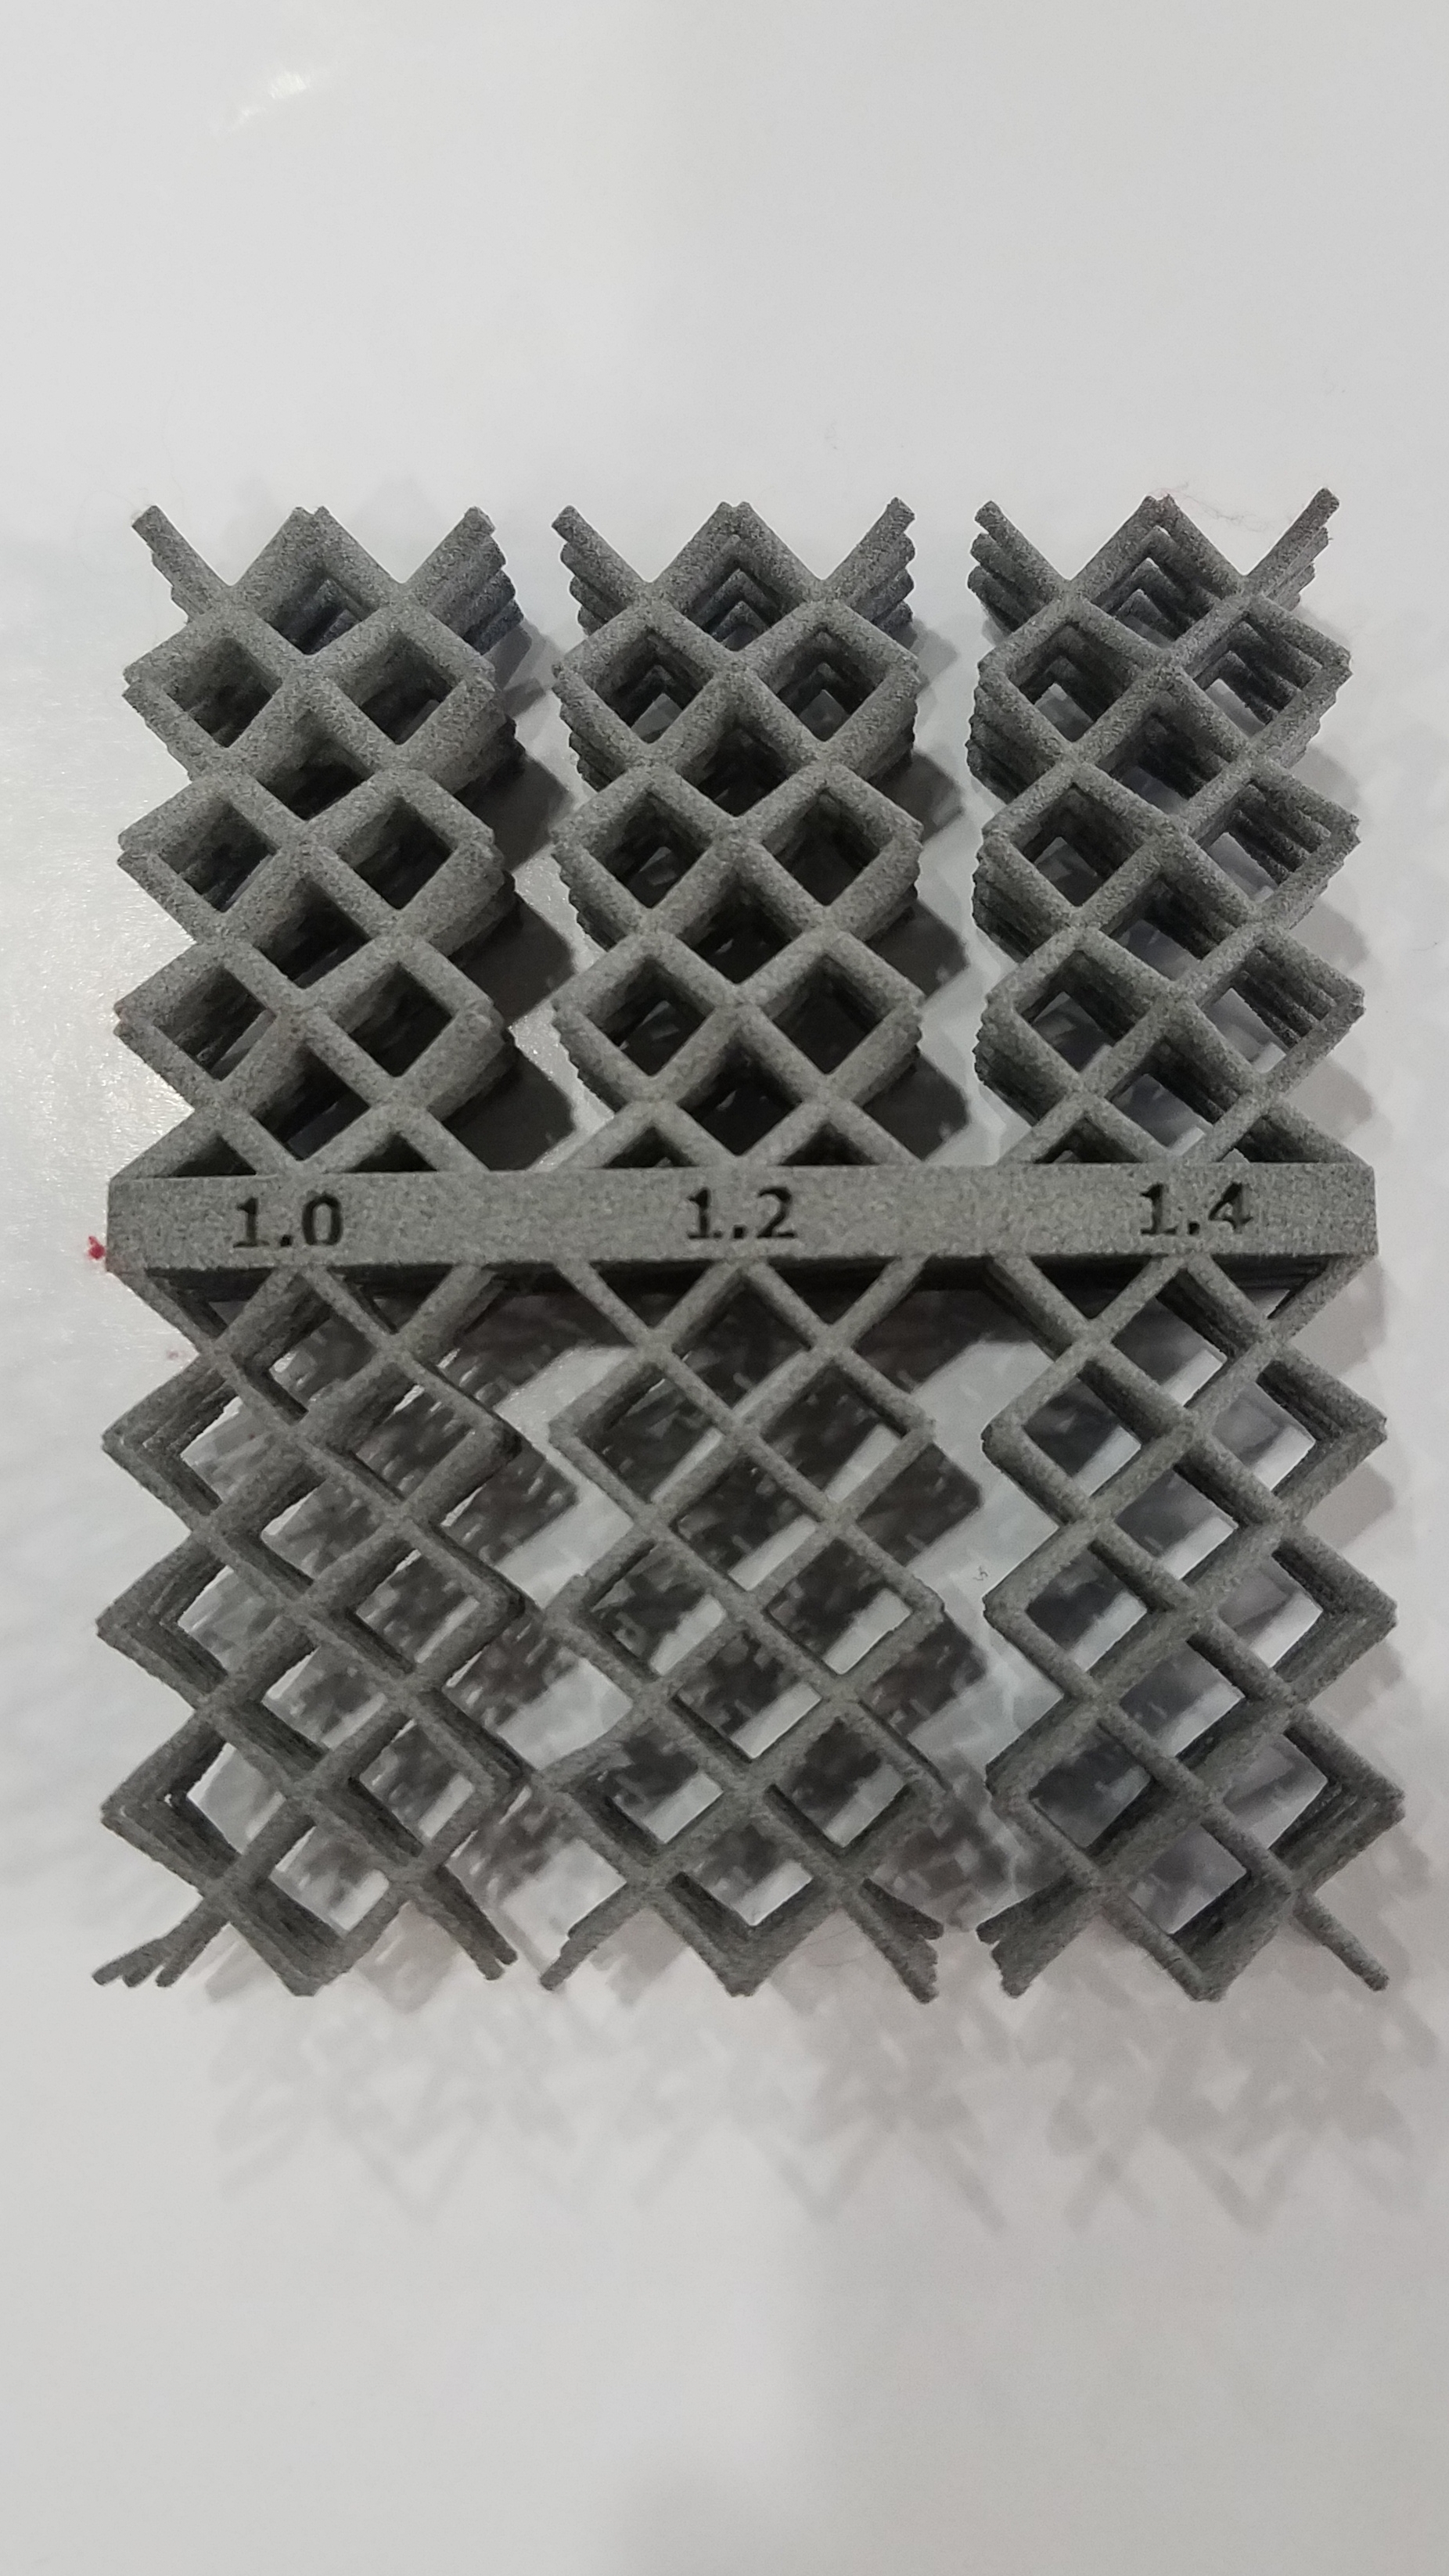
Text and image tools now produce meshes quickly. They are built to look right on a screen. A printer needs something stricter: a watertight surface, a known unit, walls the process can form, and a base that meets the bed. A pretty dragon with a paper-thin wing will fail in the slicer or fail on the plate, and both outcomes waste the afternoon.
A short path from preview to plate
Open the mesh and look for naked edges and flipped faces before you admire it. Scale it against an object you can hold. Add thickness where light shows through. Cut a flat if it rocks. Then slice. If the preview shows a floating island, a one-line wall, or a base smaller than a coin, fix the mesh. Do not hope the printer negotiates.
Use these shapes for props, packaging trials, and looks-like models. A clip that has to hold weight still wants a designed cross-section, a named material, and a human who chose the layer direction. Generation is a start. It is not a drawing release.
- Check the triangle count. A huge mesh can hide a broken edge.
- Name the unit in the file name so the next person does not guess.
- Keep the prompt next to the file if you may need to regenerate.
- Print a small section before you commit a full plate.
Do this next
- 1
Generate the shape, then throw away any version with holes you did not ask for.
- 2
Set units in millimeters and measure one real dimension against a caliper.
- 3
Thicken walls to at least two nozzle widths, more if the part is resin and fragile.
- 4
Slice it and scrub the preview. Do not trust the shaded view alone.
More from the desk
Eight other notes from the rest of the bench.
 GuidesMesh Checks Before You SliceMost bad prints of downloaded files are scale, holes, or walls the nozzle cannot make.
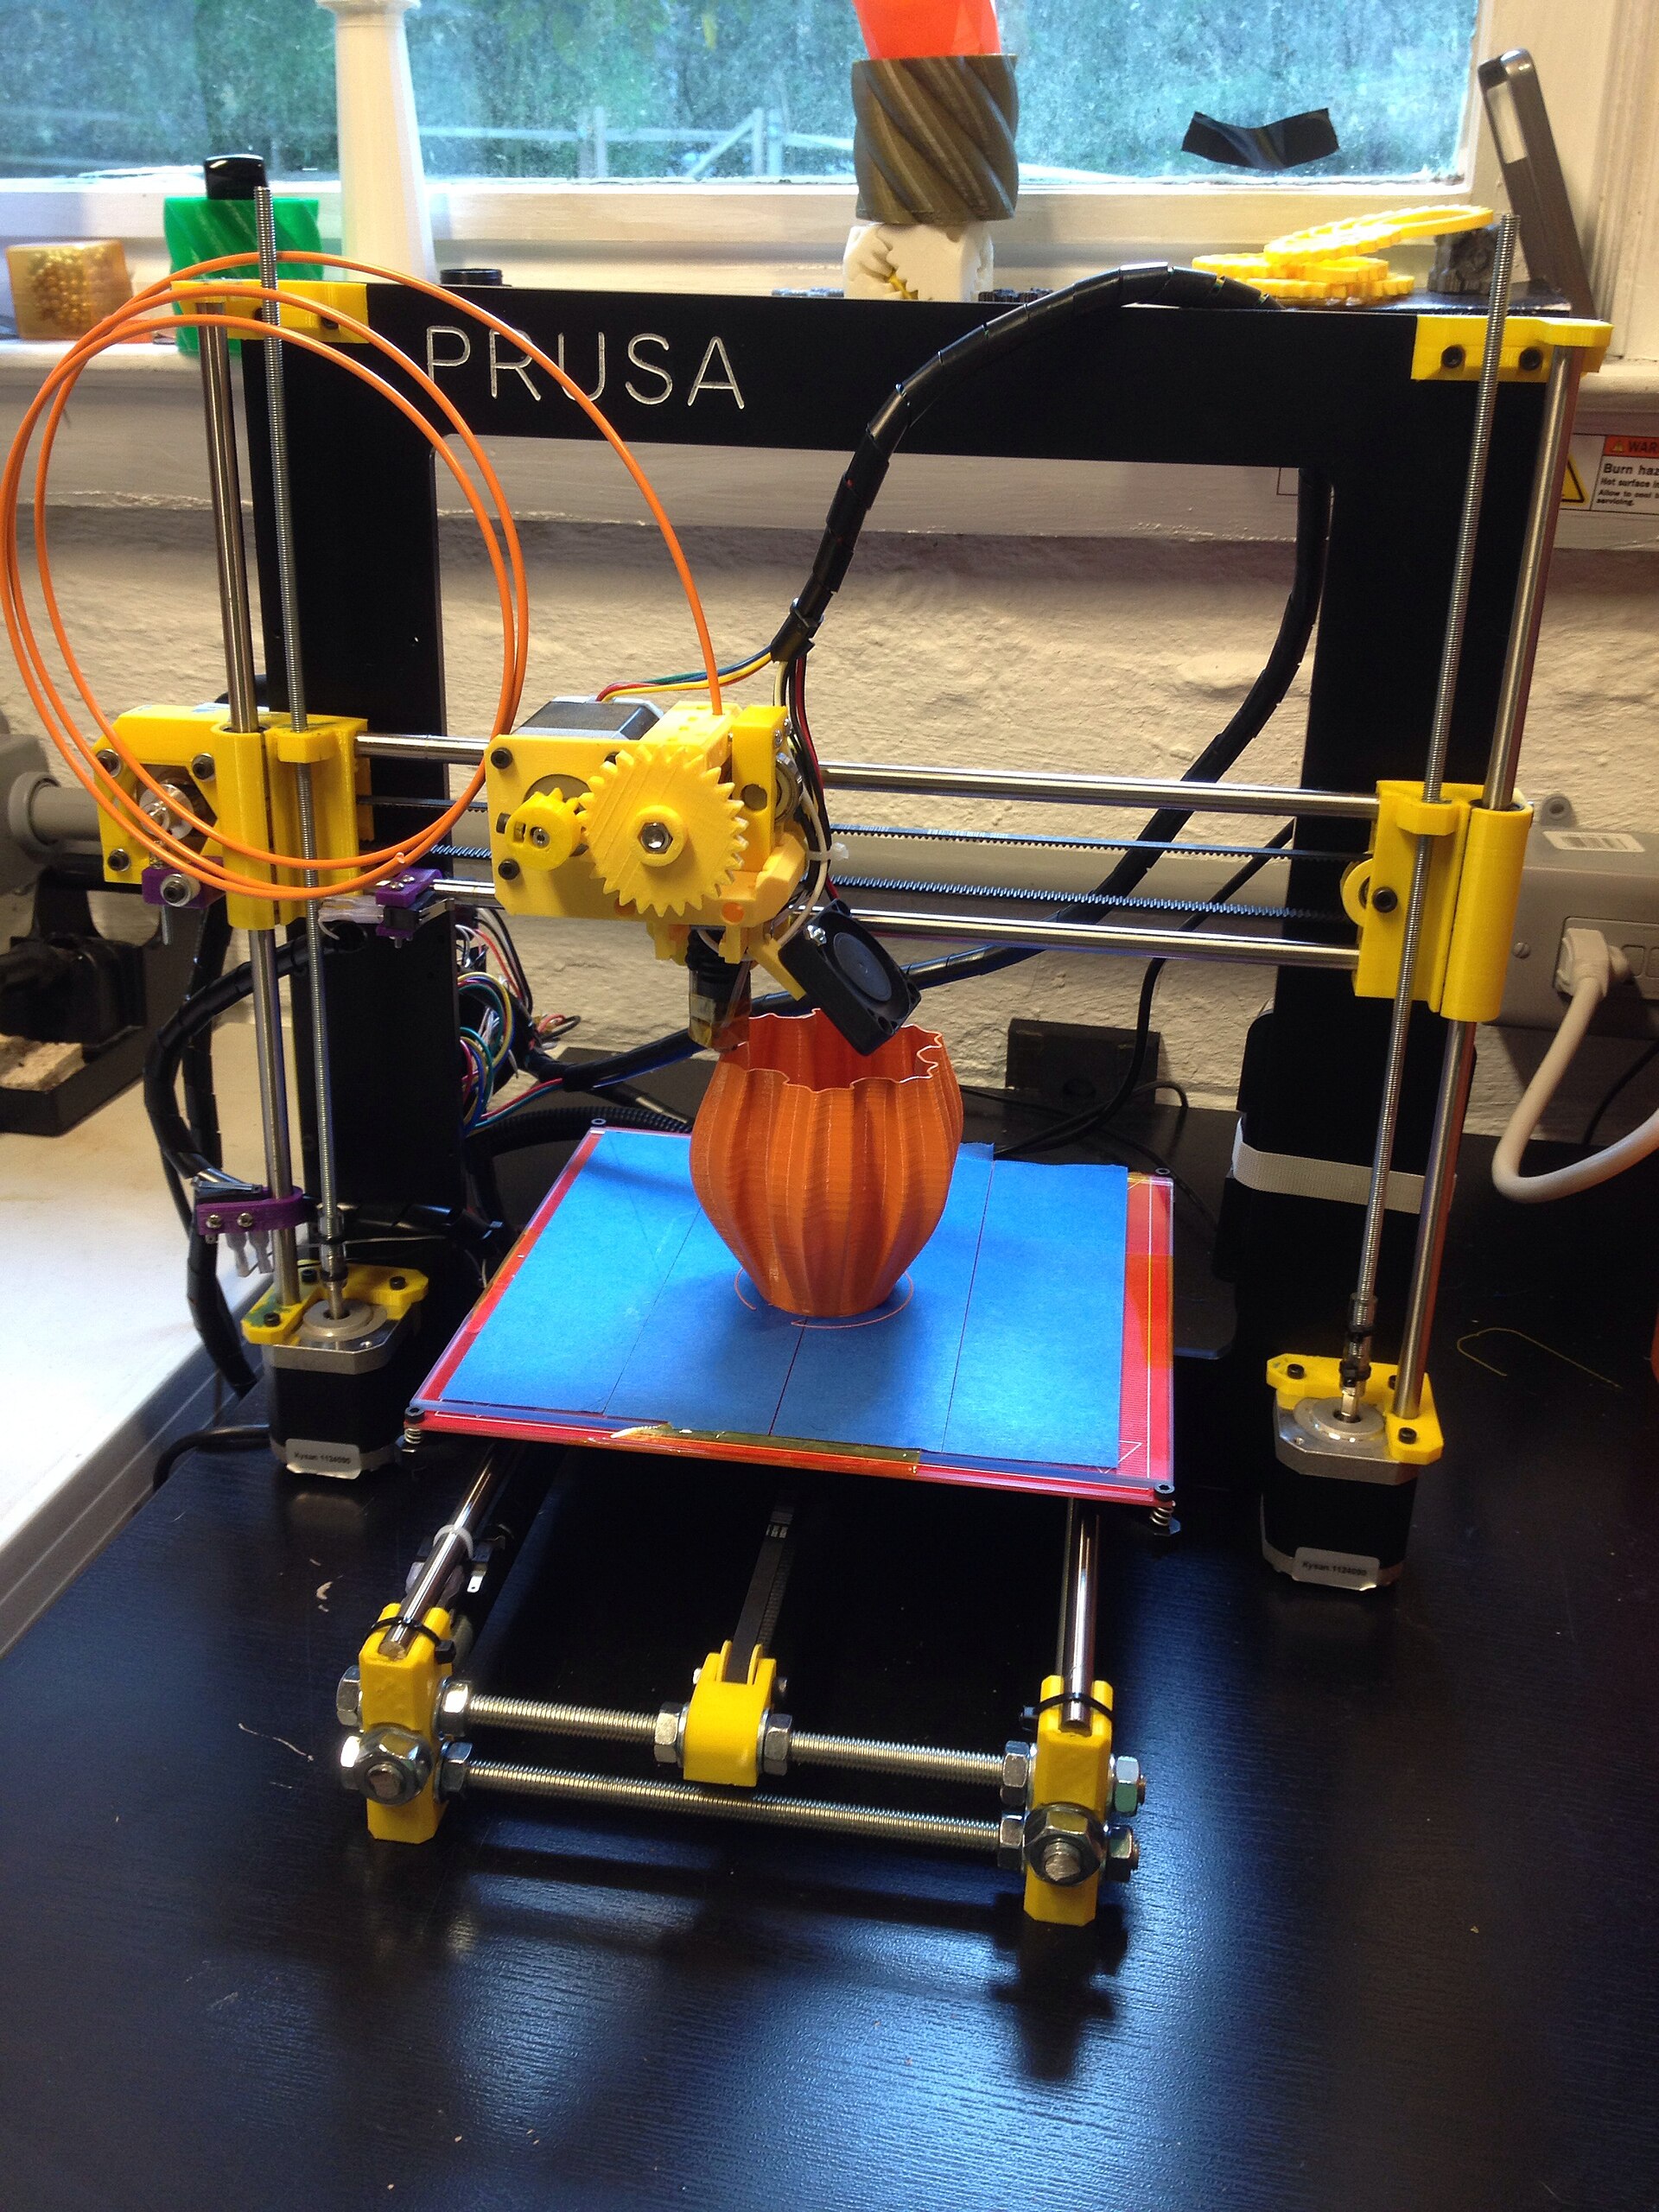 PrintersContinuous Fiber on a Desktop MachineA strand laid into the part is strong along its length. Across the strand, you still have plastic.
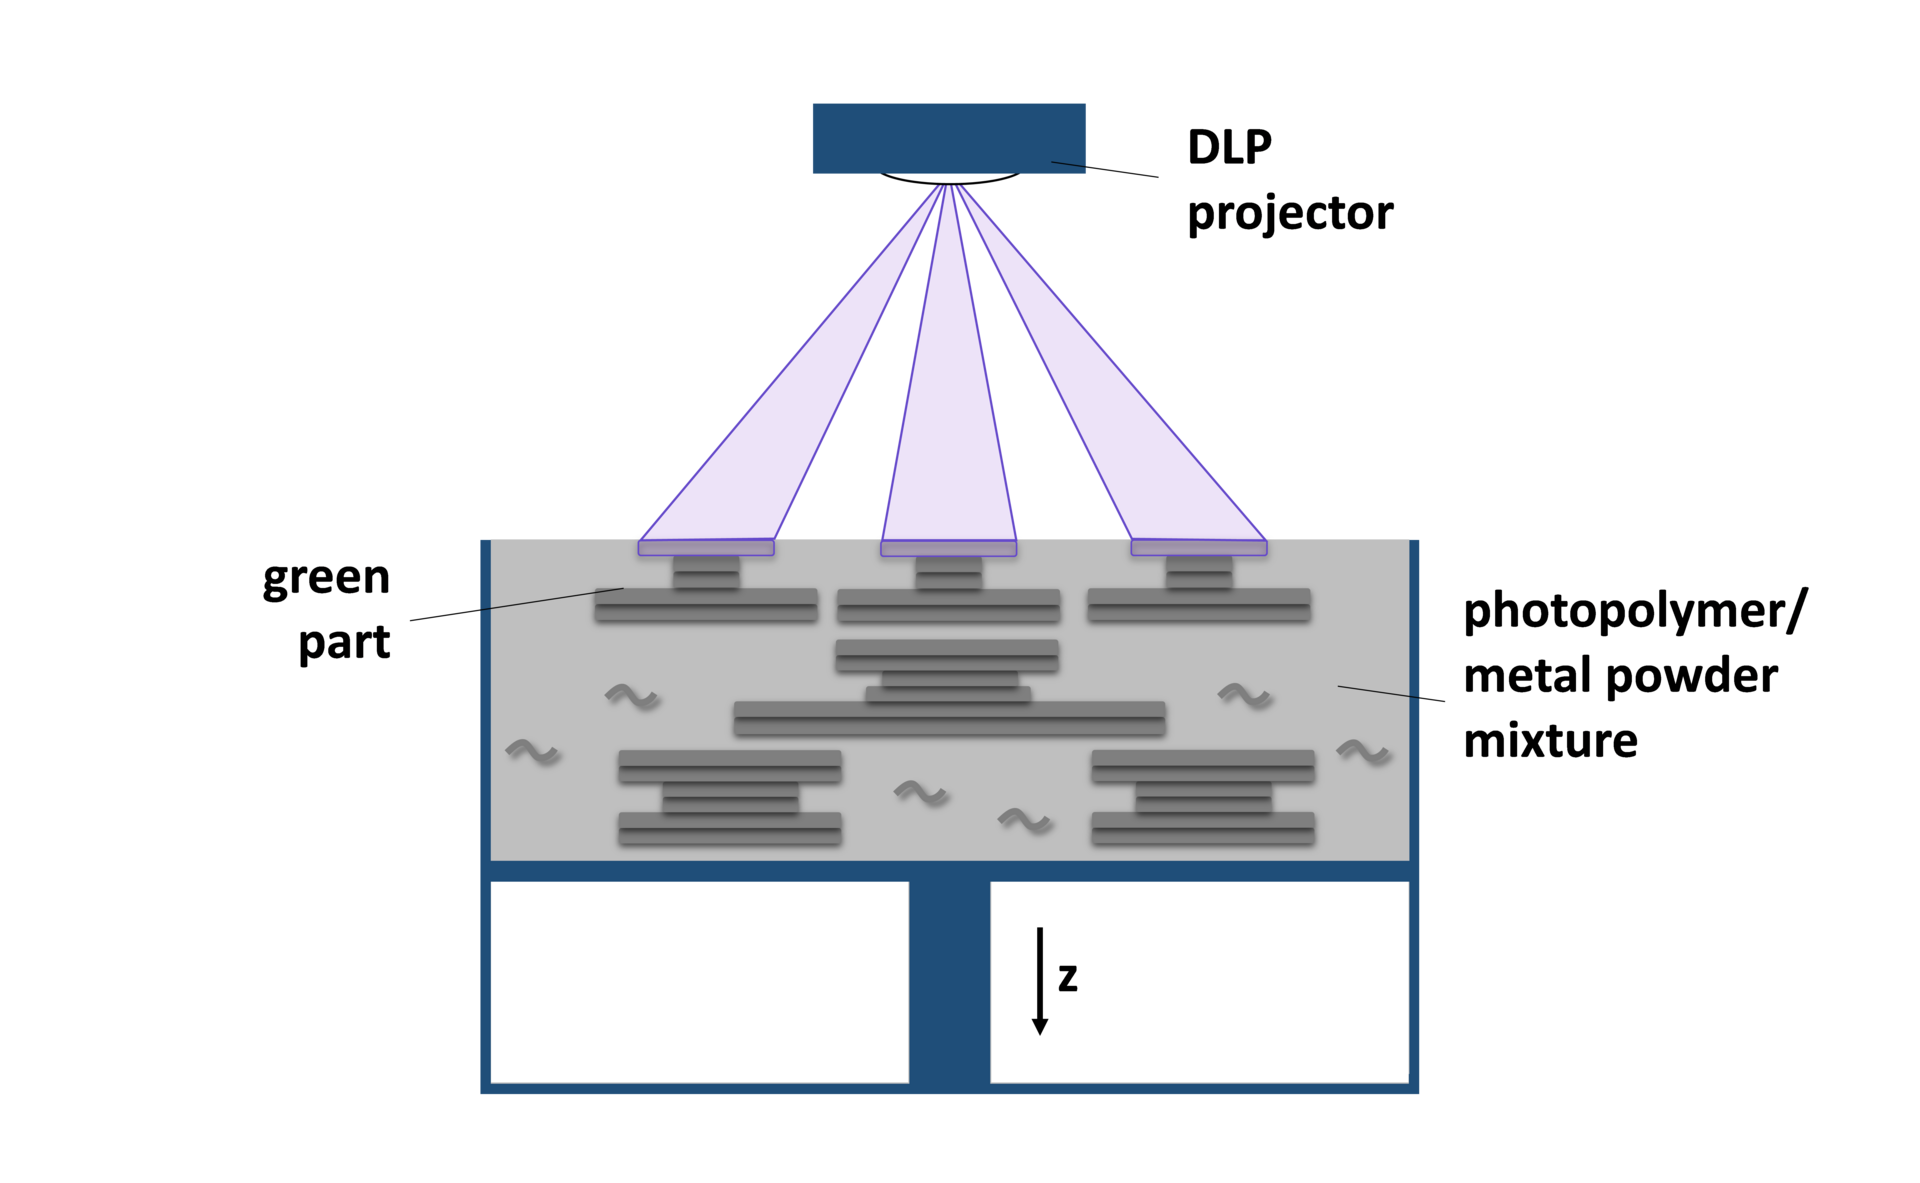 MaterialsCopper Alloys on a Laser Powder BedCopper shrugs off heat and throws light back. That is why it is useful, and why the laser struggles.
 GuidesHow to Read a Metal Printing QuoteThe machine rate is the small line. Heat treat, supports, and inspection are where the quote gets honest.
 GuidesVolumetric Printing in Plain LanguageInstead of drawing a part one layer at a time, volumetric printing tries to cure the whole shape in one exposure.
 ApplicationsWhat Kitchen Printers Actually DepositA kitchen printer pushes paste through a nozzle. It does not invent a recipe, and it does not clean itself.
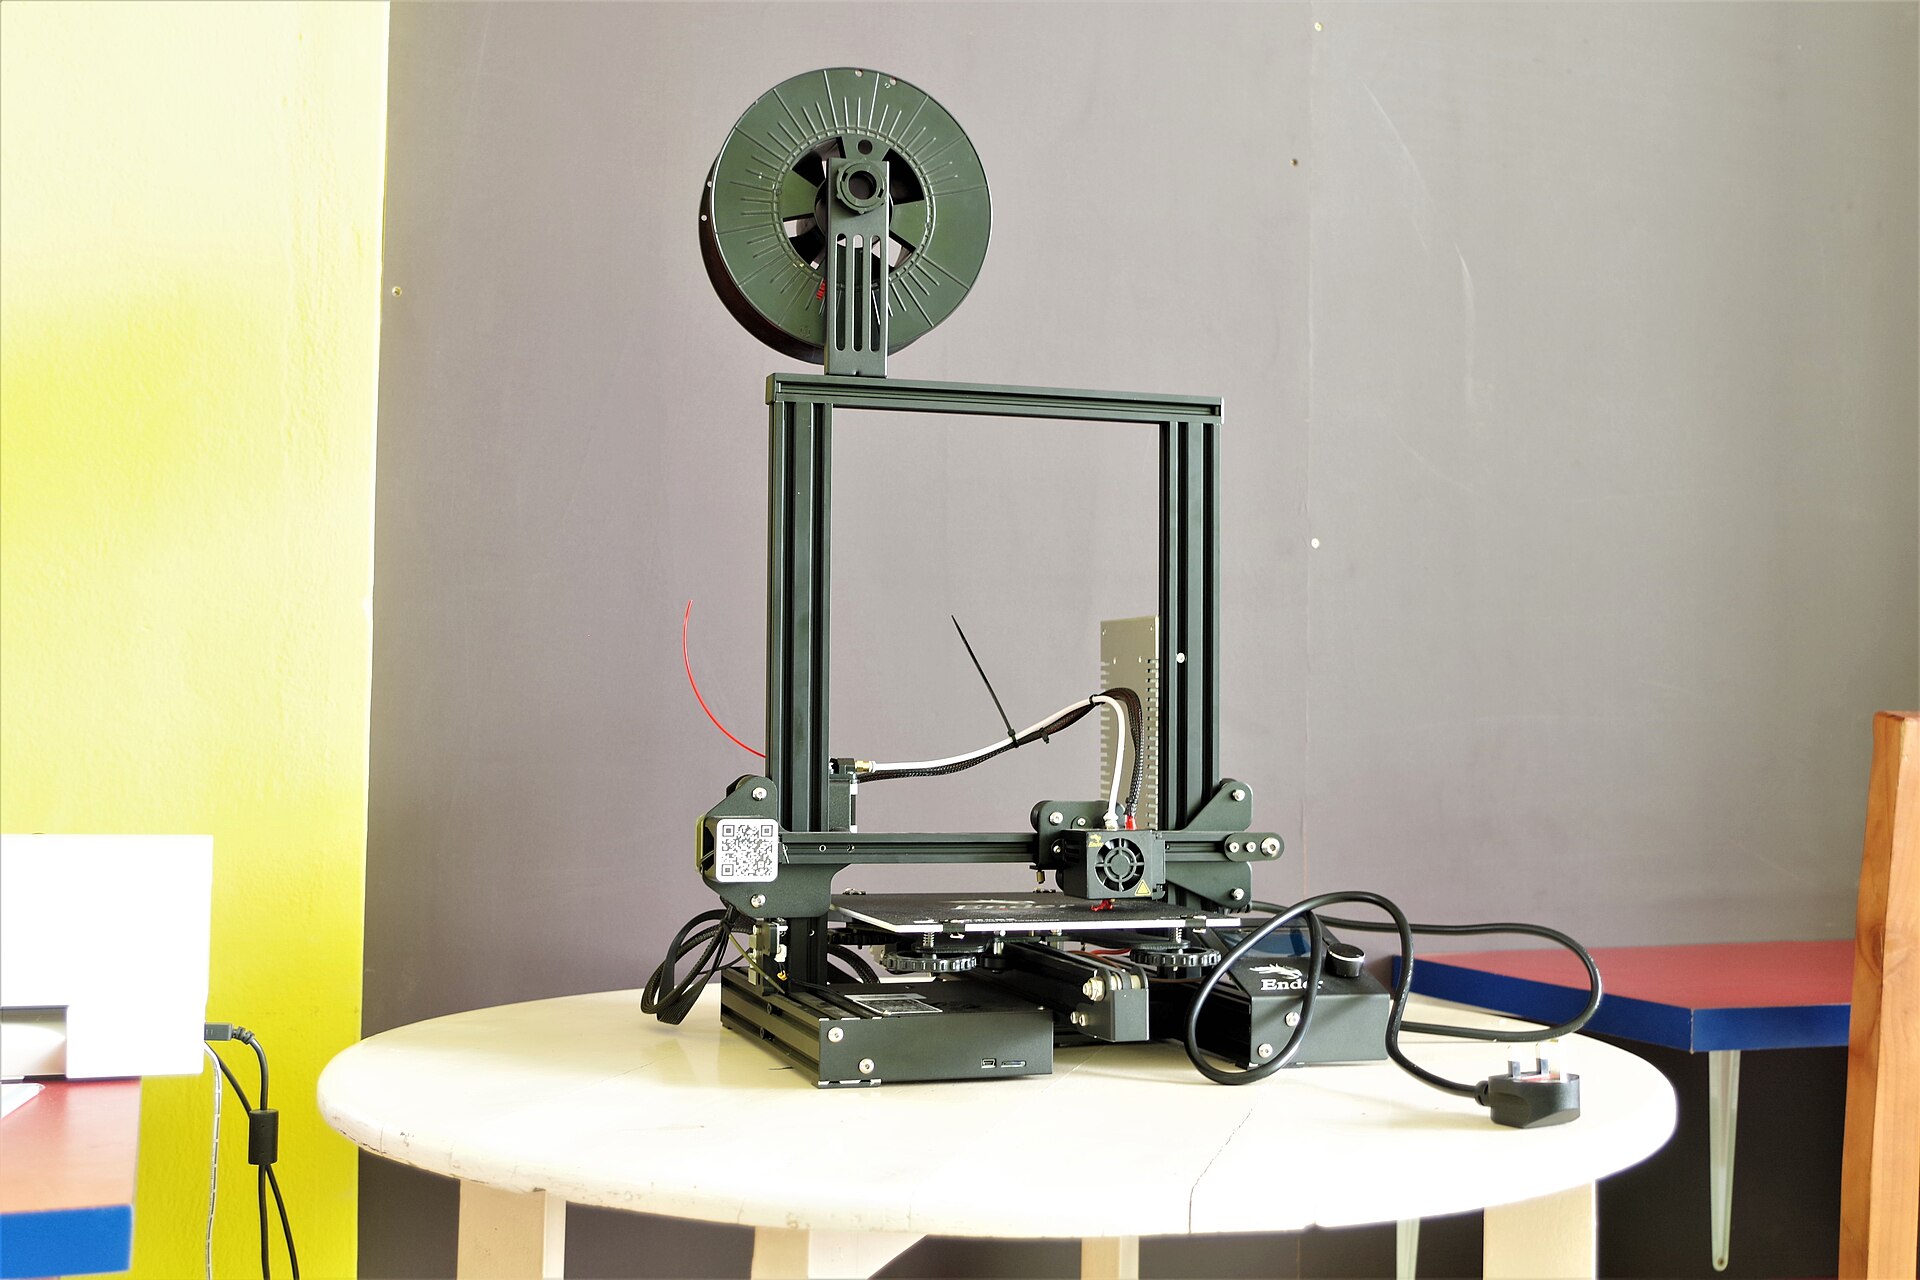 ApplicationsPrinted Metal That Has to FlyA light lattice is not a flight part until the powder, the recipe, and the inspection travel with it.
 NewsA Desk That Prints, Washes, and Cures ResinThe print is the tidy part. Washing and curing are where a small resin setup usually spills.