News
A Desk That Prints, Washes, and Cures Resin
The print is the tidy part. Washing and curing are where a small resin setup usually spills.
- 3 min read
- News
- Eight more stories
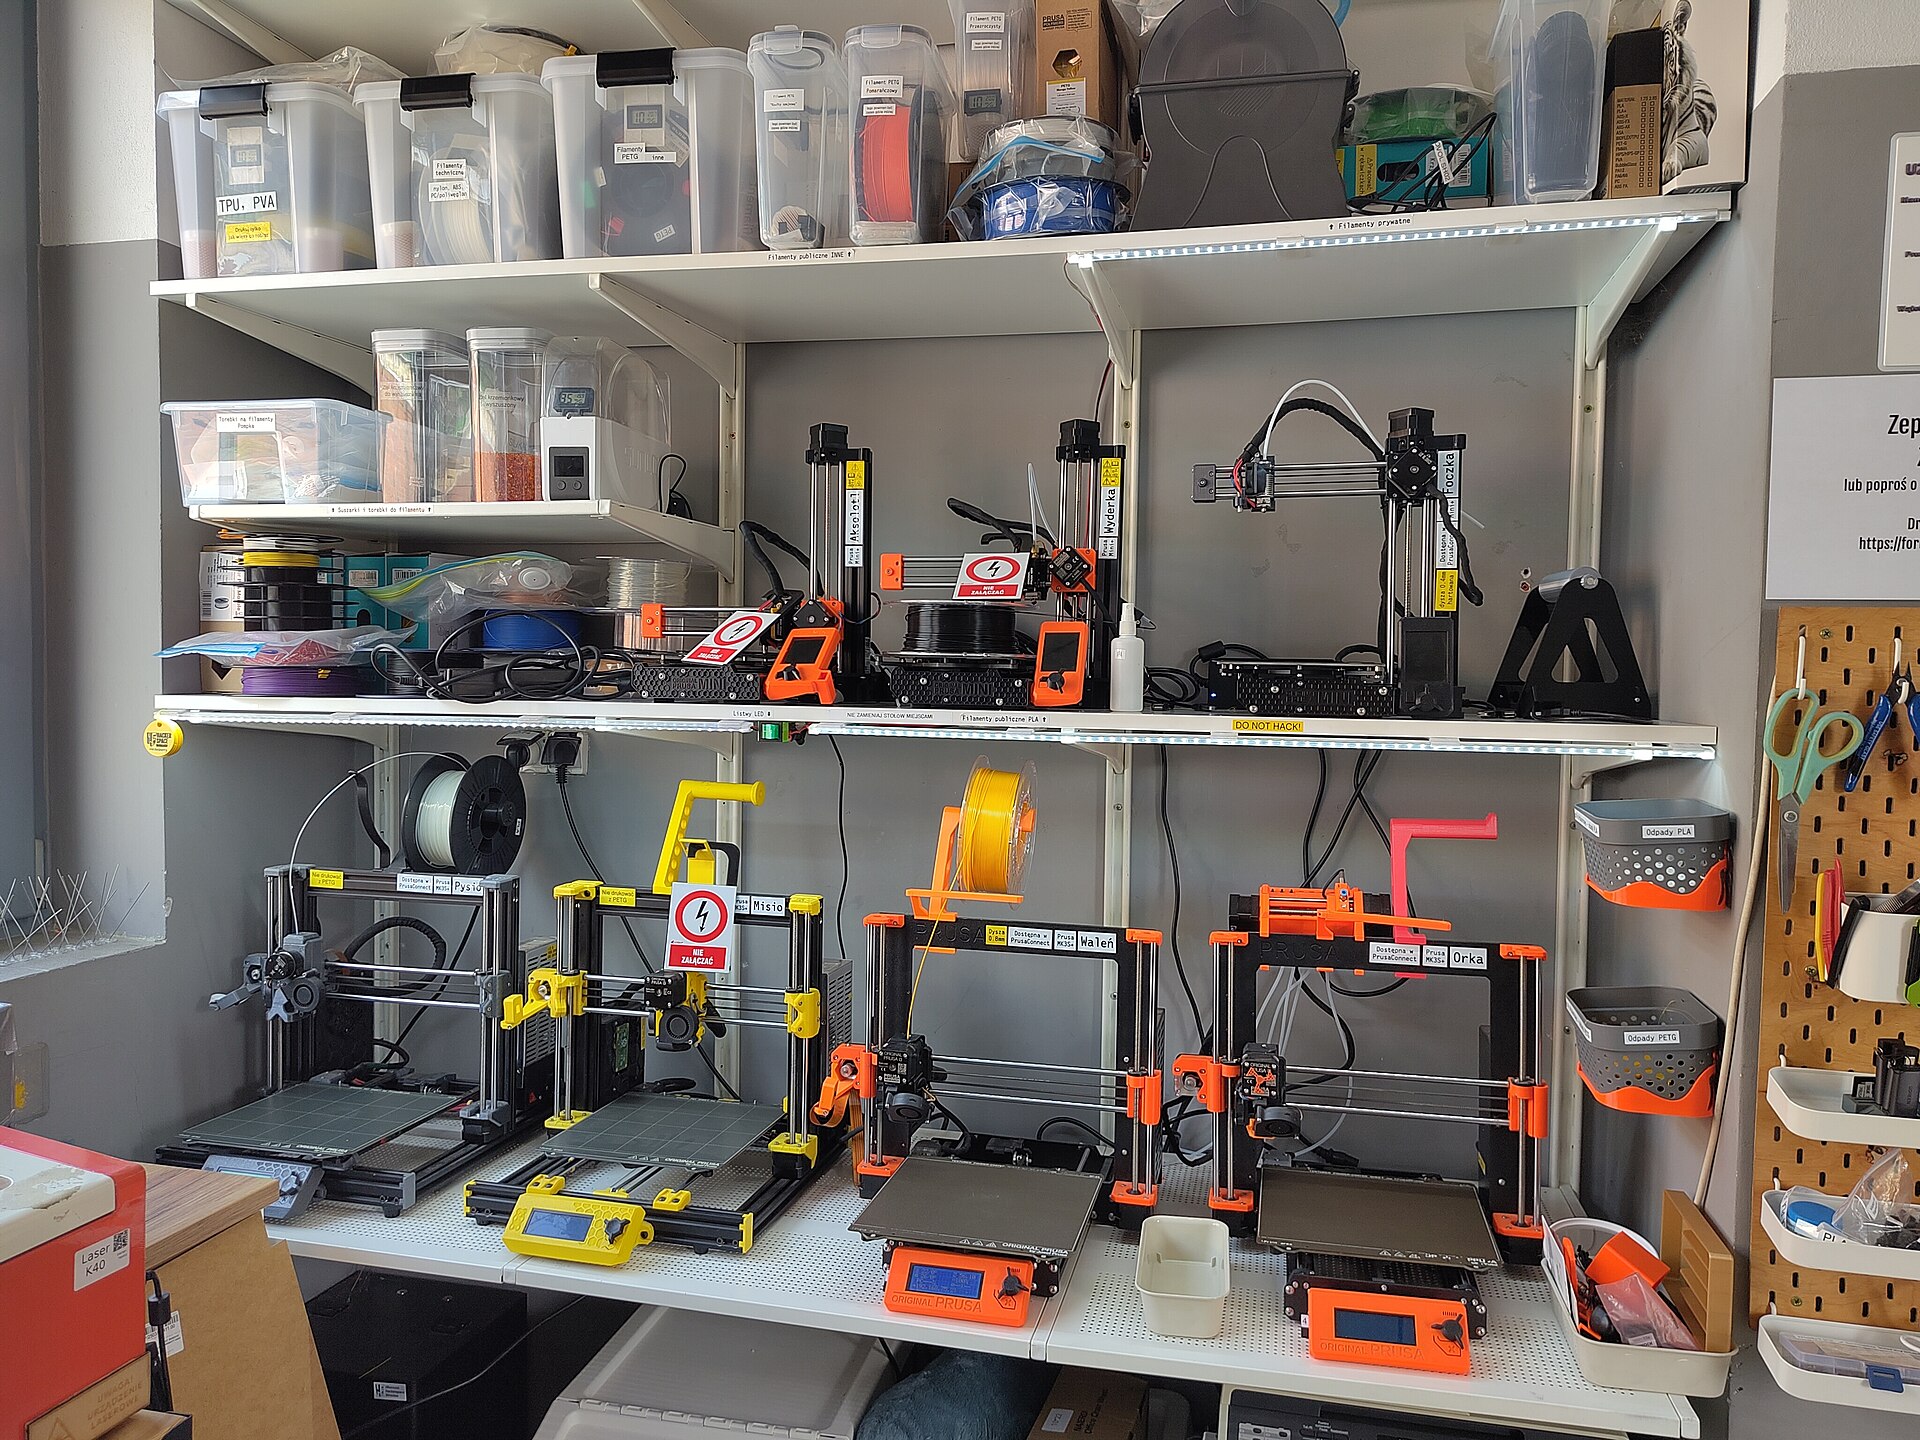
A resin part is not finished when the platform rises. It is still wet, a little soft, and ready to smear uncured material across the bench. Most desks handle that with a separate wash bucket and a curing box. A newer class of machine tries to keep print, wash, and cure in one enclosure so the part travels less.
The appeal is space and sequence. You are not carrying a dripping build plate across the room. The limit is the same chemistry as any vat printer. The solvent still has to match the resin, the cure light still has to reach the hidden faces, and the lid only helps if it is closed while the vat is open.
What to check before the first bottle
Ask how the wash is agitated, whether the cure chamber can hold the tallest part you care about, and where the dirty solvent goes when it is saturated. A station that looks compact can still demand a window, a spare vat film, and a plan for gloves. If those three are missing, the extra hardware will not make the process calmer.
- Match the wash liquid to the resin, not to whatever is already under the sink.
- Confirm the cure covers recessed faces, not only the top skin.
- Budget a spare film or vat liner with the machine, not after the first puncture.
- Treat used solvent and wipes as waste, not as ordinary trash.
Do this next
- 1
Read the resin sheet for the wash liquid and the cure time before you buy a station around it.
- 2
Give the machine a tray, gloves, and a lidded waste jar on day one.
- 3
Keep wet parts off bare wood, paper, and anything you later touch with food.
- 4
Write down exposure and lift speed the first time a part comes out clean.
More from the desk
Eight other notes from the rest of the bench.
 GuidesHow to Read a Metal Printing QuoteThe machine rate is the small line. Heat treat, supports, and inspection are where the quote gets honest.
 GuidesMesh Checks Before You SliceMost bad prints of downloaded files are scale, holes, or walls the nozzle cannot make.
 ApplicationsPrinted Models for Clinics and Dental LabsA model for a conversation is a different object from a guide that touches a patient. The resin decides which one you printed.
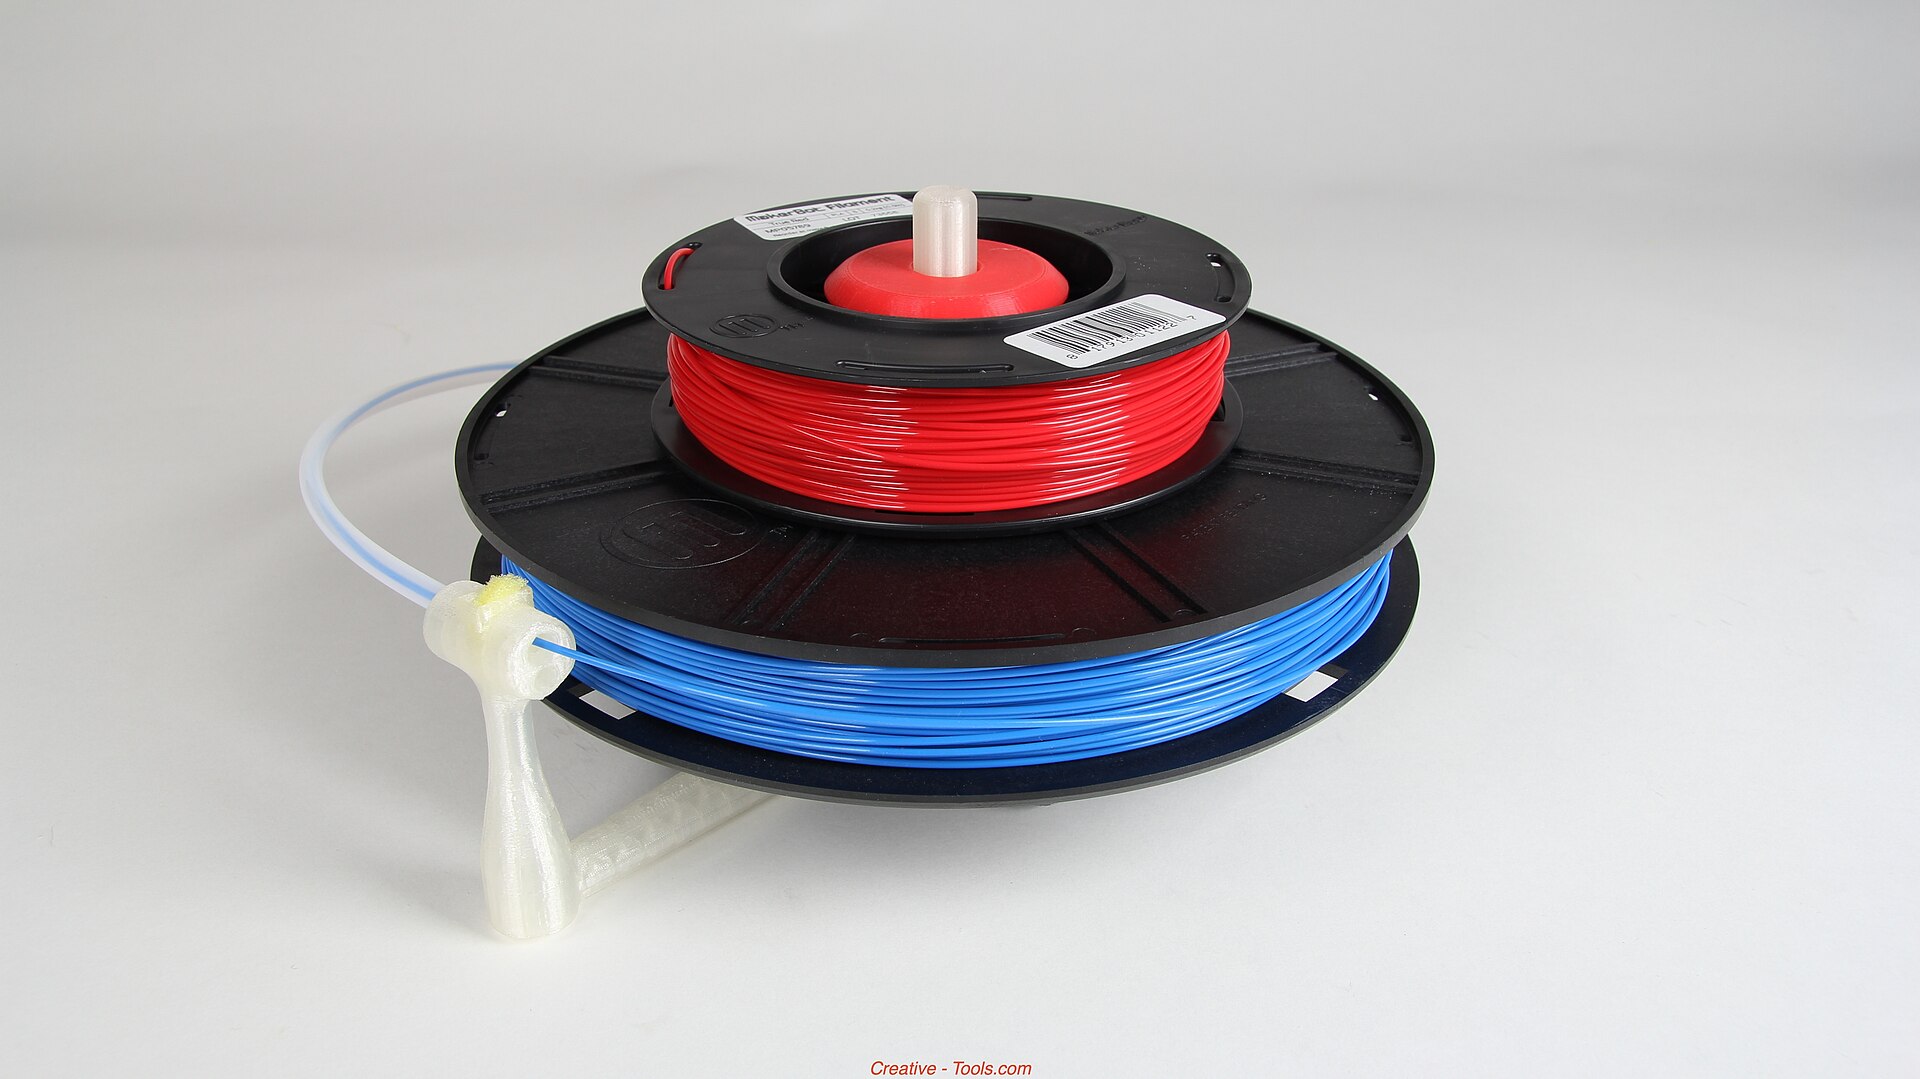 MaterialsTurning Scrap Plastic Into FilamentA filament extruder can reuse one clean plastic. Mixed scrap, wet flake, and a wandering diameter will not.
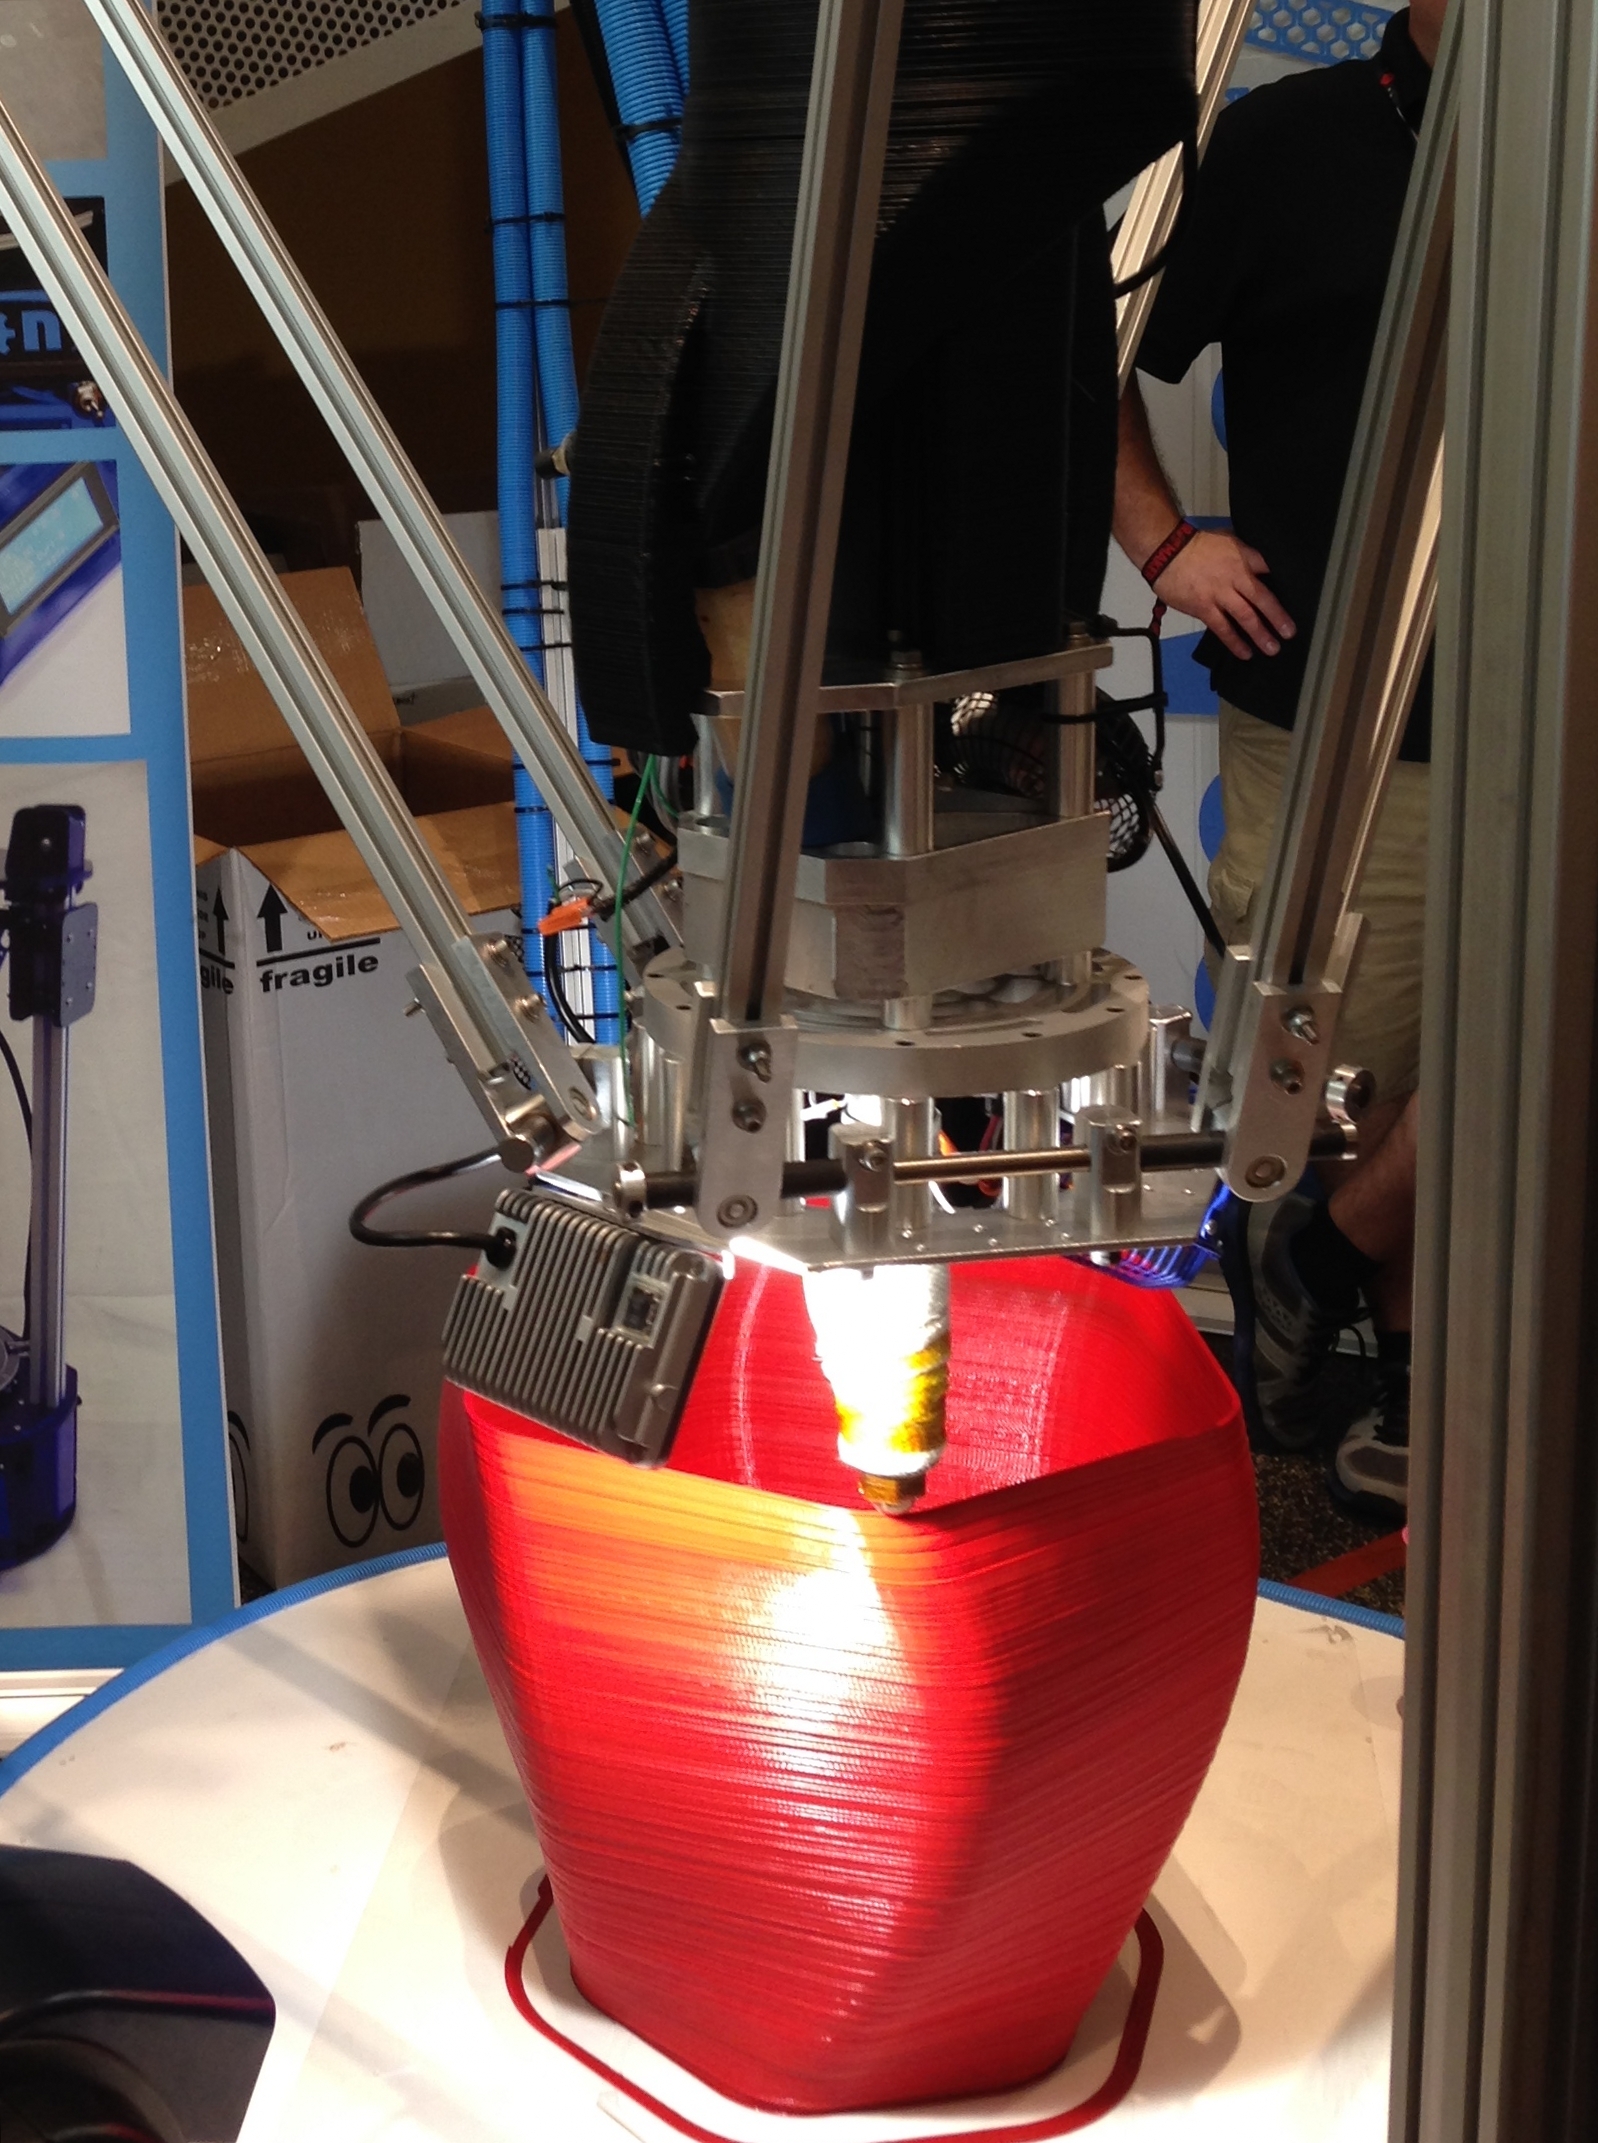 PrintersWhat a Larger Resin Vat ChangesA bigger vat is not a small vat with more room. The peel, the pour, and the wash all get heavier.
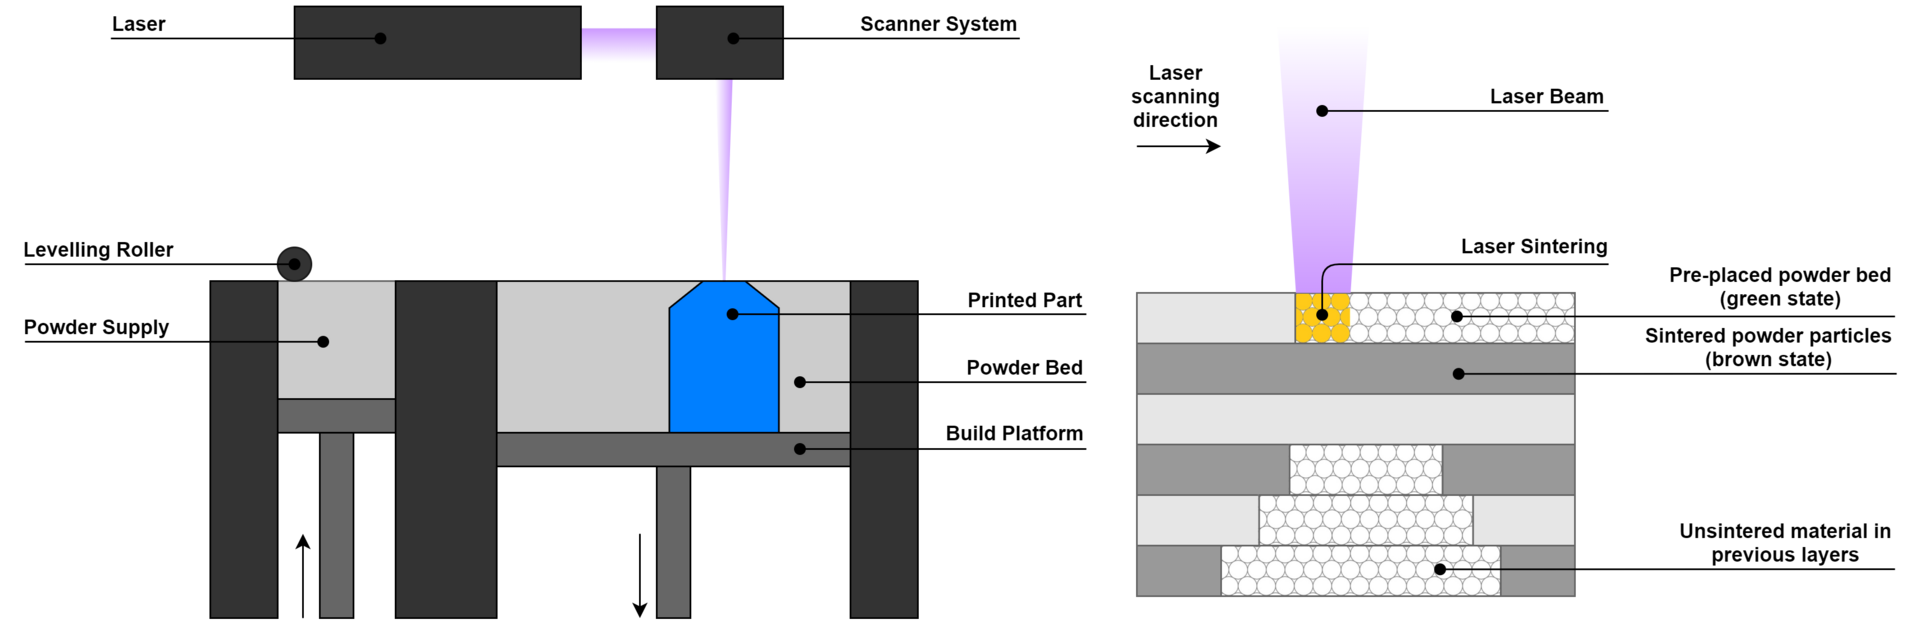 PrintersWhen Powder-Bed Nylon Beats FilamentPowder supports itself. That is the gift. Cooling time, refresh rate, and a sandy surface are the bill.
 PrintersHow to Compare Resin Printers Without the Spec FogResolution numbers are the loud part. The vat, the film, and the smell decide whether you live with the machine.
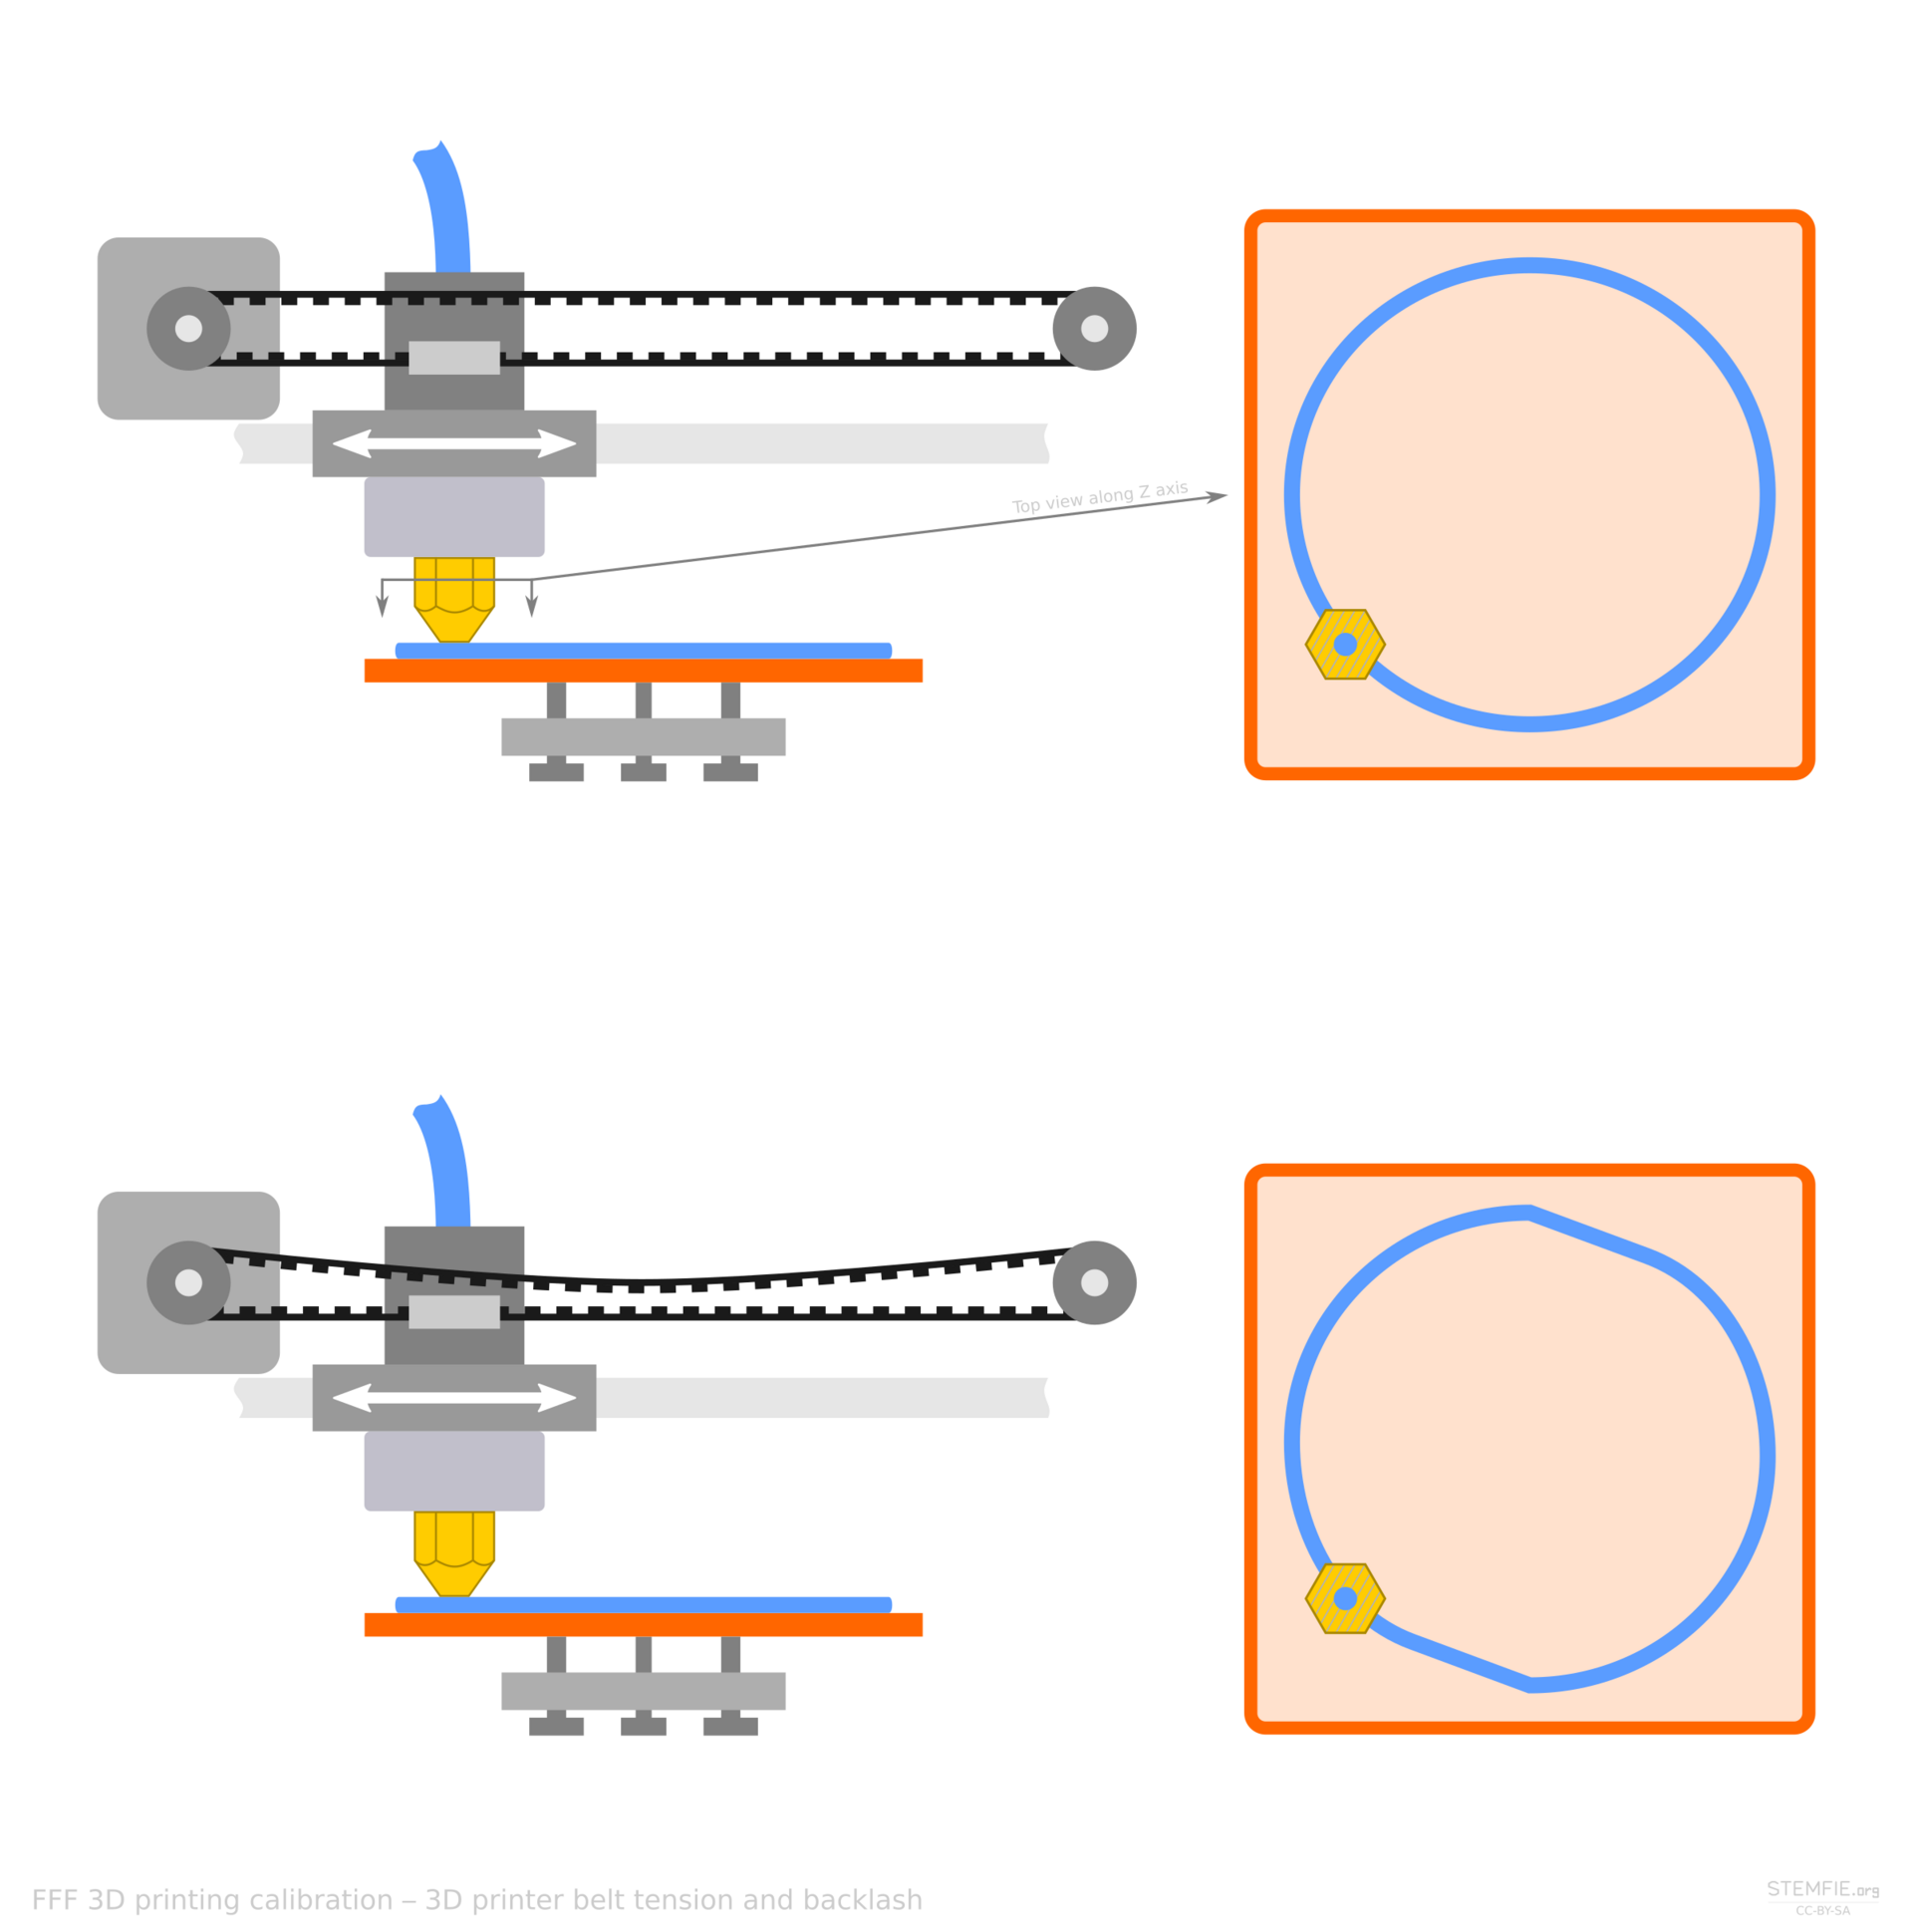 PrintersBelts, Lead Screws, and Linear MotorsMost desks move with belts. Screws trade speed for stiffness. Linear motors remove the belt, and the modest price.