Guides
Mesh Checks Before You Slice
Most bad prints of downloaded files are scale, holes, or walls the nozzle cannot make.
- 3 min read
- Guides
- Eight more stories

A mesh is a pile of triangles pretending to be a solid. Printers are literal about that pretense. A hole in the surface can vanish in the shaded view and then show up as a missing wall. A file saved in inches will import as a giant or a speck. A wall thinner than the nozzle will be dropped without a speech.
Five minutes that save a plate
Check scale first, because every other measurement depends on it. Then ask whether the mesh is closed. Automatic repair can fill a hole with a face you did not want, so look at the part afterward, especially around letters and lattices. Flip any faces that shade inside out. Measure thin features. If a decorative spike is thinner than the process can hold, cut it off on purpose rather than letting the slicer nibble it into trash.
The layer preview is the last honest picture. Scroll it. Islands that start in mid-air, bases that are a single line, and tops that close too early are all visible there. Fix them in the mesh or in the process settings with your eyes open.
- Keep a known-good calibration cube so scale errors are obvious.
- Separate shells that arrived fused by accident.
- Do not repair a file by exporting it through three apps in a panic.
- Save the fixed mesh under a new name. Keep the original.
Do this next
- 1
Import and read the overall size. If a cup is 80 meters tall, fix the unit.
- 2
Run a hole and normal check, then look at the result instead of clicking repair blindly.
- 3
Measure the thinnest wall and compare it with two extrusion widths or the resin pixel pitch.
- 4
Slice and drag the layer slider from the base to the top before you heat the machine.
More from the desk
Eight other notes from the rest of the bench.
 PrintersHow to Compare Resin Printers Without the Spec FogResolution numbers are the loud part. The vat, the film, and the smell decide whether you live with the machine.
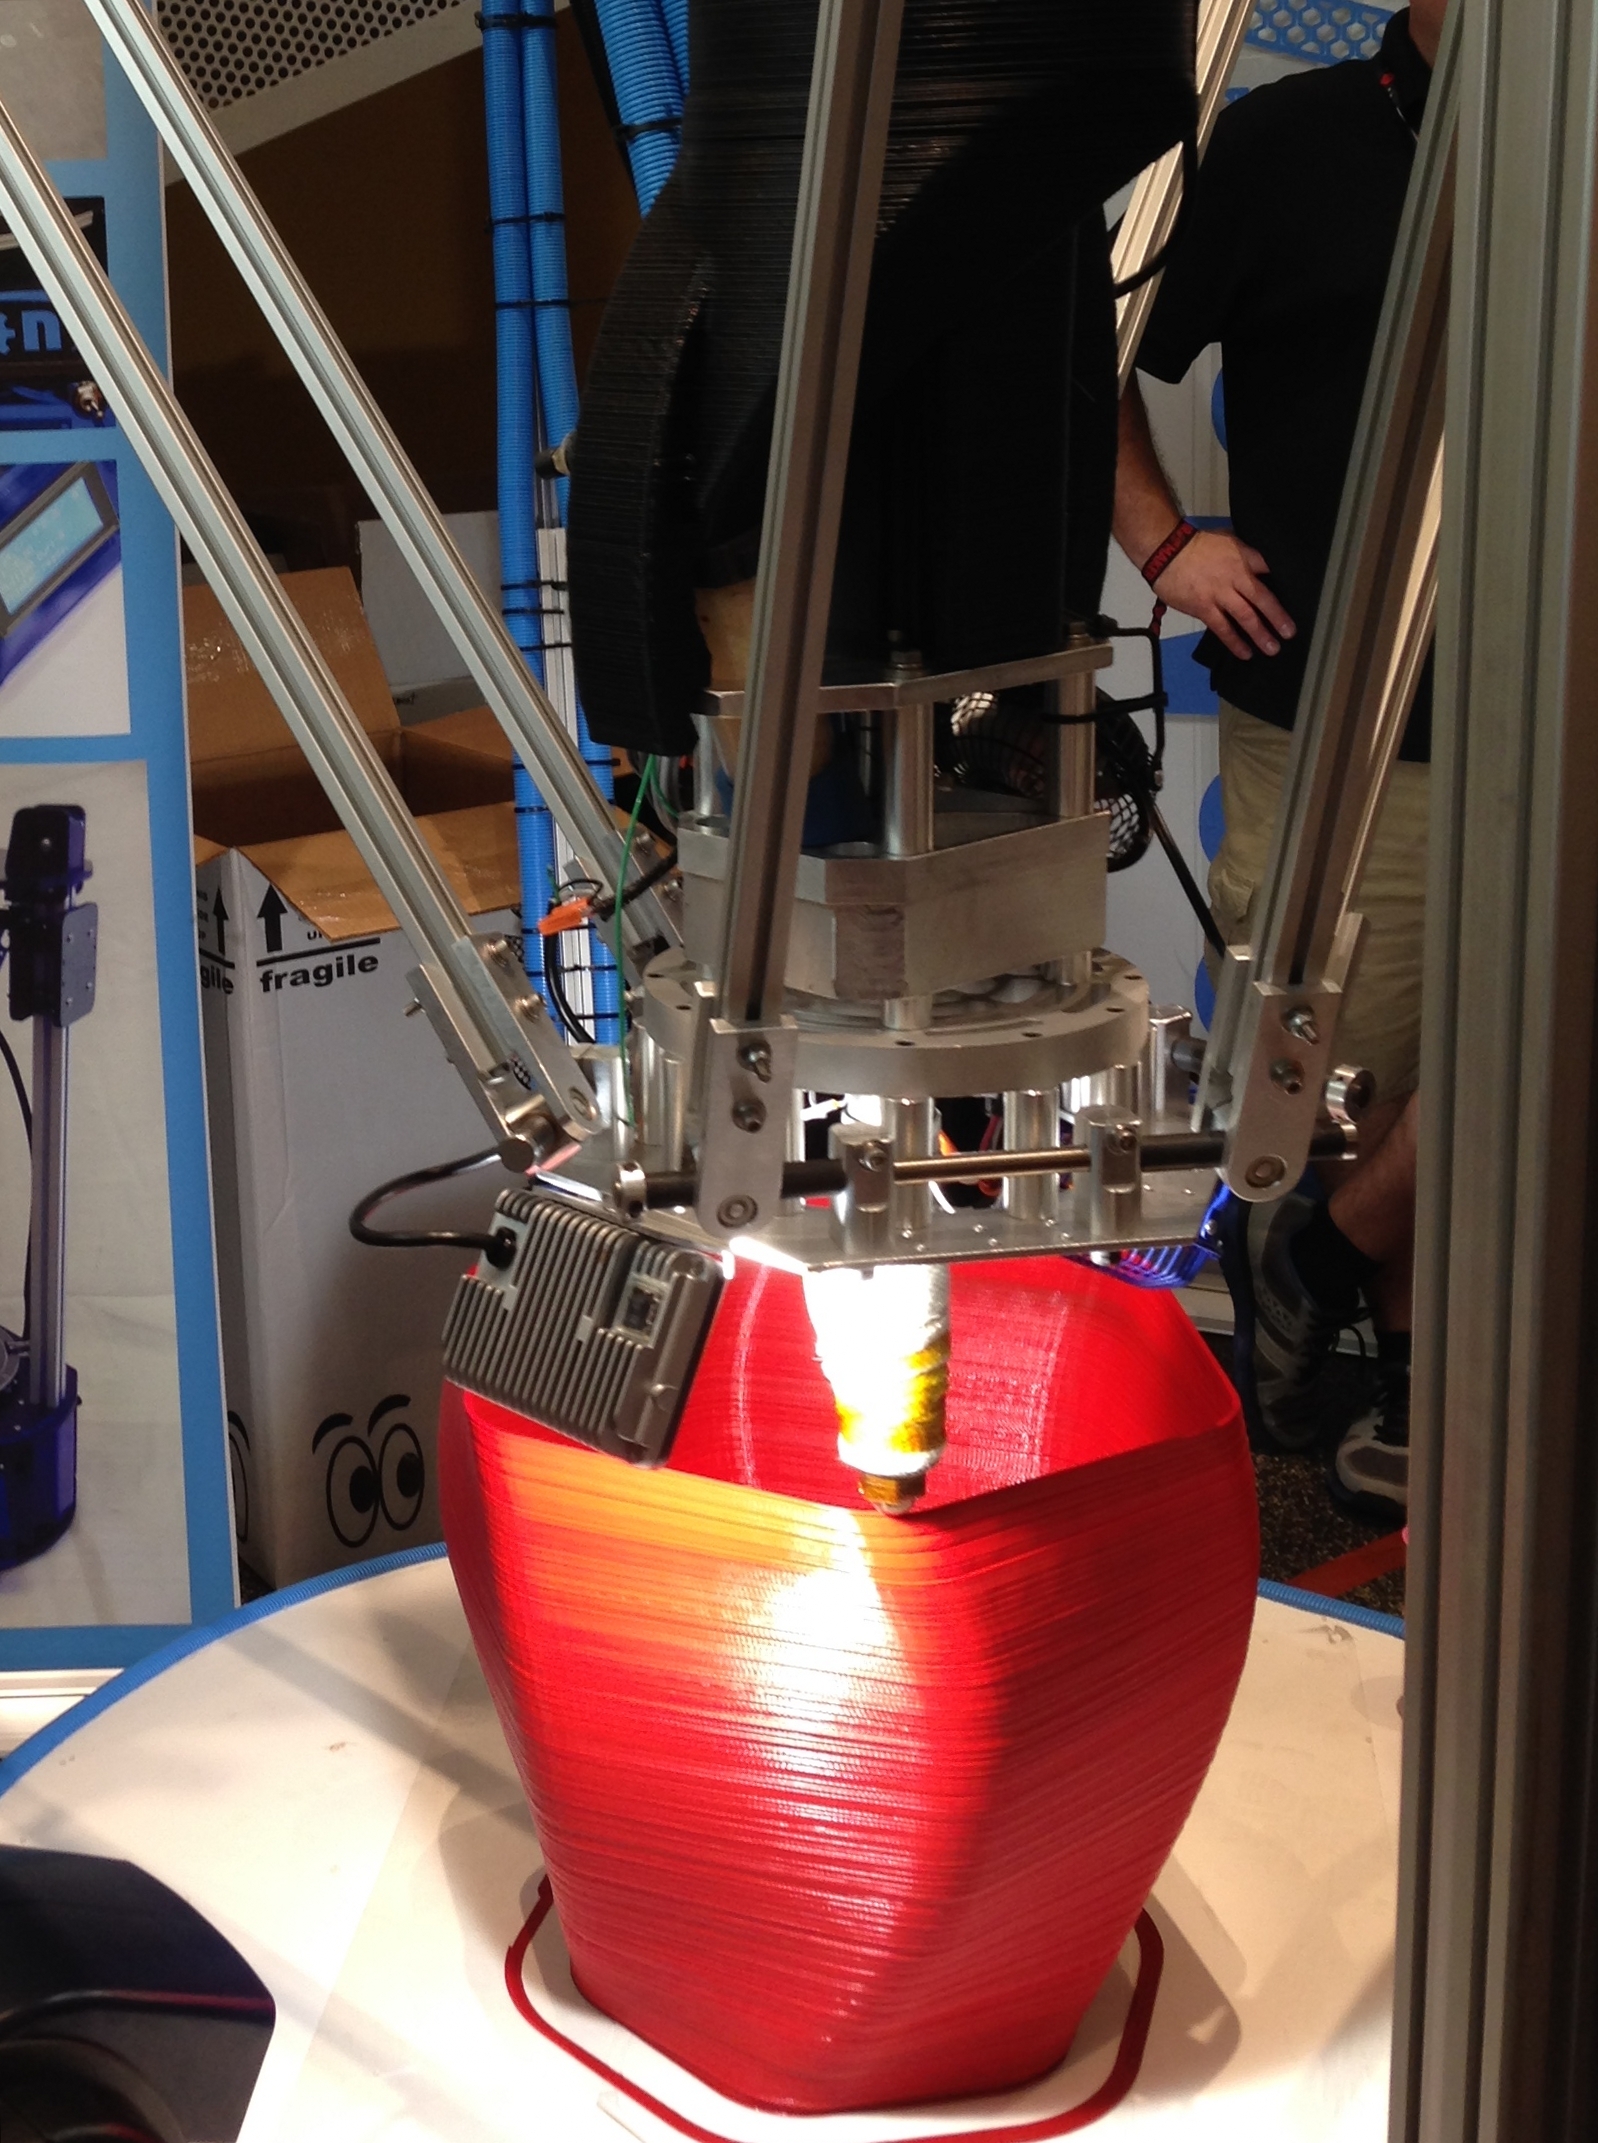 PrintersWhat a Larger Resin Vat ChangesA bigger vat is not a small vat with more room. The peel, the pour, and the wash all get heavier.
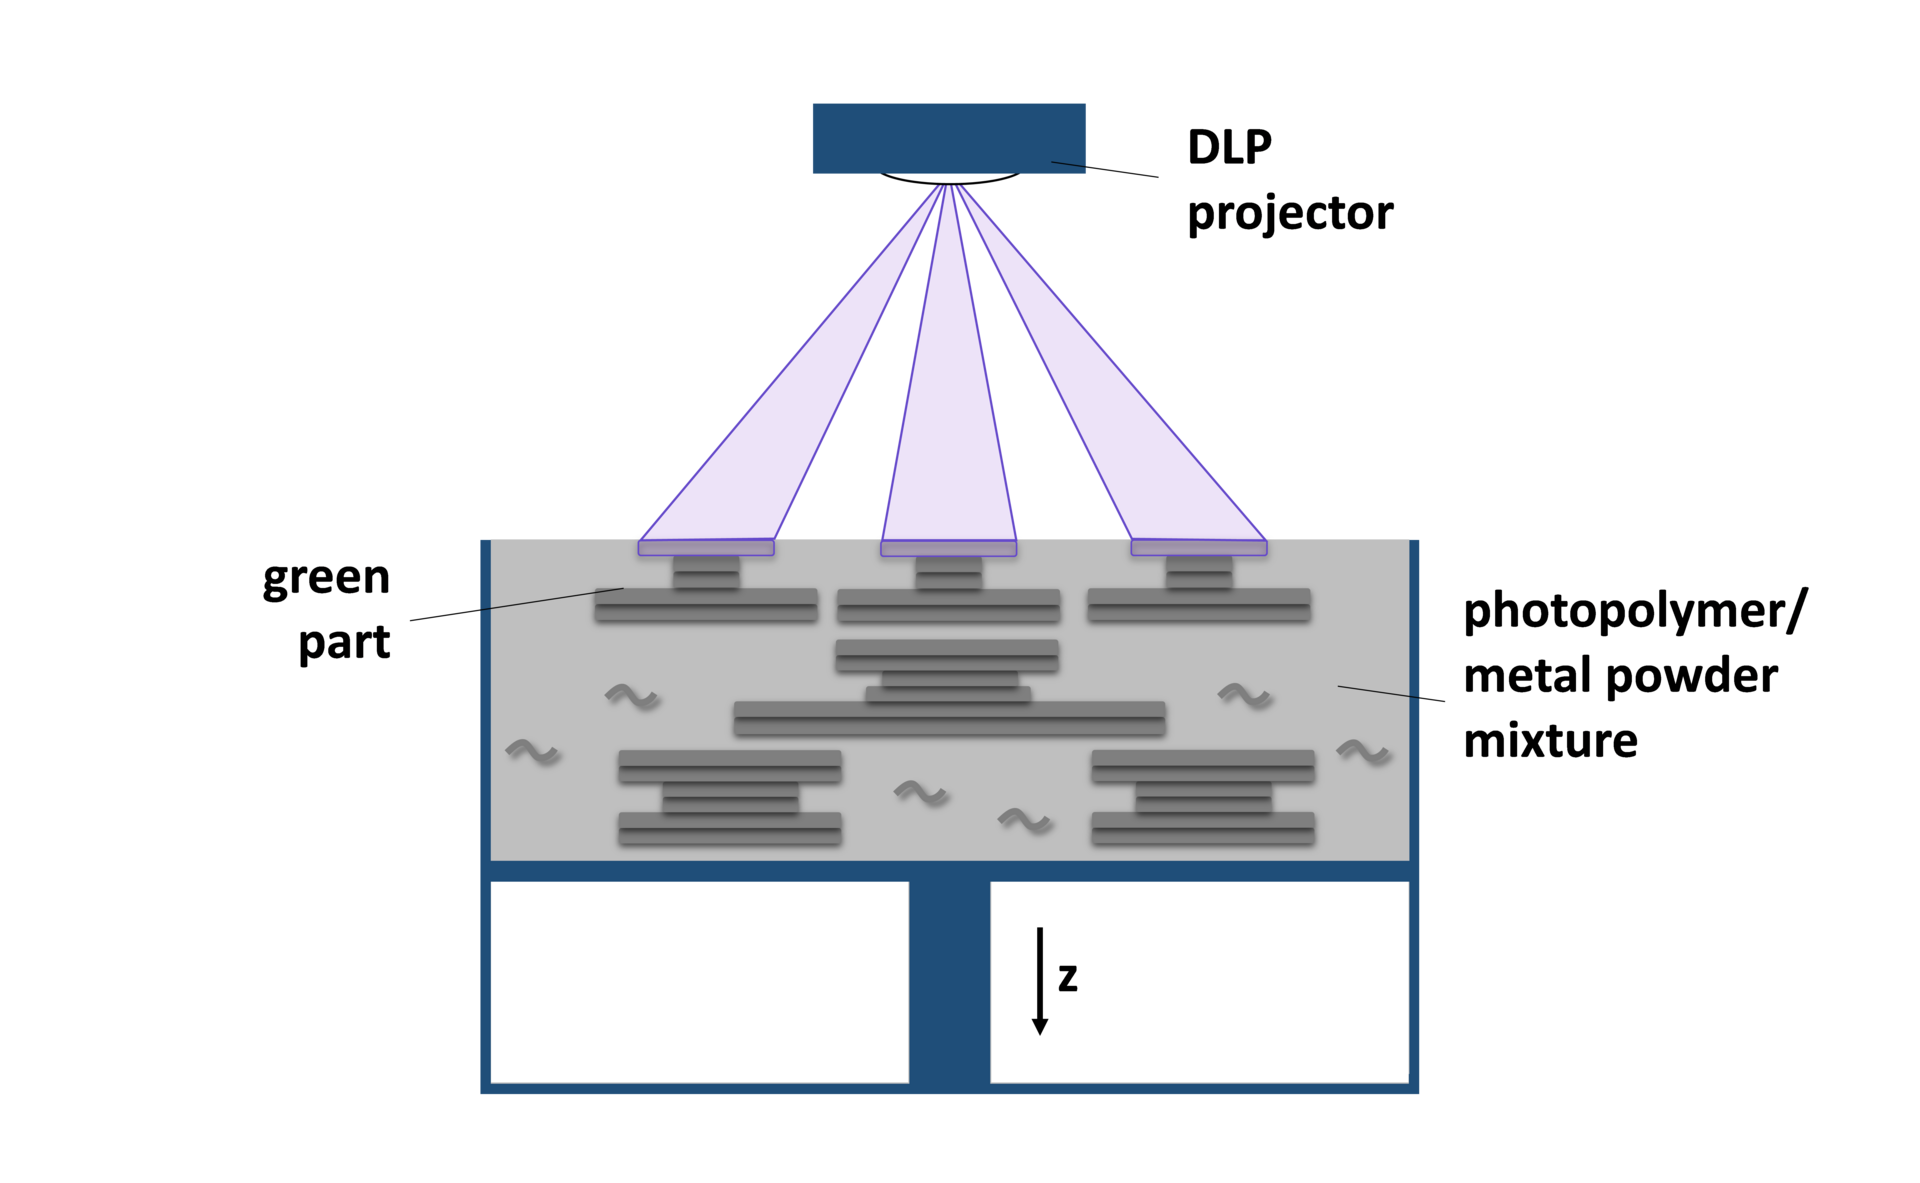 MaterialsCopper Alloys on a Laser Powder BedCopper shrugs off heat and throws light back. That is why it is useful, and why the laser struggles.
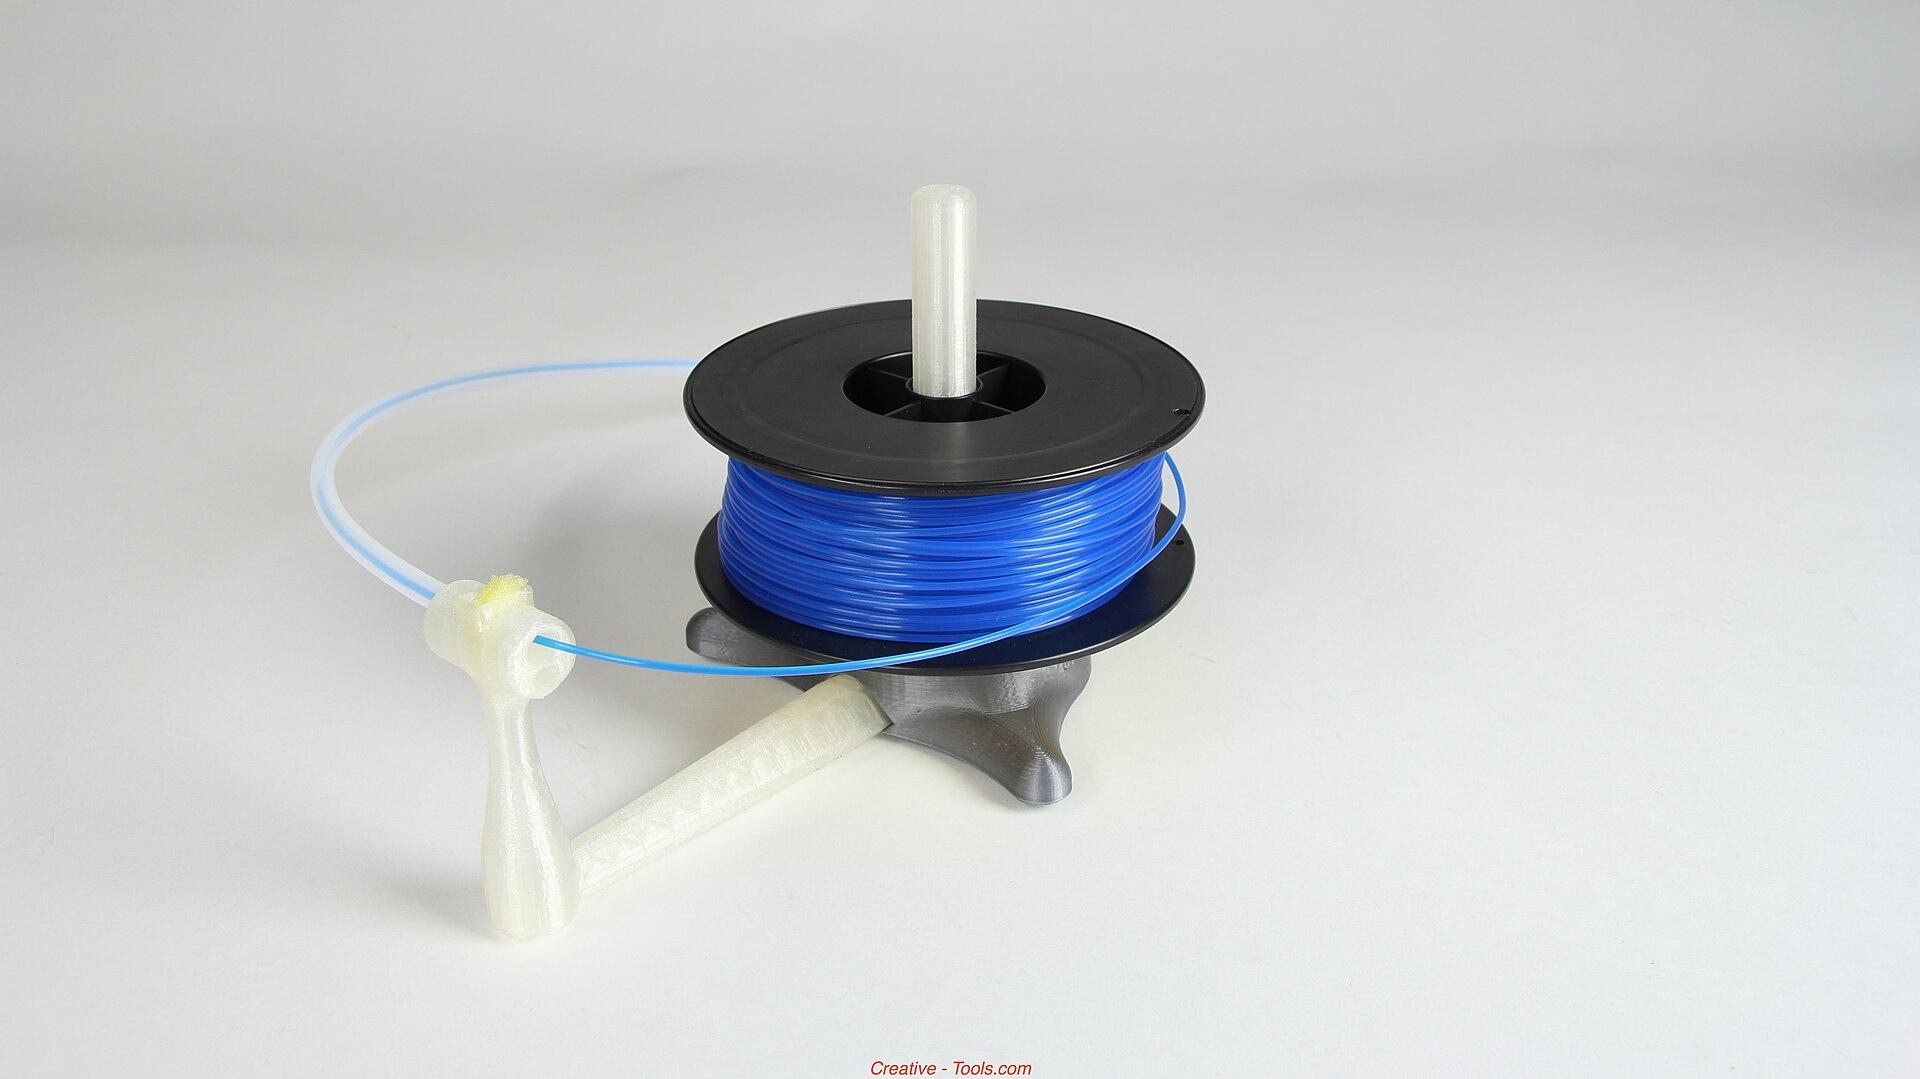 MaterialsPLA, PETG, and ABS After the Part Leaves the BedThe easy spool is not always the one that survives a warm car, a clamp, or a weekend outdoors.
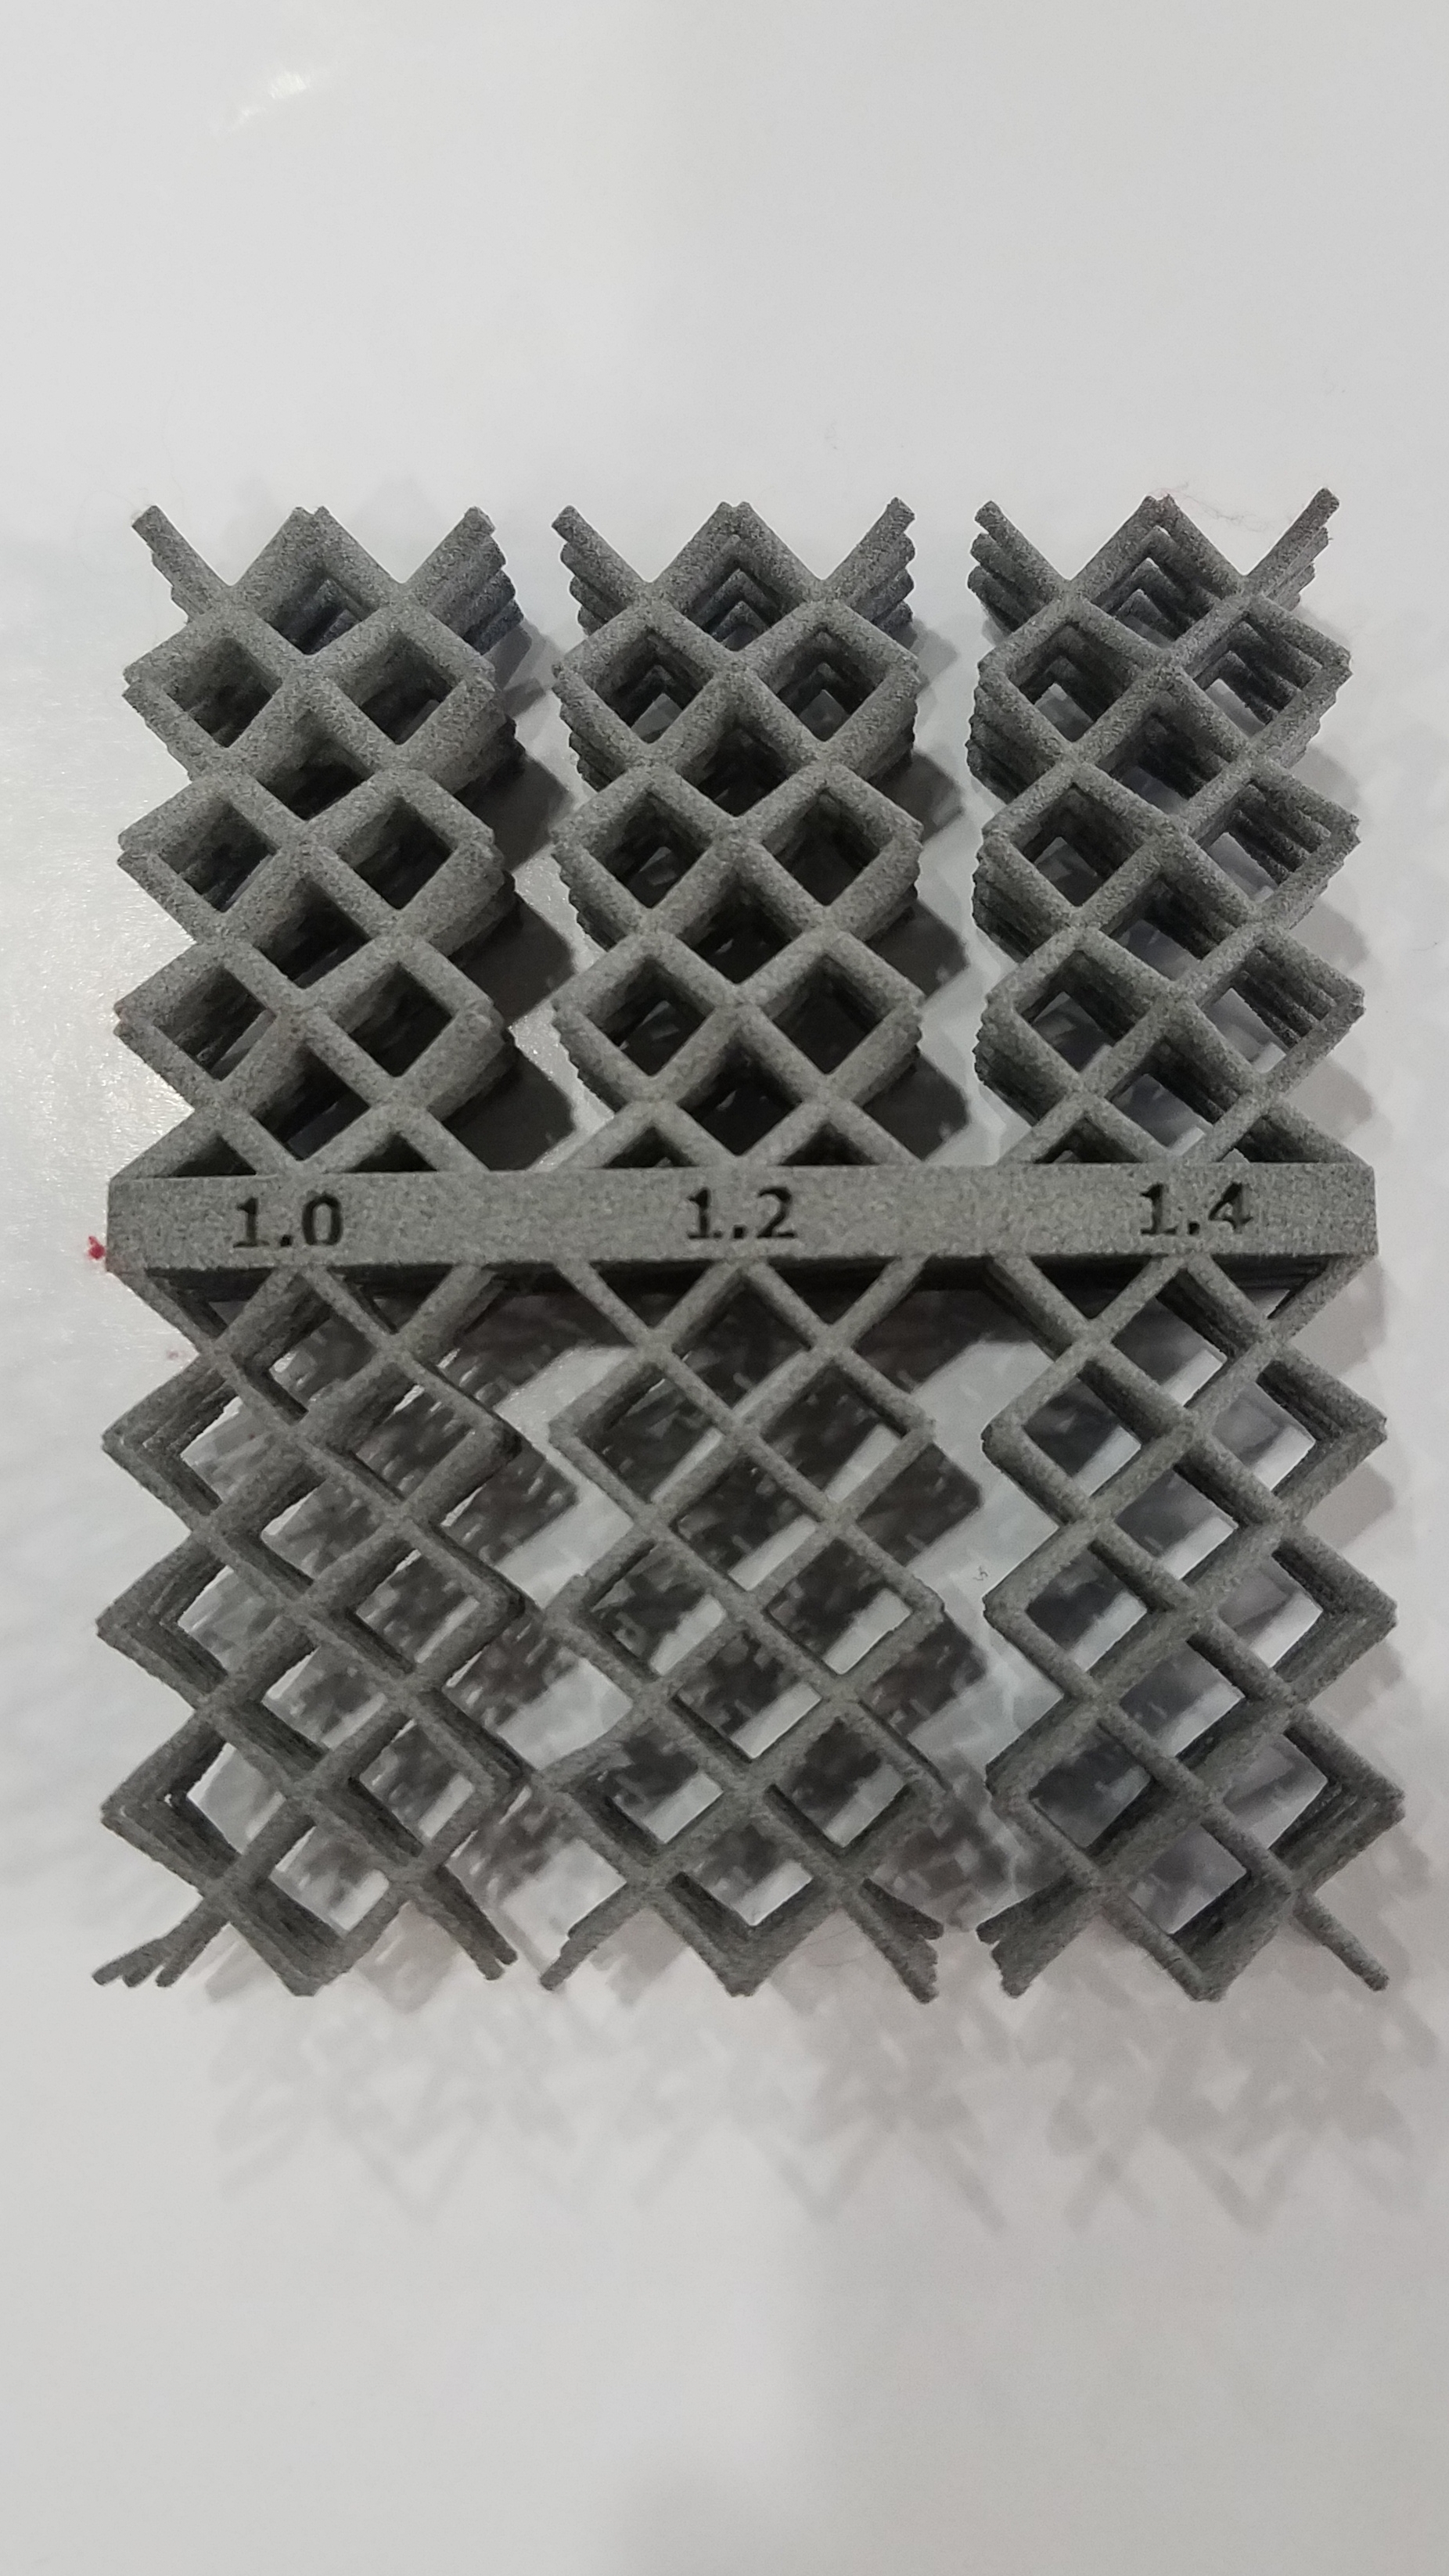 SoftwareFrom a Sentence to a Printable MeshA model generator can hand you a shape in a minute. The slicer still needs a closed, scaled, thick-enough solid.
 GuidesVolumetric Printing in Plain LanguageInstead of drawing a part one layer at a time, volumetric printing tries to cure the whole shape in one exposure.
 NewsWatching a Metal Build While It Is Still RunningStopping a bad metal build early saves powder and hours. It does not replace the inspection after the door opens.
 NewsA Desk That Prints, Washes, and Cures ResinThe print is the tidy part. Washing and curing are where a small resin setup usually spills.