Printers
Continuous Fiber on a Desktop Machine
A strand laid into the part is strong along its length. Across the strand, you still have plastic.
- 3 min read
- Printers
- Eight more stories
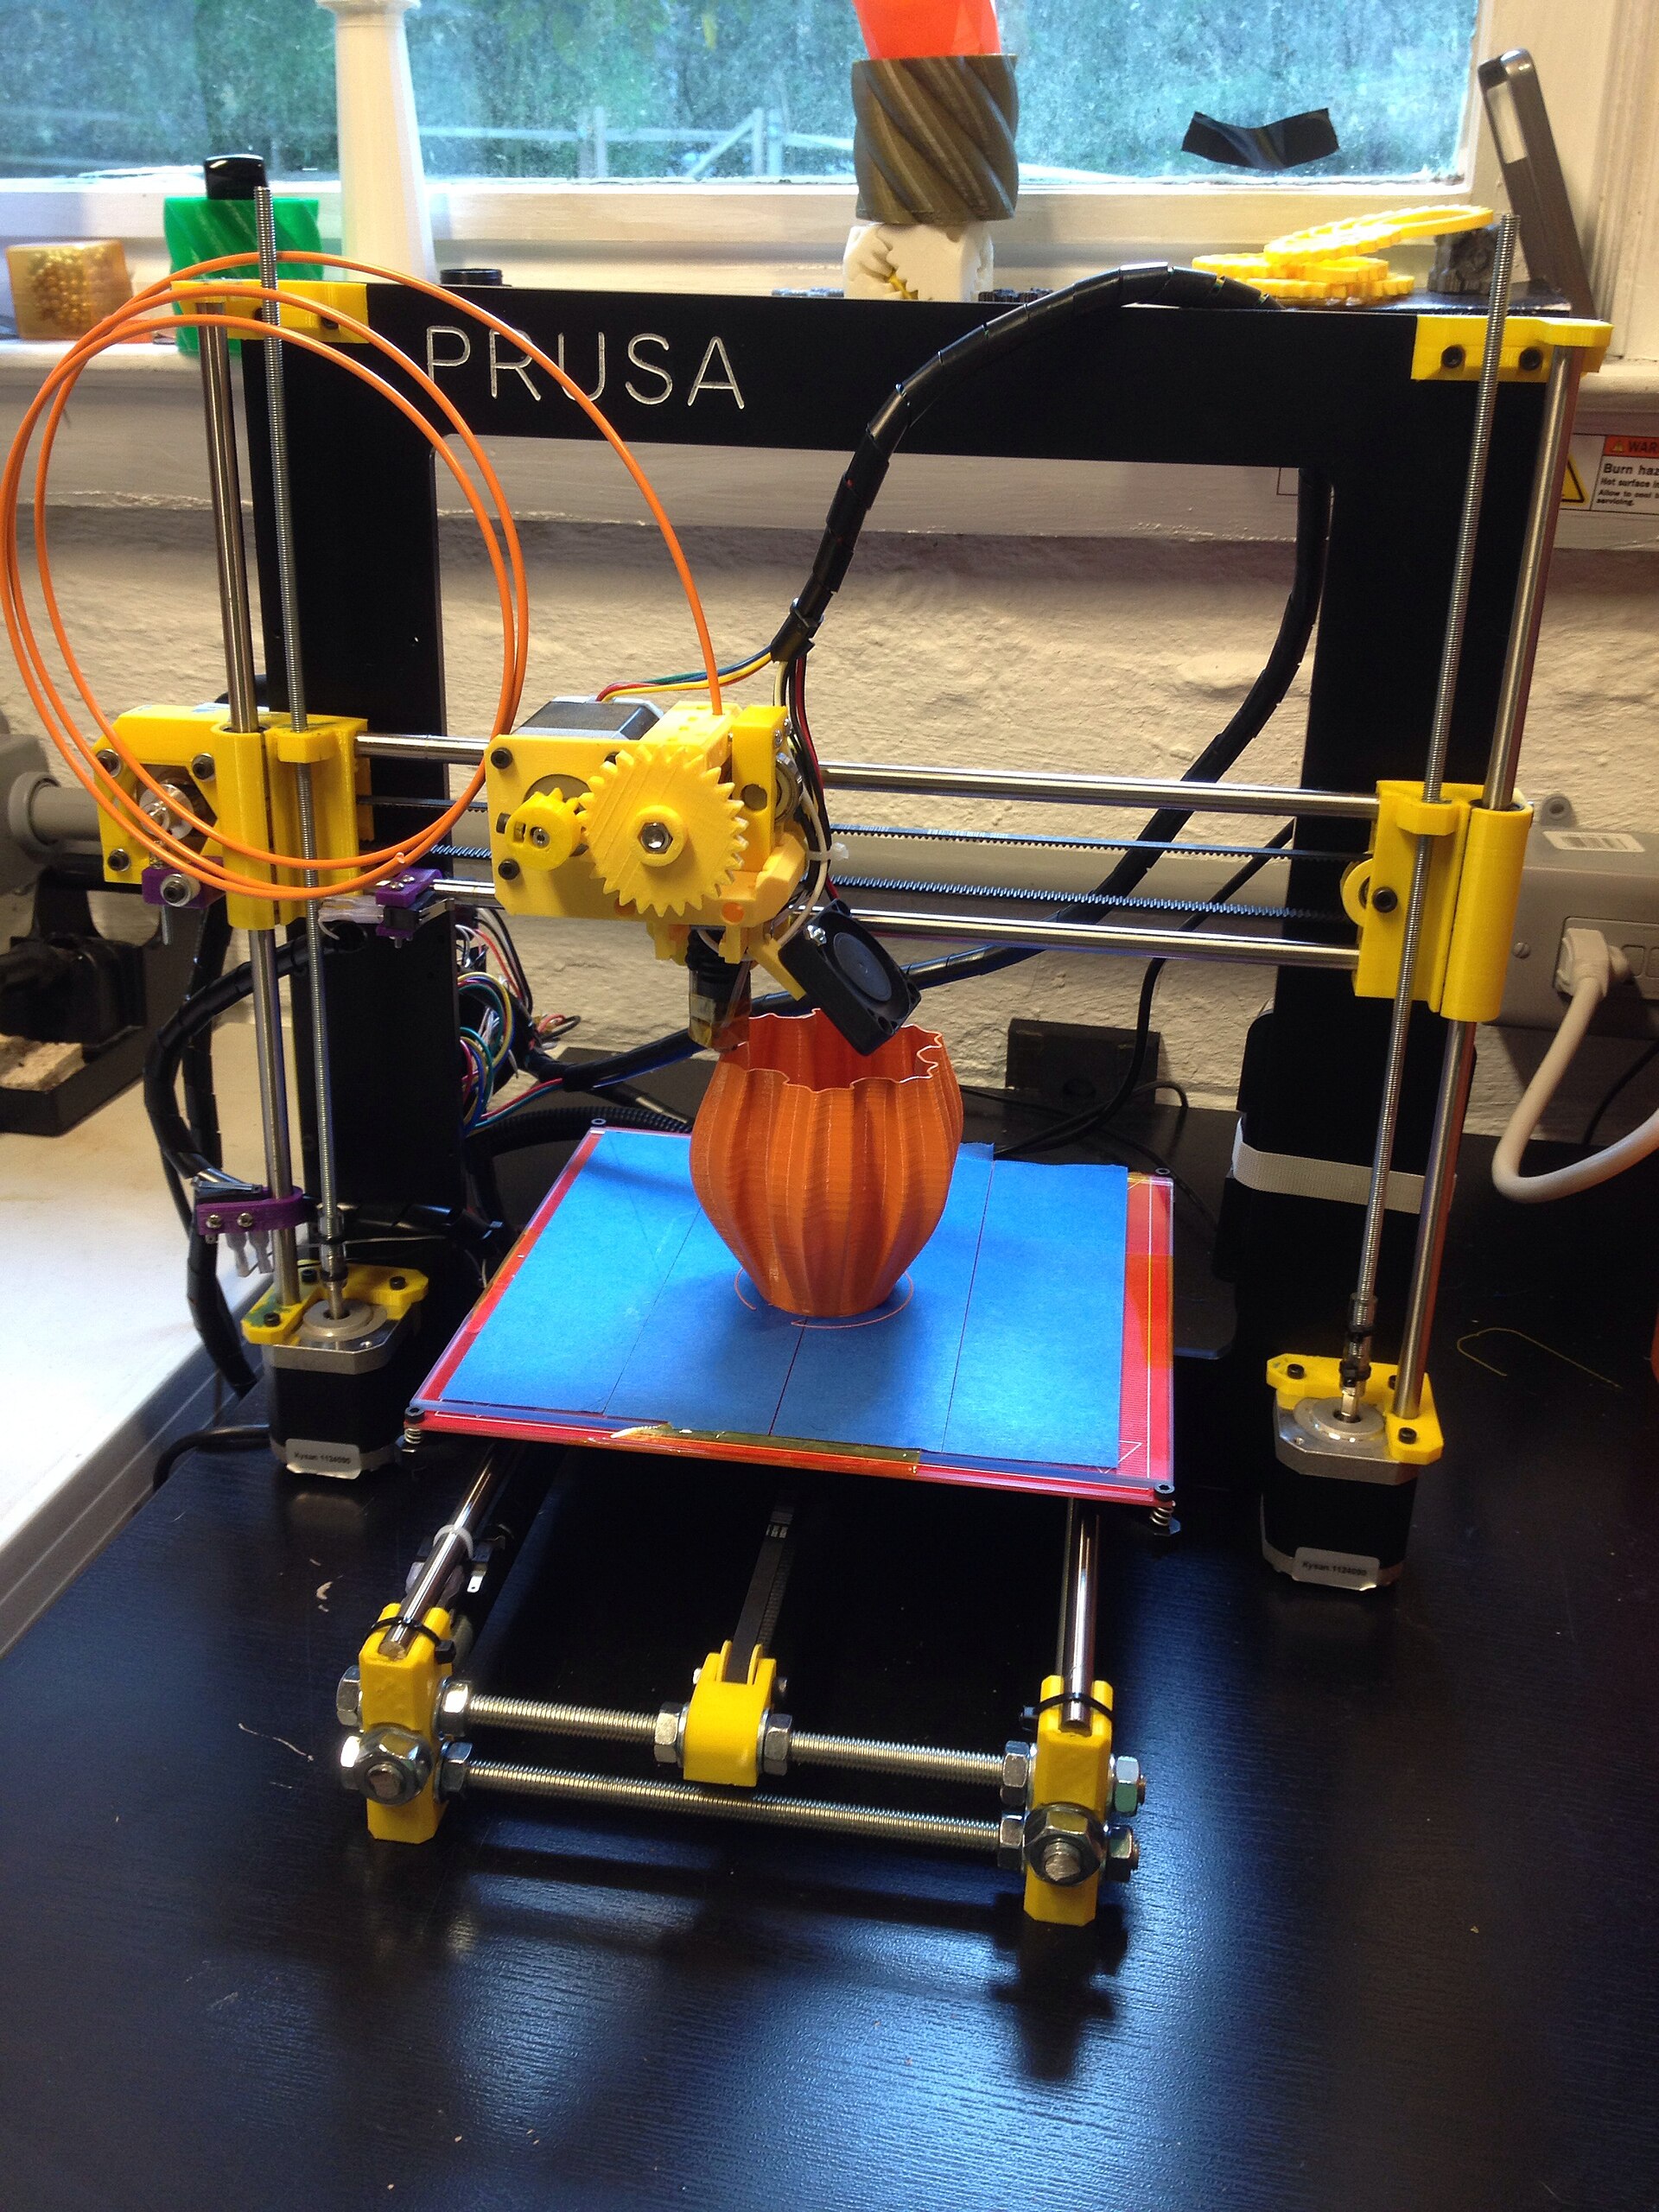
Continuous fiber printing lays a long strand, often carbon or glass, into a plastic part while it is built. The strand is not chopped filler mixed in a spool. It is a line. Along that line the part gets much stiffer. Across it, and through the thickness, you are still holding plastic layers together. That single fact is the whole design guide.
Use it like a strap
Put fiber where a strap or a beam would go: around a hole that tries to tear, along an arm that tries to bend, across a fixture that must not flex. Do not sprinkle it through a part and call the result metal. Holes cut through fiber need a plan, because drilling the strand frays the very thing you paid for. Many of these machines also refuse to put fiber in the first and last layers, so the outer skin is still polymer.
The machines cost more than a hobby filament printer, and the fiber costs more than a spool. They earn it on shop fixtures and brackets that would otherwise be machined, when the direction of the load is obvious and the part can be thicker than a sheet-metal tab. They do not earn it on a tiny clip, a hot part, or anything that must be equally strong when pulled sideways.
- Ask the minimum bend radius. Tight corners push the fiber out.
- Check whether the fiber path is editable or only automatic.
- Keep the part below the plastic temperature limit. Fiber will not save a soft matrix.
- Compare with a ribbed plastic part before you pay for a strand.
Do this next
- 1
Draw the load path, then lay fiber along that path and nowhere else just for show.
- 2
Keep fiber off the outer cosmetic face if the machine cannot bury it.
- 3
Leave a plastic border so the strand is not a frayed edge.
- 4
Test the real load. A stiff sample bar is not your bracket.
More from the desk
Eight other notes from the rest of the bench.
 GuidesVolumetric Printing in Plain LanguageInstead of drawing a part one layer at a time, volumetric printing tries to cure the whole shape in one exposure.
 SoftwareCAD for a First Bracket That Has to FitA bracket is a few sketches and the holes that match the hardware. The software should stay out of the way.
 SoftwareFrom a Sentence to a Printable MeshA model generator can hand you a shape in a minute. The slicer still needs a closed, scaled, thick-enough solid.
 MaterialsFlexible Filament Without the GuessworkFlexible filament buckles when you rush it. Shore hardness and a short path to the nozzle matter more than a secret profile.
 NewsWatching a Metal Build While It Is Still RunningStopping a bad metal build early saves powder and hours. It does not replace the inspection after the door opens.
 ApplicationsPrinted Models for Clinics and Dental LabsA model for a conversation is a different object from a guide that touches a patient. The resin decides which one you printed.
 PrintersWhat a Larger Resin Vat ChangesA bigger vat is not a small vat with more room. The peel, the pour, and the wash all get heavier.
 NewsA Desk That Prints, Washes, and Cures ResinThe print is the tidy part. Washing and curing are where a small resin setup usually spills.