
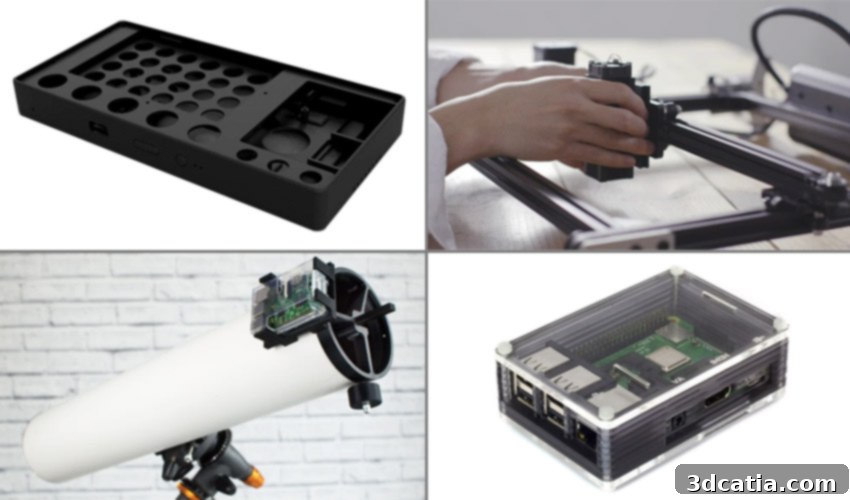
Unleashing Innovation: Incredible 3D Printing and Raspberry Pi Projects for Every Maker
The Raspberry Pi, a credit-card-sized single-board computer, has revolutionized the world of DIY electronics and programming since its inception. Initially developed to encourage the learning of computer science in schools, its low cost (starting around $30) and remarkable versatility have quickly made it a cornerstone for hobbyists, educators, and engineers alike. Powered by an SD card, similar to those found in digital cameras, and conveniently charged via a standard USB phone charger, the Raspberry Pi offers unparalleled accessibility for embarking on a myriad of computing projects.
When the power of the Raspberry Pi is combined with the creative freedom of 3D printing, a new universe of possibilities opens up. 3D printing allows makers to rapidly prototype custom enclosures, mechanical components, and intricate designs that perfectly integrate with the compact computing power of the Pi. This synergy empowers individuals to bring complex ideas to life, transforming digital designs into tangible, functional devices. From essential medical equipment to personal gadgets and even educational tools, the maker community has harnessed this powerful combination to develop a plethora of innovative projects. We’ve curated a list of some of our favorite 3D printing x Raspberry Pi projects that you can explore and even try building at home!
Life-Saving Innovation: The COVID-19 Ventilator
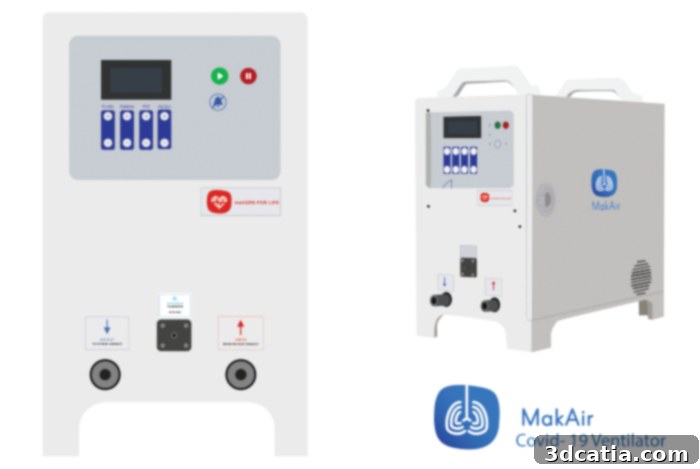
During the peak of the global pandemic, a critical shortage of medical ventilators highlighted the urgent need for rapid, accessible, and mass-producible solutions. In response to this challenge, the MakAir initiative developed an open-source COVID-19 ARDS ventilator, designed to be manufactured affordably and quickly. This groundbreaking project leveraged the power of 3D printing for its mechanical components and the reliability of the Raspberry Pi for its control system. The ventilator’s essential structural parts can be produced using various 3D printing technologies, including SLS, SLA, or FDM, though MakAir specifically recommended an SLS 3D printer like the HP Multi Jet Fusion for optimal performance and material properties.
At the heart of the MakAir ventilator’s intelligence is a Raspberry Pi 4 computer, seamlessly integrated with a Raspberry Pi Touch Display. This combination provides a user-friendly interface for medical professionals to monitor and control vital functions, demonstrating the Pi’s capability to manage critical systems. The project exemplifies how open-source collaboration and readily available technology can be harnessed for urgent humanitarian needs, making sophisticated medical devices more accessible. Aspiring makers and engineers interested in contributing to medical technology can find the complete open-source instructions and documentation for this ventilator project HERE.
Exploring the Cosmos: ExoMy, the Mars Rover for Amateurs
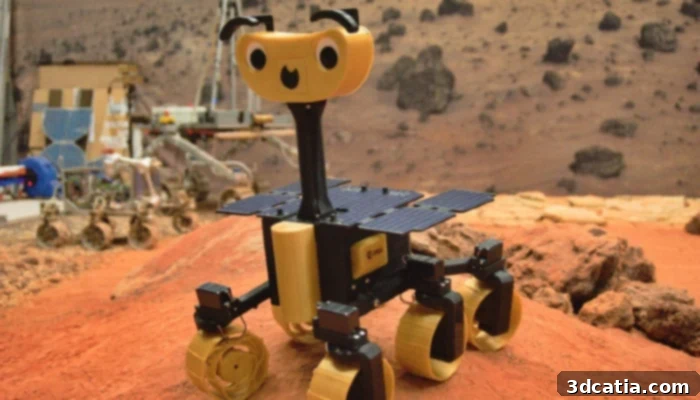
Imagine building your very own space-faring robot, capable of traversing challenging terrains, right in your home workshop. This dream was made a reality by Maximilian Ehrhardt and Miro Voellmy from the Planetary Robotics Laboratory of the European Space Agency (ESA). Their creation, dubbed ExoMy, is a remarkable Martian rover designed to be built using a simple 3D printer, bringing the excitement of space exploration within reach of amateurs and enthusiasts. With an estimated total cost of only $250, ExoMy drastically democratizes access to sophisticated robotics.
ExoMy’s design skillfully integrates 3D printable parts for its chassis and structural elements with off-the-shelf components. The rover’s mobility is driven by servomotors, while its intelligence and control systems are powered by a Raspberry Pi 4. Furthermore, a Raspberry Pi v2 camera module allows ExoMy to capture its surroundings, simulating the visual data collection of a real Mars rover. This project beautifully showcases how affordable 3D printing technology and the versatile Raspberry Pi can empower individuals to engage with complex engineering challenges, making space robotics and scientific exploration more widely available and educational than ever before. It’s a testament to the maker movement’s ability to turn ambitious scientific endeavors into accessible, hands-on learning experiences.
Acoustic Artistry: The Wave Speaker
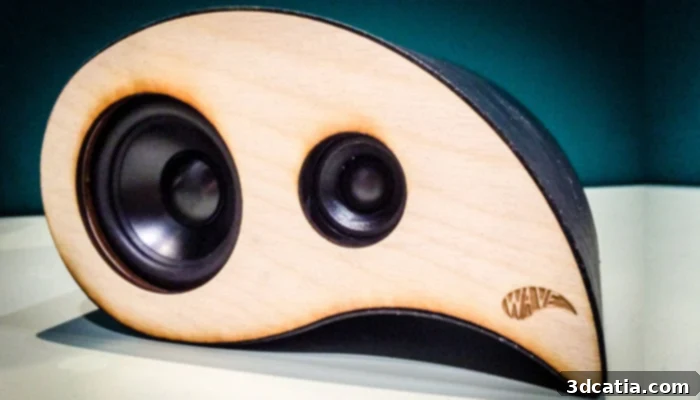
Beyond purely functional applications, Raspberry Pi and 3D printing also excel in artistic and aesthetic projects, like “The Wave Speaker.” This uniquely shaped audio device was born out of an engineering and design course at the Technical University of Denmark. The course fosters innovation by providing students with the opportunity to develop and prototype new concepts, pushing the boundaries of traditional manufacturing through additive manufacturing. The Wave Speaker, with its distinctive, fluid geometry, perfectly illustrates the design freedom afforded by 3D printing.
More than just a beautiful piece of design, The Wave Speaker is a fully functional smart device. Powered by a Raspberry Pi, it boasts Wi-Fi connectivity, enabling users to stream music directly from their smartphones or other devices. The Raspberry Pi’s processing capabilities handle the audio decoding and network communication, transforming a simple speaker into a connected home audio system. This project is an excellent example of how makers can combine advanced manufacturing techniques with accessible computing platforms to create personalized, high-performance gadgets that also serve as modern art pieces. For those inspired to combine their passion for music and making, detailed instructions for 3D printing and assembling your own Wave Speaker can be found on Thingiverse.
Amateur Astronomy Redefined: PiKon, the 3D Printed Telescope
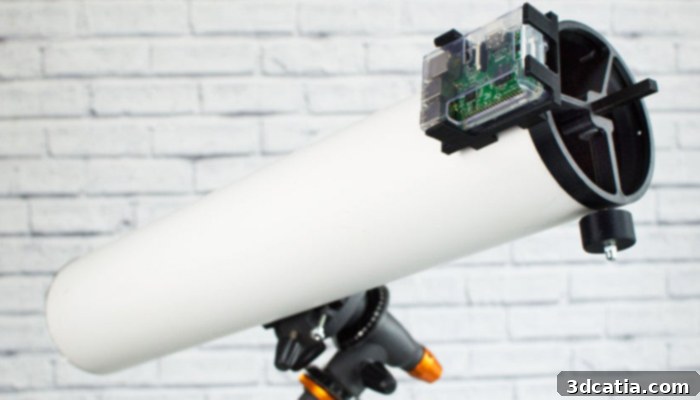
For astronomy enthusiasts and aspiring astrophotographers, the PiKon telescope offers a revolutionary, low-cost approach to exploring the night sky. The name “PiKon” is a clever fusion of Raspberry Pi and Icon, signifying its status as an iconic project in accessible science. Developed through a collaboration between the University of Sheffield and Alternative Photonics for the Festival of the Mind, PiKon’s primary goal was to demonstrate the incredible potential of new, affordable technologies—namely 3D printing and the Raspberry Pi—in empowering citizens to engage with scientific pursuits.
The ingenious design of the PiKon telescope means that, apart from the essential primary and secondary mirrors, virtually all other components can be precision-fabricated using a 3D printer. This approach drastically reduces manufacturing costs and allows for easy customization and repairs. The telescope prototype is seamlessly integrated with a Raspberry Pi using a custom 3D printed adapter. Critically, the Raspberry Pi is equipped with an infrared camera, transforming the telescope into a powerful tool for both observing and photographing celestial objects. The Pi not only captures stunning images of the night sky but also facilitates recording these observations, making astrophotography more accessible to the general public. If you harbor a passion for the stars and new technologies, all the necessary information and instructions to build your very own PiKon telescope are available HERE.
Personal Computing Reimagined: A 3D Printed Laptop and Tablet
The Raspberry Pi’s versatility extends to creating entire personal computing devices from scratch. For those with a Raspberry Pi and a 3D printer, the dream of building a custom laptop or tablet is entirely achievable, albeit requiring a significant investment of time and effort. These projects epitomize the DIY spirit, merging hardware assembly, electronics, and custom fabrication into a single, rewarding experience.
Craft Your Own 3D Printed Laptop
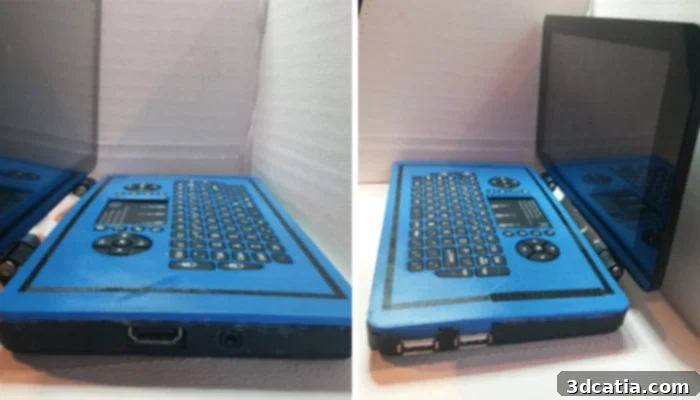
Transforming a Raspberry Pi into a functional laptop is a challenging yet highly gratifying endeavor. This project, detailed through resources like this Thingiverse file, demands more than just basic 3D printing skills; a foundational understanding of electronics is crucial. You’ll need an array of tools including screwdrivers, wire cutters, and a soldering iron to meticulously assemble the various components. The 3D printer plays a vital role in creating the custom housing, keyboard frame, and other structural parts that transform a bare-bones Pi into a portable computer. The original author, for instance, used a Prusa Steel 3D printer, recommending specific settings like a 0.2mm resolution and 20% infill for robust parts. Following detailed step-by-step instructions, users can piece together their bespoke laptop, gaining invaluable experience in both additive manufacturing and electronic assembly.
Design Your Own 3D Printed Tablet
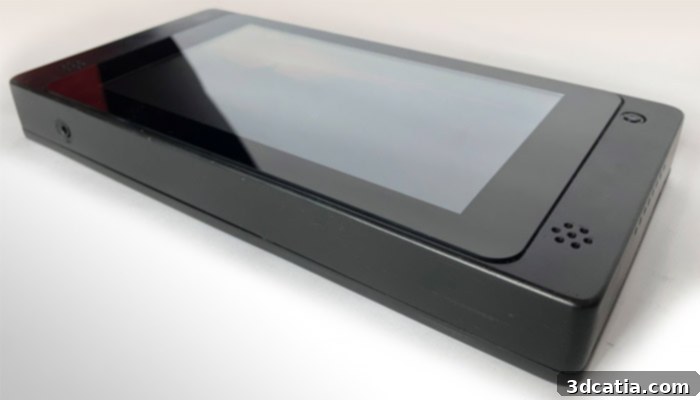
Similarly, the creation of a 3D printed tablet is another complex but equally impressive project that pushes the boundaries of personal fabrication. As with the laptop, the core elements are a 3D printer for the enclosure and a Raspberry Pi for its processing power. However, this project necessitates several additional specialized parts, which the creator meticulously outlines on their project website. Undertaking this build requires a long-term commitment, but the reward is a custom-made tablet tailored to your exact specifications. This project is not just about building a device; it’s a comprehensive learning experience that covers electronics integration, 3D design principles, and intricate assembly. We highly encourage enthusiastic makers to embark on this journey, create their own tablet, and share their unique results! Comprehensive assembly instructions, complete with an explanatory video, can be found HERE.
Robust Space Tech: Dual Redundant CubeSat Flight Computer
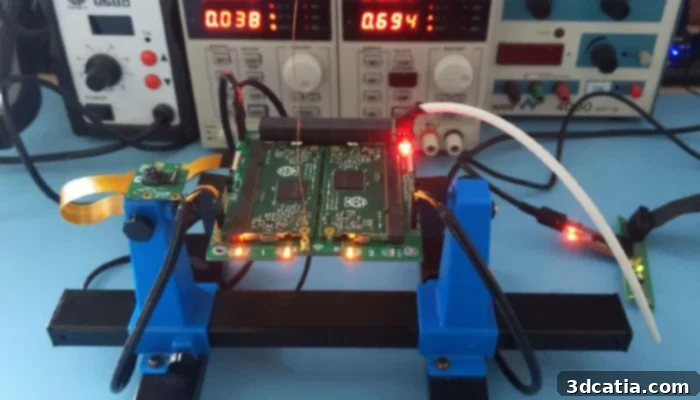
Moving into more specialized and demanding applications, the Raspberry Pi has even found its way into aerospace engineering. Our next featured model is a dual redundant CubeSat flight computer, a testament to the Pi’s surprising reliability and power in critical systems. In the harsh environment of space, hardware reliability is paramount, which is why redundancy is a key design principle. This concept ensures that if one system component fails or becomes unresponsive, a backup system can immediately take over, maintaining continuous operation and mission success.
Student Alex Pirie embarked on this ambitious project in 2014, specifically choosing the Raspberry Pi for its compelling combination of low cost and compact size. These attributes make it an ideal candidate for CubeSats, miniature satellites that operate under strict size, weight, and power constraints. By developing a dual redundant flight computer using Raspberry Pi, Pirie demonstrated that even commercial off-the-shelf components, when intelligently engineered, can meet the rigorous demands of space applications. This project opens doors for universities and private ventures to develop more affordable and accessible CubeSat missions. For those interested in the intricacies of space hardware and redundant systems, more detailed information on this innovative CubeSat project can be found HERE.
Wearable Computing: DIY Video Glasses
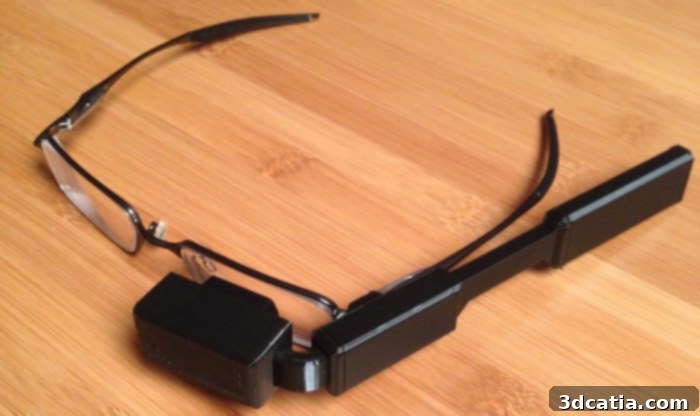
The realm of wearable technology is another exciting frontier where 3D printing and Raspberry Pi converge to create personalized, functional gadgets. This project allows you to transform an ordinary pair of video glasses into a fully functional, wearable computer, putting digital information directly into your field of vision. The integration requires a careful selection of miniature components and precision 3D printed parts.
To embark on this unique build, you’ll need several key items: a pair of NTSC/PAL video glasses, a Raspberry Pi (a compact model is preferred for wearable applications), a miniature wireless USB keyboard with a touchpad for input, and, of course, a 3D printer. Additional tools like flat pliers, 30 AWG wire wrap, a heat shrink pack, a screwdriver set, and a composite video cable will be essential for the electronic assembly. The 3D printing aspect of this project is relatively straightforward, involving just eight parts that can typically be printed and assembled within approximately two hours. The final 3D printed component acts as a snap-fit enclosure, meticulously designed to house the Raspberry Pi and associated electronics snugly within the frame of the video glasses. This ensures a compact and comfortable wearable experience. You can download the necessary STL files and detailed instructions to create your own DIY wearable Raspberry Pi video glasses HERE.
Empowering Digital Fabrication: Build Your Own 3D Scanner
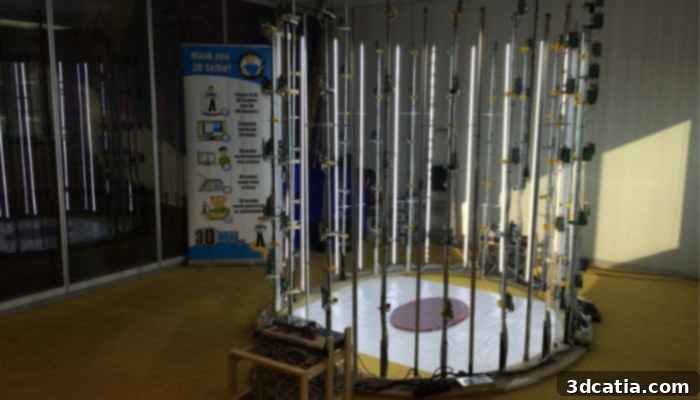
While many projects utilize 3D printing to create physical components, this particular project serves as an invaluable tool *for* 3D printing itself: building your own 3D scanner. This accessible guide empowers users to construct a high-resolution 3D scanner, an essential device for anyone looking to digitize physical objects for replication, modification, or archival purposes. The beauty of this project lies in its scalability, with updated versions capable of scanning objects as large as an entire adult person (up to 2 meters tall).
The core components for this ambitious scanner include multiple Raspberry Pis, each paired with a Pi camera, along with SD cards, LED strips for illumination, and powerful power supplies. While the mounts, tripods, and other structural parts could certainly be 3D printed for customizability, the fundamental operation relies on the synchronized capture capabilities of the Raspberry Pis and their cameras. The project does involve some assembly and basic coding knowledge, as the owner provides downloadable Python scripts to control the scanning process. Once completed, this DIY 3D scanner allows you to capture detailed digital models of anything from small objects to loved ones, which you can then bring to life through 3D printing. If you’re eager to delve into the world of digital capture and reverse engineering, the comprehensive guide and all necessary files can be found HERE.
Workshop Essential: DIY Desktop Laser Cutter and Engraver
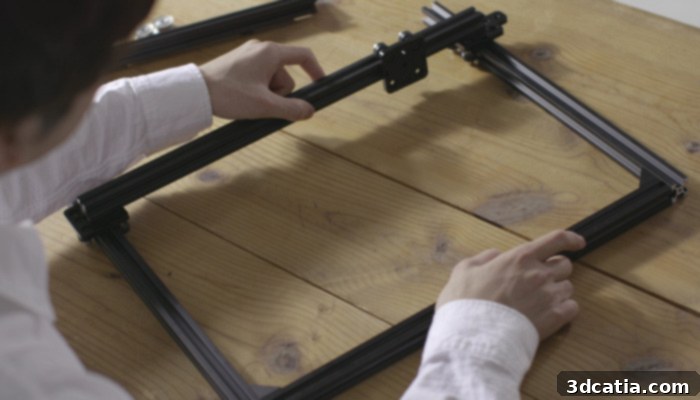
Rounding out our list of incredible maker projects is a powerful tool for any workshop: a DIY desktop laser cutter and engraver. The FABOOL Laser Mini is an exemplary open-source project designed to provide an affordable and ready-to-assemble solution for precision cutting and engraving. This versatile machine combines mechanical accuracy with the control capabilities of a Raspberry Pi, making it a valuable asset for prototyping, crafting, and custom fabrication.
Assembly of the FABOOL Laser Mini is surprisingly straightforward, requiring only basic tools such as a hex wrench and spanner, with an estimated build time of just about two hours. Once assembled, the device boasts a generous work area of 300x230mm, suitable for a wide range of materials and projects. While the Raspberry Pi is one of the compatible software platforms for controlling the laser, the system also supports other operating systems including Windows, Mac OS X, and Linux, offering flexibility to users. This updated version of the FABOOL Laser Mini features improved usability, a sleek and stylish design, and significantly reduced assembly time compared to its predecessors, making it more accessible than ever for home workshops. You can access the detailed files and instructions for building your own FABOOL Laser Mini HERE.
The convergence of 3D printing and Raspberry Pi has truly ignited a new era of innovation and accessibility in the maker community. These projects demonstrate that with readily available, affordable technology and a bit of ingenuity, anyone can build incredible devices that span from life-saving medical equipment to advanced space robotics and personalized gadgets. The power to design, create, and customize is now firmly in the hands of individuals, fostering learning, problem-solving, and boundless creativity.
What do you think of these compelling 3D printing and Raspberry Pi projects? Have you embarked on similar endeavors, or do you feel inspired to start one? We’d love to hear your thoughts and experiences! Let us know in a comment below or connect with us on our Linkedin, Facebook, and Twitter pages! Don’t miss out on the latest advancements and news in the world of additive manufacturing and DIY technology; sign up for our free weekly Newsletter here, delivering the freshest 3D printing news straight to your inbox!