
Mastering Houdini for 3D Printing: A Comprehensive Guide to Procedural 3D Model Creation
Developed by SideFX, a renowned Toronto-based software company, Houdini stands as an exceptionally powerful and versatile solution for advanced 3D modeling, animation, and special effects. Its unique strength lies in its procedural approach, making it an indispensable tool within the high-stakes film and gaming industries, particularly for generating incredibly complex simulations and groundbreaking visual effects. Major studios like Walt Disney Animation Studios, Pixar, and DreamWorks Animation leverage this sophisticated software for iconic productions such as Frozen, Fantasia 2000, and Zootopia, showcasing its capabilities in crafting cinematic masterpieces. However, beyond its celebrated applications in animation and special effects, Houdini also offers unparalleled potential for creating highly detailed and optimized objects specifically tailored for 3D printing. This comprehensive guide will delve into the intricacies of harnessing Houdini’s robust platform to prepare and refine your designs for successful additive manufacturing, exploring its procedural advantages and specialized tools for digital fabrication.
Houdini was meticulously engineered as a procedural system, a design philosophy that grants artists unparalleled creative freedom and control. At its heart is a node-based workflow, which empowers users to construct repeatable, non-destructive, and easily modifiable processes. In essence, every action performed within Houdini—from a simple translation to a complex simulation—is encapsulated within a discrete node. These nodes can then be interconnected to form intricate networks, which serve as the fundamental blueprint for optimizing designs, generating endless variants, or rigorously testing alternative approaches. This unique paradigm significantly streamlines collaborative efforts and encourages extensive experimentation, allowing designers to backtrack, tweak parameters, and refine their creations without destroying previous work. Furthermore, Houdini provides an extensive suite of modeling tools, including polygon, NURBS (Non-uniform Rational B-spline), and subdivision surface modeling, all accessible and intuitively integrated into the viewport. These tools enable artists to craft highly detailed and intricate surface topologies, ranging from hard-surface mechanical parts to organic, flowing forms. Complementing its modeling prowess, Houdini features an integrated Mantra renderer, a powerful engine supporting scanline, ray tracing, and physically based rendering. While primarily used for visual effects, Mantra proves invaluable for efficient visualization of complex geometries or volumetric data, allowing designers to preview their creations with astonishing realism. The software is also distinguished by its ability to create reusable digital assets, which can be adapted and deployed across various projects, ensuring consistency and efficiency in large-scale productions.
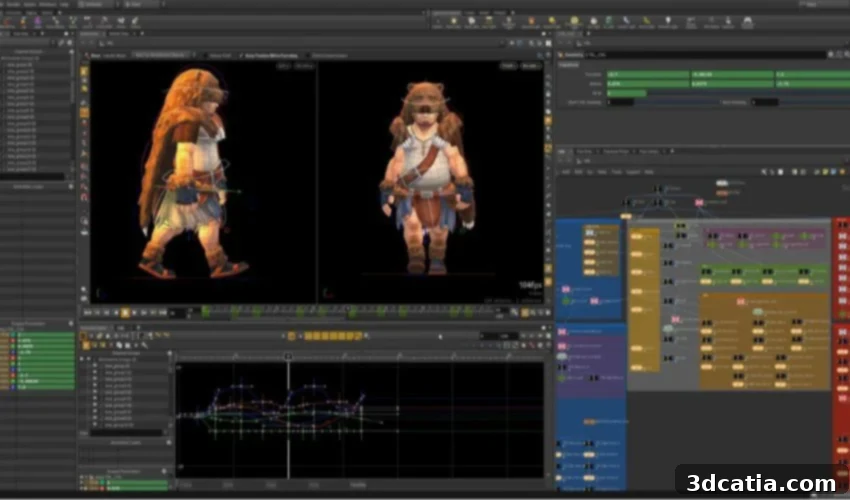
Houdini is available for Windows NT, Linux, and MacOS, offering broad compatibility. (Credit: SideFX)
Houdini and 3D Printing: Essential Considerations for Digital Fabrication
While Houdini is primarily renowned for its advanced 3D animation and simulation capabilities, its procedural nature makes it an exceptional, albeit less conventional, tool for preparing models for 3D printing. However, leveraging Houdini for additive manufacturing necessitates careful attention to specific requirements to ensure successful physical prints.
The most critical aspect is ensuring that your 3D models possess a closed or watertight volume. This means the model must represent a solid object with no gaps, holes, or inverted faces. Overlapping geometries, non-manifold edges, or open boundaries can lead to significant errors during the slicing process, resulting in unprintable models or artifacts in the final physical object. Houdini’s powerful mesh analysis tools and procedural workflow can be instrumental in identifying and rectifying these issues systematically.
Another crucial consideration is adapting the wall thickness of your model to suit the specific printing material and printer requirements. Different materials, such as various plastics, resins, or metals, have minimum wall thickness recommendations for structural integrity. FDM printers, for instance, might require thicker walls than SLA or SLS printers due to layer adhesion characteristics. Houdini allows for precise control over geometry, enabling designers to measure, analyze, and adjust wall thicknesses using tools like the `Measure` node, `Group` nodes for selection, and `PolyExtrude` for controlled thickening.
So, how exactly can you proceed to prepare your models effectively? First, it’s often beneficial to scale the model to a realistic working size, such as 1% of its original dimension, to ensure accurate physical measurements and proportions later. Then, applying a distinct color to your model, for example, white, can significantly enhance visibility and simplify the editing process. To visually inspect the mesh integrity, you can utilize the wire blend option in the display properties, which accentuates wireframe lines. This visual aid is crucial for quickly detecting interruptions or inconsistencies in the model’s mesh that could lead to critical errors during 3D printing. For addressing such mesh issues, we strongly recommend employing the `Fuse` function, which is remarkably effective at merging nearby vertices and dissolving most common topological problems, ensuring a cleaner, more robust mesh.
For models containing delicate or thin structures, reinforcement is key. The `PolyExtrude` function in Houdini can be used to add thickness to selected faces or edges. Further refinement and robust stability can be achieved by utilizing the `Transform Extrusion` and `Transform Handle` options within `PolyExtrude`, allowing for precise control over the extrusion direction and thickness. Should you need to integrate newly added geometry seamlessly with existing parts of your model, Houdini’s powerful Boolean function (using nodes like `Boolean` or `Cookie`) provides precise operations for combining, subtracting, or intersecting geometries. This is invaluable for complex assemblies or modifying designs. In cases where the model has unintended holes, the `PolyFill` function can often close them automatically. If `PolyFill` doesn’t yield the desired result, more manual control can be exercised using the `Boundary Group` option to select hole edges, followed by modeling tools like `TopoBuild` or `Bridge` to reconstruct and fill the gaps meticulously, ensuring a watertight mesh.
A significant and often underestimated advantage of Houdini for 3D printing lies in its extensive simulation tools. These tools can be leveraged to rigorously test the structural stability and mechanical integrity of your model *before* it even goes to print. By simulating forces like gravity, stress, and potential deformations, designers can identify weak points and make proactive adjustments, thereby preventing unwanted deformations or structural failures during the actual printing process or in post-processing. This predictive capability is a powerful asset for engineering robust and reliable 3D printed parts. Another highly effective technique in Houdini’s arsenal is VDB (Volumetric Data Block) conversion. This process transforms conventional polygonal meshes into volumetric data, represented by signed distance fields. VDBs excel at simplifying complex mesh operations, particularly merging multiple geometries, smoothing out rough surfaces, and ensuring a perfectly clean and watertight surface structure—all critical for flawless 3D printing. For example, Houdini can take a simple sphere and, through a series of procedural transformations, rotations, Boolean operations, and VDB conversions, effortlessly evolve it into an intricate, printable, and structurally sound complex geometry, showcasing the power of generative design.
Houdini’s procedural workflow is also a game-changer for generative design and parametric exploration in 3D printing. Its node-based system allows designers to define parameters and rules, then generate countless variations of a design with minimal effort. This is particularly useful for creating optimized structures like lattice infills, organic support structures, or topologically optimized components that respond to specific performance criteria. By adjusting a few input parameters, engineers can explore a vast design space, rapidly iterating towards the most efficient and printable solution. This capability moves beyond static modeling, enabling the creation of truly smart, performance-driven geometries.
Once you are completely satisfied with your intricately designed and thoroughly checked model, the final step involves exporting it into a compatible format. The standard file type for the vast majority of 3D printers is the STL format, though other formats like OBJ or 3MF are also gaining traction for their ability to store color and material information. During export, it’s crucial to consider the mesh resolution – a higher polygon count yields finer detail but results in larger file sizes, while too low a resolution can lead to faceted surfaces. Remember to always verify that your model’s dimensions do not exceed the maximum print size limitations of your chosen 3D printer! Finally, the exported model must be processed in dedicated slicing software. This software translates your 3D model into layer-by-layer instructions (G-code) that your 3D printer understands, allowing you to configure print settings such as layer height, infill density, support structures, and print speed. From this point, your printer can commence the heavy lifting and bring your meticulously crafted Houdini design to life. Dive deeper into the world of Houdini and explore its features further HERE, and observe its capabilities in action in the following insightful video:
What are your thoughts on utilizing Houdini for your 3D printing projects, especially for complex or generative designs? We’d love to hear your experiences and insights! Share your comments below or connect with us on our LinkedIn, Facebook, and Twitter pages. Don’t miss out on the latest advancements in additive manufacturing – be sure to sign up for our free weekly Newsletter here, delivering the most current 3D printing news directly to your inbox! You can also explore all our informative videos and tutorials on our dedicated YouTube channel.
*Cover Image: SideFX