Snapmaker U1: A Deep Dive into Multi-Material 3D Printing with Reduced Filament Waste
Snapmaker, renowned for its versatile digital fabrication machines that seamlessly integrate 3D printing, CNC machining, and laser engraving, has strategically evolved in recent years. Building on the success of models like the Snapmaker 2.0 and Artisan, this Chinese brand is deliberately shifting towards specialized 3D printers, gradually transitioning from the “all-in-one” philosophy that initially established its reputation. The U1 represents the culmination of this transition: a dedicated multi-material 3D printer featuring a sophisticated four-tool automatic print head switching system.
The Snapmaker U1, initially funded through Kickstarter before hitting the mainstream market, now enters a fiercely competitive arena dominated by industry giants like Bambu Lab with its AMS system, Prusa Research with the MMU3, and Creality with its CFS. The U1’s distinctive selling point lies in its innovative mechanical tool changer. Unlike traditional purge-and-load systems, this mechanism promises to significantly minimize filament waste, addressing a major concern for users engaged in multi-material printing. At the 3Dnatives Lab, we rigorously tested the U1 to determine whether its promise of reduced waste holds true in real-world scenarios.
1. Unboxing and Technical Specifications: A Closer Look at the Snapmaker U1
The Snapmaker U1 boasts a contemporary, minimalist design that aligns with current market aesthetics. The mechanical and electronic components are meticulously concealed behind injection-molded plastic panels, providing the machine with a sleek, industrial appearance. A glass door at the front and a transparent plastic rear panel offer comprehensive visibility into the print chamber, allowing users to monitor progress from front to back. However, rear visibility is inherently limited by the machine’s typical placement against a wall in most workspaces.
It’s important to address a potential point of confusion for those familiar with the Snapmaker 2.0 and Artisan: the U1’s external construction primarily utilizes plastic, a departure from the robust metal construction of previous generations. However, it’s crucial to consider the function of these panels. They largely serve a cosmetic and protective role, without compromising the structural integrity of the frame or affecting print quality. The only noticeable mechanical impact is a slight flexing of the side panels when both spool holders are simultaneously loaded with one-kilogram rolls. This is purely a cosmetic issue that doesn’t influence the printed results.
A particular ergonomic detail warrants attention during extended use: the USB port for transferring files via a flash drive is located at the rear of the machine. While seemingly minor, this placement becomes problematic when considering Snapmaker’s design choice to position the four spool holders on the sides, acknowledging that the back is not easily accessible in a standard work environment. Placing the USB port in this location contradicts the user-centric design evident elsewhere. To preserve the clean aesthetics of the front and sides, placing the USB port on the top panel would have been a more practical alternative, allowing access without needing to move the machine or reach awkwardly behind it.
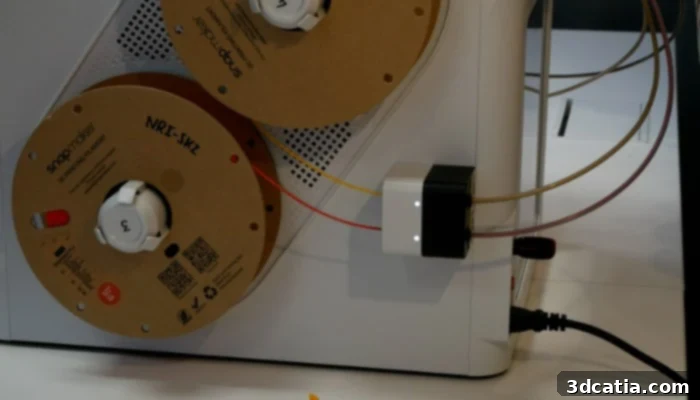
The USB port, located at the back of the machine, presents accessibility challenges.
The filament holder system also warrants discussion. The four slots (two on each side) are exposed to ambient air and lack a built-in drying box. This presents a trade-off for users in humid environments or those who frequently use hygroscopic materials like PETG, Nylon, or TPU, especially during extended print sessions. The absence of integrated drying necessitates proactive filament management.
The integrated lighting, consisting of two LED strips, provides basic illumination for the printing chamber. While adequate during daylight hours or in well-lit rooms, its effectiveness diminishes in darker environments, potentially hindering camera tracking. Although a built-in camera is located on the right side of the chamber, its usefulness is heavily reliant on ambient light levels. Additional lighting might be necessary for optimal monitoring in dimly lit spaces.
2. Installation and Setup: Getting Started with the Snapmaker U1
Assembling the Snapmaker U1 primarily involves attaching the four print heads to the tool changer system and connecting the respective cables. For experienced users, this process typically takes between 30 and 45 minutes. Novices who meticulously follow each step may require up to an hour. While not a full kit, the U1 isn’t entirely plug-and-play; a basic level of technical skill is required. The quick start guide provides detailed steps with generally clear and intuitive instructions. The manual and accompanying images are of high quality and demonstrate commendable attention to detail, simplifying the assembly process.
One notable area for improvement is the PTFE tube installation. The machine includes two sets of tubes with different diameters intended for specific filament paths. The assembly manual lacks explicit mention of this distinction. While the error is easily detectable, as the wrong-sized tubes won’t fit the pneumatic fittings, clear labeling or a specific note in the documentation would prevent confusion, particularly for users unfamiliar with these components. Although a minor point, it highlights an opportunity to enhance the initial user experience, especially given Snapmaker’s target audience of individual makers and educational institutions.
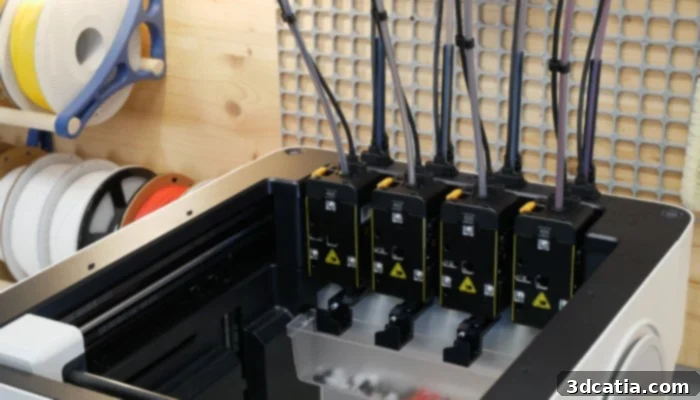
The Snapmaker U1 features a four-printhead system for multi-material 3D printing.
Once assembled, the calibration phase is conducted through the 3.5-inch color touchscreen, which is seamlessly integrated into the front panel. The process is guided step-by-step, with the machine automatically leveling the build plate and calibrating the offsets between the four tools. This is a critical step for this type of architecture, as its reliability directly impacts the quality of multi-head transitions. During our tests, this procedure proceeded flawlessly, and the results were immediately satisfactory.
The interface is responsive, easy to navigate, and logically organized. Its primary limitation is its fixed position: unlike competitors offering adjustable screens, the U1’s display cannot be tilted or swiveled. Depending on the machine’s installation height, whether on a high shelf or a low table, the viewing angle may become uncomfortable. This represents a trade-off in favor of aesthetic integration, but its practical implications deserve consideration.
3. Software and Applications: Exploring the Snapmaker U1 Ecosystem
On the software front, the Snapmaker U1 runs on Klipper paired with Fluidd, a combination that is undeniably a significant advantage for the tech-savvy community. Klipper is open-source firmware celebrated for its flexibility, high-speed performance, and extensive ecosystem of customizable macros. Snapmaker’s decision to avoid locking its printer behind a closed, proprietary ecosystem is a bold one, aligning with the machine’s maker-oriented philosophy. Users can access the Fluidd interface directly through the machine’s IP address on the local network, enabling them to view logs, modify Klipper settings, and deploy custom macros. This level of freedom surpasses what Bambu Lab and Creality typically offer by default, empowering users with greater control over their printing process.
The bundled slicer, Snapmaker Orca, is a customized version of OrcaSlicer, enhanced with profiles tailored to the U1 and its tool-changer system. Users familiar with OrcaSlicer will find themselves immediately comfortable with the Snapmaker version. The interface, menus, and configuration logic are virtually identical. Tool management is straightforward, allowing for color/material assignments per head and offering preconfigured tool-change profiles. This familiar environment simplifies the slicing process for experienced users.
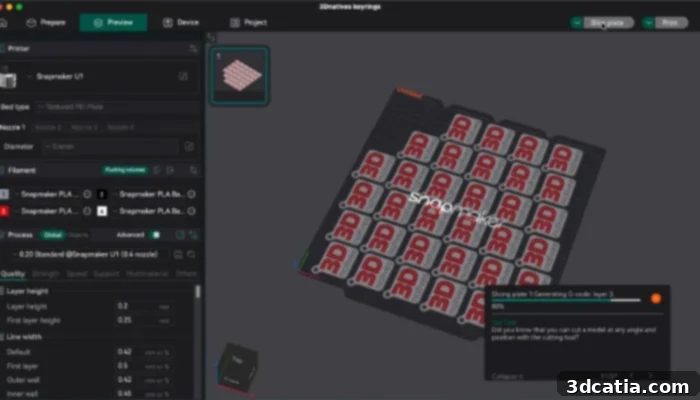
The Snapmaker Orca slicing software is based on the open-source OrcaSlicer platform.
The RFID system functions similarly to those found in competing solutions – a common and valuable feature. When a Snapmaker spool equipped with an RFID chip is inserted into one of the feeders, the machine automatically identifies the material and color, and applies the corresponding print profile. This user-friendly feature reduces configuration errors, although it’s limited to Snapmaker’s consumables. Third-party filaments require manual configuration. While this is a common industry trade-off, it’s worth noting for users who primarily rely on generic spools.
However, the mobile app currently lags behind the sophistication of the Bambu Lab ecosystem. While it allows users to monitor ongoing prints, check the machine’s status, and view the camera feed, it lacks the ability to initiate prints directly from a model library on a smartphone. This feature, natively available on MakerWorld for Bambu Lab users, requires Snapmaker U1 users to rely on a computer to start their prints. Furthermore, a recurring bug reports the machine as “offline” in both the slicer and the app, even when properly connected to the network. This issue, typically resolved with a simple restart, suggests that the network integration still requires further software optimization.
4. First 3D Prints: Evaluating the Performance of the Snapmaker U1
The cornerstone of the Snapmaker U1’s printing capabilities lies in its tool changer system, featuring four independent print heads. Unlike flush-and-reload systems such as Bambu Lab’s AMS, Prusa’s MMU3, or Creality’s CFS, each head maintains its own dedicated filament supply within its hotend at all times. Switching between tools is purely mechanical: the active head retracts into its magnetic dock, and the next head is quickly grabbed and locked into position in a fraction of a second. This design virtually eliminates material waste during color or material transitions. While AMS-type systems can consume dozens of centimeters of filament per change to purge the previous color, the U1 produces only a minimal amount of purge material. For projects involving numerous transitions, these material savings become significant and contribute to overall cost-effectiveness.
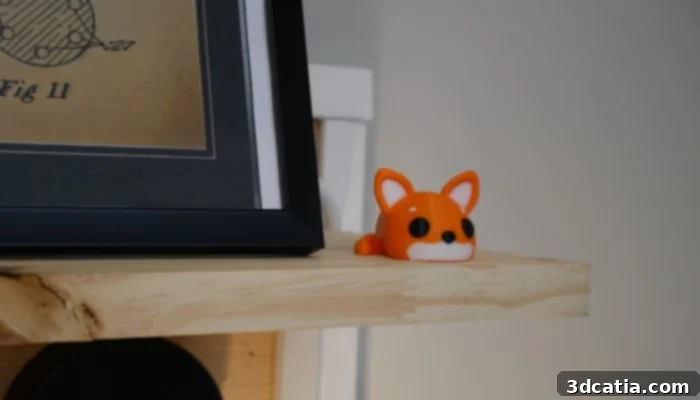
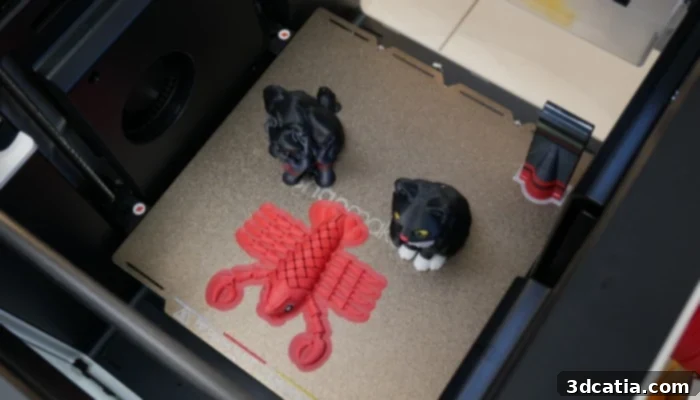
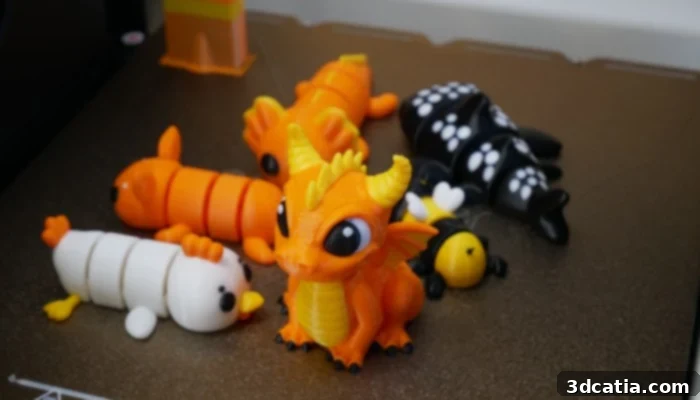
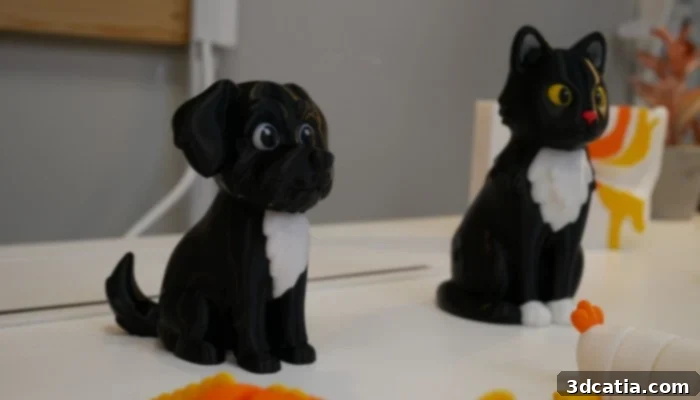
During our multi-color printing tests on PLA figurines and decorative objects, the transitions proved remarkably reliable and clean. The mechanical reliability of the docking mechanism is excellent, with no instances of misaligned tools or collisions during changeover sequences. A minor Z-axis issue during the initial launch, likely caused by slight initialization vibrations, did not recur afterwards, suggesting it was a singular event with no structural implications.
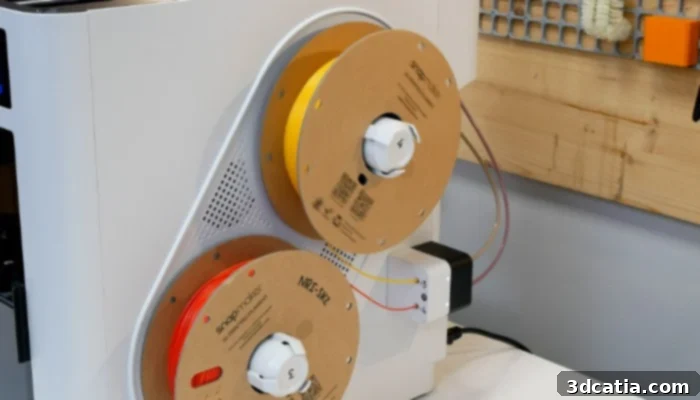
The Snapmaker U1 features an assisted filament loading system, with spools conveniently located on the side of the printer.
Multi-material prints utilizing breakaway filament supports yielded particularly impressive results. The supports detached cleanly, leaving behind smooth final surfaces. This level of performance benefits from the seamless interface between the model and the support structure, a configuration achievable only through a multi-material system without the risk of material fusion. This seamless integration translates to higher-quality finished prints and reduced post-processing effort.
During printing, the cooling fan operates at a relatively high noise level at maximum speeds. Since the printer is sold without a top cover as a standard configuration, this noise can become noticeable over time, especially if the machine is located in a workspace or living area. Users sensitive to noise may want to consider adding a top cover or adjusting fan speeds to mitigate this issue.
Two specific limitations warrant explicit mention. Firstly, TPU printing proved unreliable during our tests, with recurring instances of clogs and under-extrusion. This type of flexible filament remains challenging for most multi-extruder systems, as the geometry of the feeders and PTFE tubes isn’t ideally suited to accommodate TPU’s flexibility. Although Snapmaker recommends splitting the PTFE tubes to improve filament feeding into the direct-drive head, this solution was ineffective in our particular case. Secondly, the design of the nozzles, sold as an integrated assembly that includes the temperature sensor and heating block, requires replacing the entire assembly rather than simply swapping out a standard nozzle. This business model, increasingly common on this type of machine, can quickly become more expensive for users who frequently experiment with different nozzle diameters or abrasive materials.