
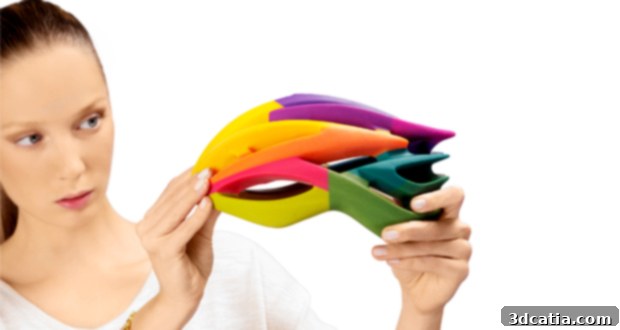
Mastering Color 3D Printing: A Comprehensive Guide to Technologies and Techniques
The world of 3D printing continues to evolve at a rapid pace, pushing the boundaries of what’s possible in manufacturing and design. As enthusiasts and professionals delve deeper into this exciting field, questions naturally arise, particularly concerning the achievement of realistic and vibrant aesthetics. One of the most frequently asked questions revolves around the capability of 3D printers to produce objects in full color. For many, the goal is to create products that are as true to reality as possible, mirroring the intricate details and broad color palettes found in the physical world. However, the path to achieving truly polychromatic 3D prints can often seem elusive.
Historically, the majority of 3D printing technologies were limited to utilizing a single material in a specific color, typically determined by the filament or resin loaded into the machine. This fundamental limitation spurred innovation across the industry, with manufacturers diligently developing advanced processes to overcome this hurdle. Pioneering companies, such as Mcor Technologies (whose groundbreaking paper-based technology we will explore in detail), have led the charge in making multi-color 3D printing a reality. Below, we’ll delve into a comprehensive overview of the different 3D printing technologies that empower creators to produce stunning, full-color objects, transforming conceptual designs into tangible, vibrant models.
Fused Deposition Modeling (FDM): Accessible Color 3D Printing
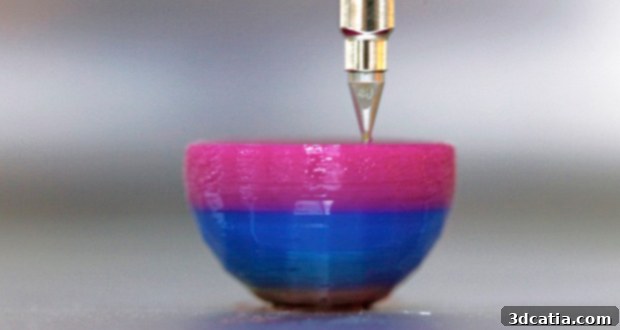
Fused Deposition Modeling (FDM) stands as perhaps the most common and widely accessible 3D printing method available today, making it a popular entry point for many users. This technology, pioneered by Stratasys co-founder S. Scott Crump in 1990, operates by precisely depositing molten thermoplastic material, layer by layer, onto a build plate. The material, typically in the form of a filament, is heated in an extruder nozzle and then laid down according to the digital design, solidifying almost instantly to form the desired shape. FDM printers are renowned for their ease of use, relatively low cost, and ability to produce functional prototypes and end-use parts.
While FDM excels in many areas, one of its inherent disadvantages regarding color printing is its traditional limitation to printing with a single color filament at a time. To circumvent this, users typically have a couple of primary options, each with its own set of trade-offs. The first method involves pausing the print at specific layers, manually swapping out the current filament spool for a different colored one, and then resuming the print. This technique, while effective for simple multi-color designs, can be time-consuming, disrupt the printing process, and potentially introduce minor imperfections or visible seams at the color transition points. The second, more advanced option is to utilize an FDM printer equipped with multiple extruders or a multi-material mixing hotend. While these systems can handle several colors simultaneously, the number of distinct colors is restricted by the number of print heads or material input channels, typically ranging from two to five colors, which still limits the full spectrum of true color representation.
Beyond color limitations, another drawback of conventional FDM technology often lies in its print quality, particularly for aesthetic applications. Most consumer-grade FDM printers available on the market offer a minimum layer thickness of around 100 microns (0.1 mm). This layer visibility means that printed objects often exhibit noticeable layer lines, which can detract from the overall smoothness and realism, especially for intricately detailed models. Consequently, post-print retouching, such as sanding, priming, and painting, often becomes necessary to achieve a fine-tuned, high-quality surface finish. Despite these considerations, FDM 3D printers remain the most affordable and accessible option for introducing color into 3D prints, with entry-level models starting from approximately €300 (about $324 USD), making them ideal for hobbyists, educational purposes, and basic prototyping where absolute color accuracy or surface perfection isn’t the primary concern.
Check out the video below to see Fused Deposition Modeling in motion, demonstrating its fundamental operational principles:
Fun fact: A notable innovation in FDM color printing was demonstrated by the Canadian company RoVa4D, which unveiled a printer capable of simultaneously mixing five different colored filaments—cyan, magenta, yellow, black, and white (CMYKW)—during the printing stage. This groundbreaking approach allowed for the creation of a much wider spectrum of colors directly from the printer, significantly expanding the color capabilities traditionally associated with FDM technology and pushing it closer to full-color fidelity.
3D Printing Using Powder Binding (Binder Jetting): Full-Color Realism
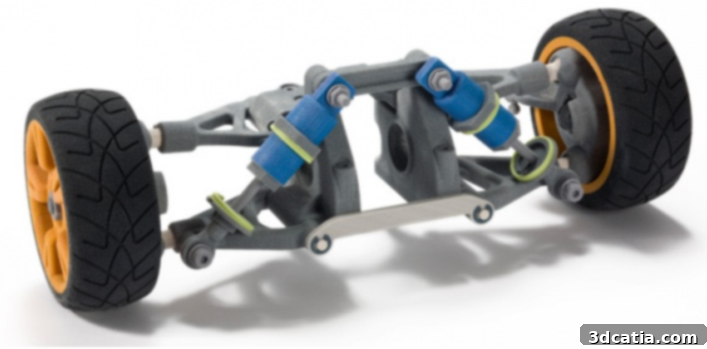
Powder Binding, often referred to as Binder Jetting, represents a significant leap forward in achieving full-color 3D prints with impressive detail. This technology was first developed and patented in 1993 at the Massachusetts Institute of Technology (MIT). It gained commercial prominence through the ZCorp brand, which was later acquired by 3D Systems and rebranded as Color Jet Printing (CJP). CJP technology has since become synonymous with producing vivid, full-color models directly from digital designs, making it a favorite for architectural models, medical teaching aids, and product prototypes requiring high visual fidelity.
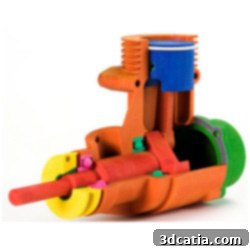
Powder Binding 3D printers operate with a build chamber containing two main tanks: one filled with a fine powder material and another empty tank to receive excess powder. The most common material used is a gypsum-based composite, which is similar to plaster. The printing process begins by spreading an extremely thin layer of this powder onto the build tray. Subsequently, an inkjet print head precisely deposits a liquid binder, combined with CMYK (Cyan, Magenta, Yellow, Key/Black) inks, onto the powder bed in the shape of the desired object’s cross-section. The binder causes the powder particles to solidify and bond together, while the inks simultaneously infuse the layer with color. After each layer is solidified and colored, a fresh layer of powder is distributed across the build platform, and the process is repeated until the entire object is formed within the loose powder bed.
This technology offers several compelling advantages that make it highly desirable for specific applications. Firstly, the ability to utilize thousands of colors through the CMYK color model allows for the reproduction of incredibly detailed and vibrant models with subtle gradients and intricate textures, rivaling conventional inkjet printing. Secondly, the surrounding unbonded powder naturally acts as a support material for complex geometries, overhangs, and internal features. This eliminates the need for separate, dedicated support structures, reducing material waste and simplifying post-processing for intricate designs. Lastly, a significant portion of the unused powder can often be recovered and recycled for subsequent prints, contributing to material efficiency and cost reduction.
However, Powder Binding also presents certain disadvantages that users must consider. The primary concern is typically the post-treatment process. Upon completion of a print, the object is encapsulated within a block of unbonded powder. Removing this excess powder requires careful manual labor, often using brushes and compressed air, much like an archaeologist excavating a delicate artifact. The initial “green” state of the printed object is quite fragile and porous. Therefore, a crucial second post-treatment step involves infiltrating the object with a hardening agent, such as cyanoacrylate (superglue) or epoxy resin. This infiltration strengthens the model, improves its surface finish, and enhances the vibrancy and durability of the colors. While water can be used for initial cleaning, a specialized coating is essential for achieving a robust finish with brighter, shinier, and more permanent colors. Without proper infiltration, the object can be brittle and susceptible to damage.
Check out the video below to see Powder Binding 3D printing in motion, illustrating its unique layered coloration process:
Fun fact: At the end of 2013, 3D Systems unveiled a new generation of full-color 3D printers, including the ProJet 4500, with prices starting around $70,000 USD. What made the 4500 particularly innovative was its use of a plastic powder instead of the traditional gypsum, offering increased durability and different material properties for full-color prints. Although production of this specific machine has since been discontinued, its legacy paved the way for current leaders in powder binding technology, such as 3Dpandora and Addwii, who are continually striving to make high-quality, full-color 3D printing more accessible to a broader market.
3D Printing Using PolyJet Technology: Unmatched Detail and Material Versatility

PolyJet technology, a proprietary name used by Stratasys, represents one of the most sophisticated and high-resolution methods for producing full-color, multi-material 3D prints. This process was originally patented by Object Ltd., a company that merged with the tech giant Stratasys in 1999, bringing its innovative resin-jetting technology to a global audience. Conceptually, PolyJet is often likened to an advanced inkjet printer, but instead of jetting ink onto paper, it precisely jets photopolymer resins onto a build tray, immediately curing them with UV light to create solid layers.
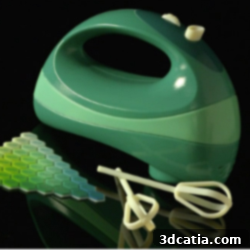
The PolyJet process relies on the precise, instantaneous solidification of thousands of microscopic photopolymer droplets. A print head, similar to those found in 2D printers, jetting fine streams of liquid photopolymer resins—including various colors and materials—onto the build platform. Immediately after deposition, these droplets are exposed to powerful UV lamps, causing them to cure and harden instantly. This layer-by-layer additive process continues until the object is fully formed. Alongside the model material, a gel-like support material is also jetted in areas requiring support, which can be easily removed post-printing using a water jet, ensuring a clean and smooth finish. However, a potential disadvantage of objects created with photopolymer resins is their susceptibility to degradation over time if exposed to direct sunlight or high temperatures for extended periods, which can lead to brittleness or color fading.
One of the most significant strengths of PolyJet technology lies in its unparalleled ability to mix different colors and materials within a single model. This unique capability allows for the creation of objects with intricate color patterns, varying textures, and diverse mechanical properties all in one print. For instance, it is entirely possible to create items like a screwdriver with a flexible, ergonomic handle and a rigid, durable head, or a complex medical model featuring both bone-like rigid sections and soft, flexible tissue representations. This material versatility, combined with exceptionally high resolution and smooth surface finishes, makes PolyJet ideal for realistic prototyping, product design verification, and the production of highly detailed visual models where both aesthetic fidelity and functional accuracy are paramount.
Check out the video below to see PolyJet 3D printing in motion, showcasing its precision and versatility:
Fun fact: Stratasys elevated PolyJet capabilities with the introduction of its J750 3D printer. According to Stratasys, this revolutionary machine is capable of printing in an astounding 360,000 different tones of color, utilizing a wide range of materials simultaneously. The J750 further enhanced versatility by allowing for the printing of both transparent and opaque objects in a single build, making it a powerhouse for product designers and engineers seeking ultimate realism and functional flexibility in their prototypes.
Laminated Object Manufacturing (LOM): Eco-Friendly Paper-Based Color 3D Printing
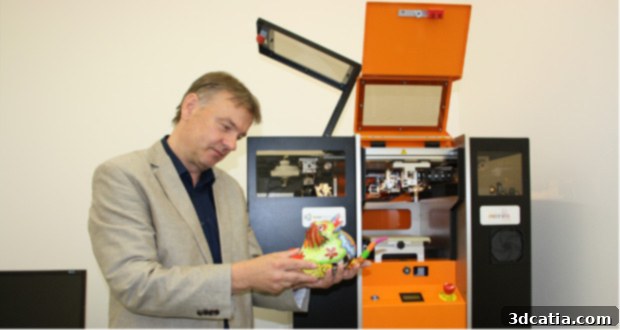
Laminated Object Manufacturing (LOM) offers a unique and environmentally conscious approach to full-color 3D printing. This distinctive technology is at the very core of the machines developed by the innovative Irish manufacturer Mcor Technologies. Unlike other additive manufacturing methods that use plastics, resins, or powders, LOM leverages readily available, standard office paper as its primary building material, making it a highly sustainable and cost-effective option for producing detailed, full-color objects.
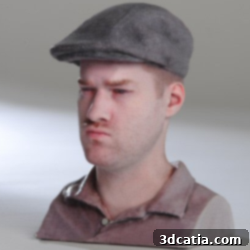
What sets LOM apart is its hybrid nature, seamlessly combining both additive and subtractive manufacturing processes within a single machine. The additive aspect involves bonding layers of paper together, while the subtractive element entails precisely cutting the contours of the object from each layer. Mcor Technologies’ 3D printers demonstrate this ingenious process: The printer is first loaded with a stack of ordinary A4 (or letter-sized) paper sheets. Each sheet then individually moves into the build area. High-resolution color ink (CMYK) is meticulously sprayed onto the paper to achieve the desired color and contouring for that specific layer. Simultaneously, an adhesive is applied to bond the current colored sheet to the previously printed and cut layers. Following the coloring and bonding, a high-precision cutting plotter (often a tungsten carbide blade) accurately cuts out the cross-sectional shape of the object from the newly bonded layer. This precise cycle of printing color, applying adhesive, bonding, and cutting is repeated, layer by layer, until the entire three-dimensional object is formed within a block of paper. Once the printing process is complete, the object is carefully removed from the printer, and the surrounding excess paper, which forms a lattice-like waste material, can be easily “de-caked” or broken away, revealing the final colored product. A final step often involves applying a varnish or sealant to the paper object, which helps to solidify it further, enhance its durability, and protect the vibrant colors.
In addition to its capability to produce strikingly polychromatic parts, Mcor’s LOM technology boasts several distinct advantages. Firstly, the use of readily available and inexpensive ink and paper as printing materials significantly reduces the overall cost per part, making high-quality color 3D printing more economically viable for many applications. This contrasts sharply with the often-high material costs associated with other color 3D printing methods. Secondly, LOM offers an impressive ecological footprint. Since it uses standard paper, the unused support material is entirely recyclable, and the process itself is generally considered non-toxic and office-friendly, aligning with growing demands for sustainable manufacturing solutions. The resulting paper objects, once varnished, are also surprisingly durable and offer a unique tactile aesthetic.
Check out the video below to see Laminated Object Manufacturing in motion, demonstrating its unique paper-based process:
Fun fact: In January of 2016, Mcor unveiled a new SDL (Selective Deposition Lamination) printer model called the ARKe. This full-color 3D printer represented a significant breakthrough in terms of affordability, priced at only $8,995 USD (£5,995). The ARKe’s accessible price point made professional-grade, full-color 3D printing much more attainable for small businesses, educational institutions, and design studios, further expanding the reach and application of Laminated Object Manufacturing technology for models up to a maximum size of 240 x 205 x 125 mm.
The landscape of 3D printing is continuously innovating, and the ability to print in a vast spectrum of colors is no longer a futuristic concept but a present-day reality. From the accessible, albeit basic, color options of FDM to the intricate realism of Powder Binding and PolyJet, and the eco-friendly versatility of LOM, each technology offers a distinct approach to bringing vibrant, multi-color designs to life. The “best” method ultimately depends on your specific needs, considering factors such as desired color accuracy, material properties, part strength, surface finish, complexity, and budget. As these technologies continue to advance, we can expect even greater precision, affordability, and material choices in the pursuit of perfectly replicated, full-color physical objects.
What are your thoughts on the incredible advancements in color 3D printing? We’d love to hear your experiences and perspectives! Let us know by leaving a comment below!