Materials
An Introduction to Post-Processing in 3D Printing
The value chain of additive manufacturing consists of multiple steps before having a final part. There is, of course, the printing phase, but also the modeling phase, which is start of any project. But once the 3D printer has finished…
- 3 min read
- Materials
- Six more stories
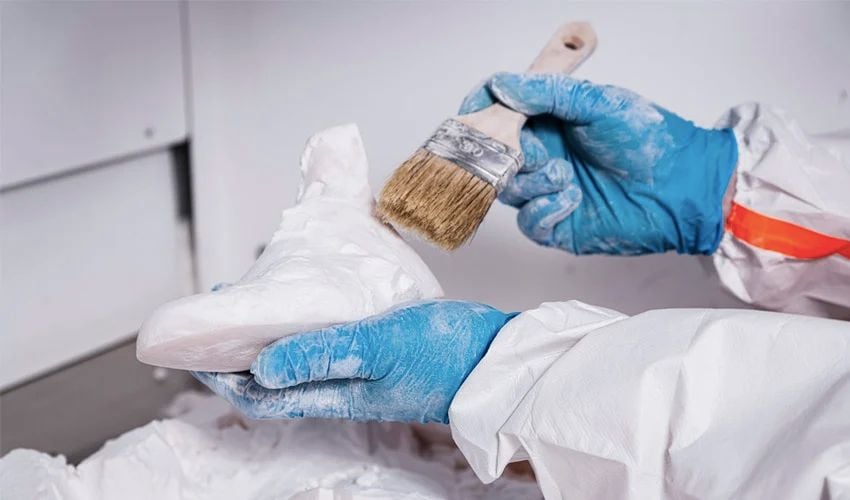
The value chain of additive manufacturing consists of multiple steps before having a final part. There is, of course, the printing phase, but also the modeling phase, which is start of any project. But once the 3D printer has finished its work, it is often necessary to work on the part itself: this is where post-processing comes in. Post-processing includes any work that is carried out once the part has left the machine; including but not limited to cleaning, surface finishing, annealing and even coloring. Post-processing techniques in 3D printing are as varied as the manufacturing processes themselves and each has its own specific requirements. But why is this step key in 3D printing? How is the market structured? This introduction to post processing can answer these questions, so read on to find out.
Post-processing in 3D printing is mainly used to improve the aesthetics of manufactured parts and/or to improve their properties. For example, to make a surface smoother or to anneal a component to increase its strength and optimize its resistance. While some post-processing techniques can be used with any 3D printing process, others are technology-specific. Indeed, an FDM part must be treated differently to a metal part. Post-processing is therefore an important aspect to take into account when you want to start 3D printing.
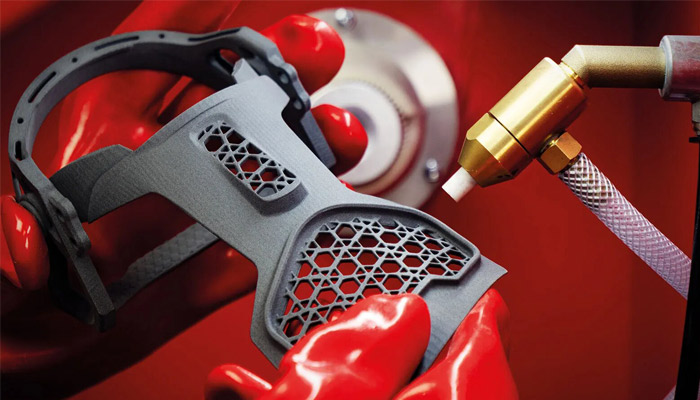
Post-processing is used to improve the aesthetics of 3D printed parts (photo credits: Sinterit)
Introduction to Post-Processing Methods
To help to better understand the different types of post-processing, this introduction will be the first of a number of articles dedicated to the subject in the coming months. First of all, the cleaning of the parts. As the name suggests, this includes all the techniques that will make our part cleaner: de-soldering, rinsing, brushing, blowing, etc. The goal is to remove all excess material, whether it is powder or resin. Depending on the printing process used, this step will take more or less time. For example, with powder sintering this is often a lengthy step that increases the manufacturing time.
More from the desk
Six other notes from the rest of the bench.
 NewsTop 5 Videos: First Full-Size 3D Print of a Human HeartThis week we found the top 5 videos about 3D printing and the way additive manufacturing is changing production. The technology has infiltrated many sectors, from medical to automotive: check our selection of the week to keep up with the innovations! If you enjoy these, you&helli
 NewsUniversity of Idaho Awarded $4M to Develop 3D Printing Building Method Using Wood WasteAn interdisciplinary research team from the University of Idaho (U of I) was given $4M USD to develop technology that will turn Idahoan wood waste into a more sustainable building construction material. Ultimately the goal is to use the material…
 MaterialsReinforcing concrete with 3D printed polymer latticesConcrete is one of the most widely used man-made building materials and one of the world’s most consumed substances, second only to water. It is cheap, abundant, and capable of heavy loads, but, it is also brittle and tends to…
 SoftwareCarbon Has Made its First Acquisition, Expanding its Software CapabilitiesThe additive manufacturing market, despite some setbacks, has generally been showing its growth through a number of mergers and acquisitions in the past few years. Now Carbon, one of the leaders when it comes to resin 3D printing solutions, has…
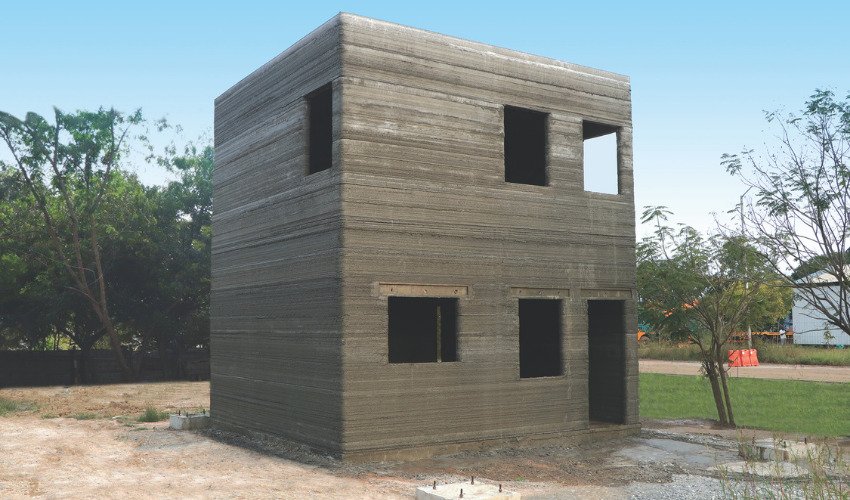 NewsCOBOD printer used for India’s first 2-Story 3D printed buildingL&T Construction has announced that it has developed India’s first 3D printed two-story building. The building was created using a COBOD printer and is the second Indian 3D printed house, the first was a single storey house also built by…
 News3D printed instruments in the Ottawa Symphony OrchestraThis is news that should interest all musicians and music enthusiasts quit a lot. The Ottawa Symphony Orchestra now incorporates 3D printed string instruments. A project that aims to show how we can create new sounds and instruments thanks to new…