
Unlocking Innovation: A Comprehensive Guide to Arduino, Microcontrollers, and 3D Printing Integration
The open-source maker community is a vibrant hub of innovation, constantly pushing boundaries with new tools and technologies. Among the most influential of these tools is Arduino – a powerful, yet accessible, programmable circuit board often referred to as a microcontroller. Launched in 2005 at the Interaction Design Institute Ivrea, Italy, Arduino was initially conceived to provide students with an inexpensive and user-friendly device. Its primary goal was to empower both novices and seasoned professionals to effortlessly create devices that interact with their physical environment using a wide array of sensors and actuators. Fast forward to today, the company has significantly expanded its offerings, producing a diverse range of boards, along with numerous accessories designed to enhance their processing power and functionality. This article will delve deep into the multifaceted capabilities of Arduino boards, exploring their potential in various applications, particularly within the fascinating realm of 3D printing.
What is an Arduino Microcontroller?
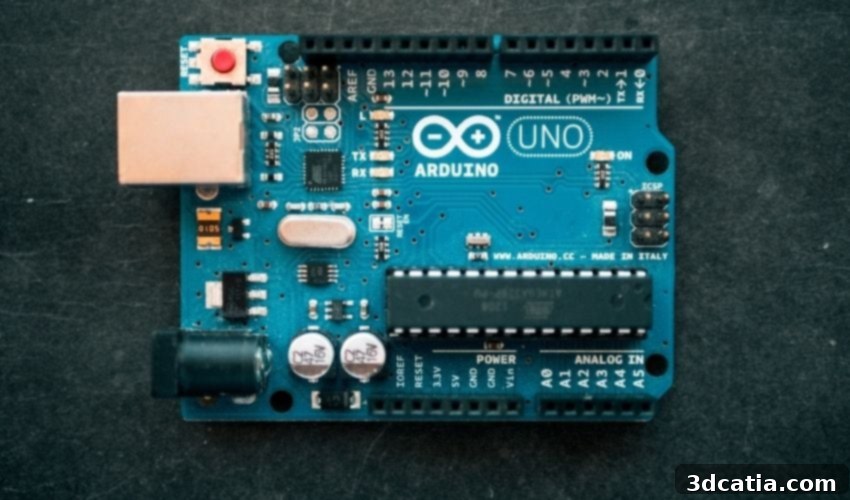
At its core, Arduino is the name of a company that manufactures a popular line of microcomputers, universally recognized as Arduino boards or simply “an Arduino.” These compact, robust boards are available in a variety of models, each offering distinct features such as integrated Wi-Fi or Bluetooth connectivity, catering to different project requirements. The most celebrated and widely adopted microcomputer board in the Arduino family is the UNO. Priced at under $30, the Arduino UNO board stands out as a remarkably powerful piece of hardware, capable of efficiently processing a broad spectrum of data inputs and controlling complex outputs. Its affordability and extensive capabilities make it an ideal starting point for anyone venturing into electronics and programming.
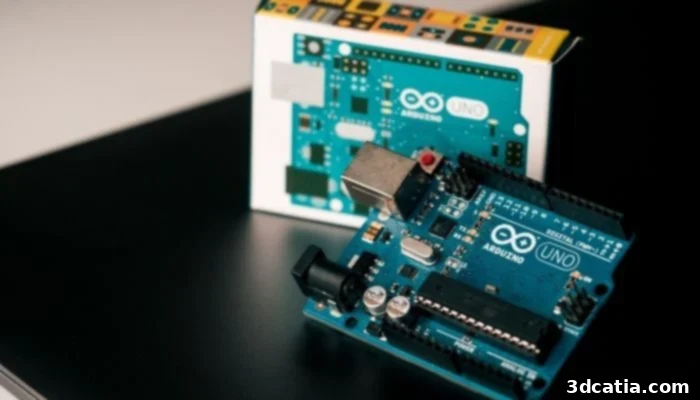
Arduino UNO board. (Photo Credit: Unsplash)
A microcontroller, the brain of an Arduino board, is essentially a small, integrated computer processor. It is strategically mounted on the Arduino board alongside various other electronic components that are specifically designed to process both inputs and outputs. Imagine a scenario where you have multiple input options connected to your microcontroller, such as a simple push button or a sophisticated photosensor. These inputs send vital information to the computer processor. After meticulously analyzing this incoming data, the computer processor then sends precise output signals to any connected devices. For instance, in a 3D printing context, this output could control stepper motors, heaters, or even an extruder. The beauty of an Arduino board lies in its open-ended architecture, both on the frontend (inputs) and backend (outputs). This unparalleled flexibility allows creators to connect an almost endless myriad of input devices to control an equally diverse range of output devices, making the possibilities truly limitless for custom projects and innovative solutions.
How Do You Control an Arduino Board and What Are Its Components?
Controlling an Arduino board is surprisingly straightforward, designed for maximum accessibility. The primary method involves using the integrated USB port found on the board itself, allowing for a direct connection to a laptop, desktop computer, or even directly to certain 3D printers for specialized applications. To program the board, users leverage the Arduino Integrated Development Environment (IDE) – a user-friendly software platform available for desktop and laptop operating systems. Within this environment, you can write “sketches,” which are programs typically coded in C++ (specifically, a simplified version often referred to as Wiring language). Once your code is complete, it is compiled and uploaded to the Arduino board via the USB port. A key feature of Arduino is its ability to operate autonomously: after the code is successfully uploaded, you can disconnect the USB cable. The program will then run continuously in a loop every time the board is powered on, executing the instructions without further intervention. This makes Arduino perfect for embedded systems and standalone devices.
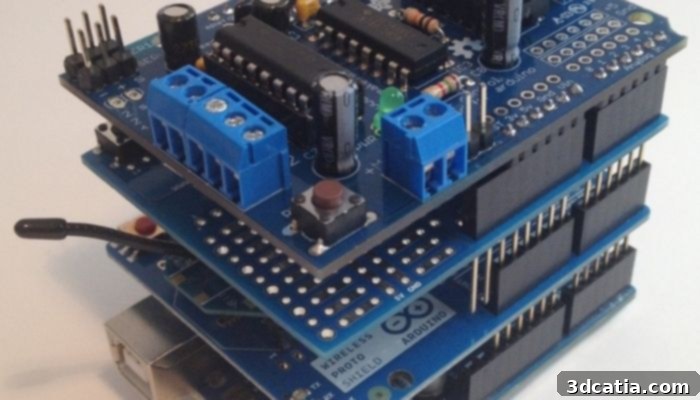
Stack of shields. (Photo Credit: Arduino Forum)
Arduino boards are equipped with various pins that serve as interfaces for external components, categorized mainly as analog or digital inputs/outputs. A digital input, for example, typically registers two states: ON or OFF, represented by a simple push button or a limit switch. Conversely, an analog input can detect a continuous range of values. A dial that can be turned to varying degrees, a temperature sensor providing a gradual reading, or a light sensor detecting different intensities are all classic examples of analog inputs. Through the available header pins on the board, you can easily connect a multitude of devices, configuring them as either analog or digital inputs or outputs depending on your project’s needs. This versatility is further enhanced by “shields.” A shield is an expansion board that can be directly plugged onto your Arduino, effectively stacking on top of it to add new functionalities without requiring complex wiring. You can purchase specific shields for tasks like Wi-Fi connectivity, motor control, or even prototyping. The modular design even allows you to stack several shields on top of each other, exponentially increasing the board’s capabilities and enabling highly sophisticated projects with relative ease.
Arduino’s Pivotal Role in 3D Printing and Beyond
Arduino’s open-source philosophy extends not just to its software but also to its hardware design. This revolutionary approach means that your very first project could potentially be to build your own microcomputer board from scratch, component by component, rather than purchasing a pre-assembled unit from the brand. This hands-on experience provides an unparalleled understanding of electronics. More importantly for the maker community, Arduino boards, particularly the Arduino Mega 2560 paired with a RAMPS 1.4 shield, form the backbone of countless DIY 3D printers. There are numerous inexpensive (often under $100) 3D printer kits available that leverage Arduino, making personal fabrication accessible to a wider audience. These boards run open-source firmware like Marlin, which translates G-code commands into precise movements for stepper motors, temperature control for the hotend and heated bed, and readings from thermistors and endstops, bringing your digital designs to life.
Beyond simply powering a 3D printer, Arduino opens up a vast realm of possibilities for enhancing the entire 3D printing workflow. Consider projects such as automated filament run-out detectors, remote monitoring systems for print progress, or smart enclosures that regulate temperature and humidity. Arduino can also be used to create custom post-processing tools or even robotic arms for automated print removal and sorting. Similar to the capabilities offered by Raspberry Pi, Arduino empowers users to integrate 3D printing with a myriad of other interesting applications. For instance, hobbyists and engineers have harnessed Arduino to create sophisticated robots capable of navigating complex environments, intricate robotic arms for pick-and-place operations, and even practical products for the home. These home automation projects include automated door locks for enhanced security, smart lighting systems that respond to ambient conditions, and even whimsical creations like automated dog treat feeders, adding convenience and a touch of futurism to everyday life. The ease of programming and the vast community support ensure that virtually any idea can be prototyped and brought to fruition with Arduino. You can learn more about the extensive range of Arduino boards and accessories by visiting their official products page HERE.

(Photo Credit: Unsplash)
Have you integrated an Arduino board into your 3D printing projects, or perhaps used it for other innovative applications? We’d love to hear about your experiences and creations! Share your thoughts and projects with us in a comment below, or connect with our vibrant community on our Facebook and Twitter pages. Don’t miss out on the latest advancements and news in the world of additive manufacturing; remember to sign up for our free weekly newsletter, delivering all the essential updates in 3D printing directly to your inbox!
Cover Photo Credit: Unsplash