News
How to Avoid the “Elephant Foot” Effect in FDM 3D Printing
Additive manufacturing offers a significant advantage in design freedom. However, this advantage can be jeopardized when the 3D printer lacks proper configuration or the design and modeling phase is not optimized. Consequently, a range of 3D printing issues may arise,…
- 3 min read
- News
- Six more stories
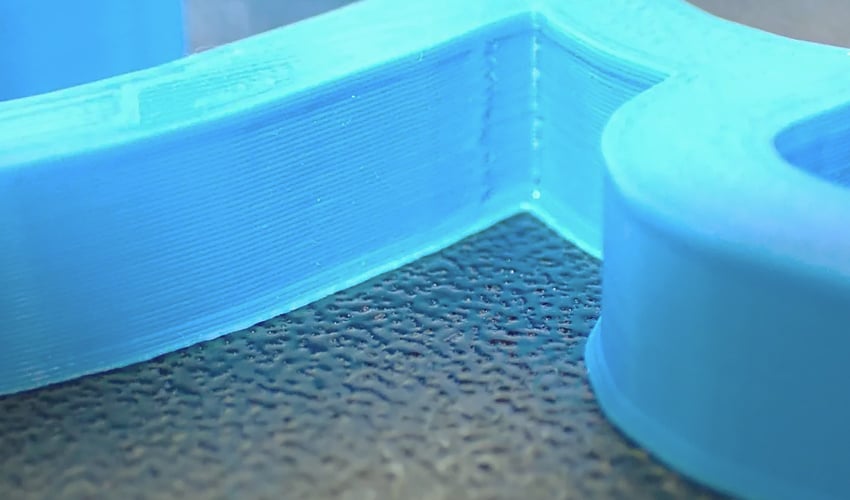
Additive manufacturing offers a significant advantage in design freedom. However, this advantage can be jeopardized when the 3D printer lacks proper configuration or the design and modeling phase is not optimized. Consequently, a range of 3D printing issues may arise, such as stringing, warping, and ghosting. One prevalent problem is known as the “elephant’s foot,” commonly seen in FDM 3D printing when the first layer extends wider than intended, resembling the shape of an elephant’s foot.
This issue arises due to the close proximity of the printing nozzle to the base plate during the printing process, resulting in a “z-stepping” effect. Consequently, the nozzle exerts pressure on the first layer while extruding, causing it to stretch and adversely affecting its adhesion to the plate. The presence of the elephant’s foot substantially diminishes the overall dimensional accuracy and manufacturing tolerances of the final part. Because of this, part assembly becomes challenging, if not impossible, due to an inaccurate fit. Additionally, the visual appearance of the part is also compromised by this error, despite some improvement being attainable through post-treatment. Nonetheless, the elephant’s foot remains noticeable in many instances, impacting the overall aesthetics of the part. In this guide, we will delve into the causes of this common 3D printing error and provide valuable insights on how to prevent it.
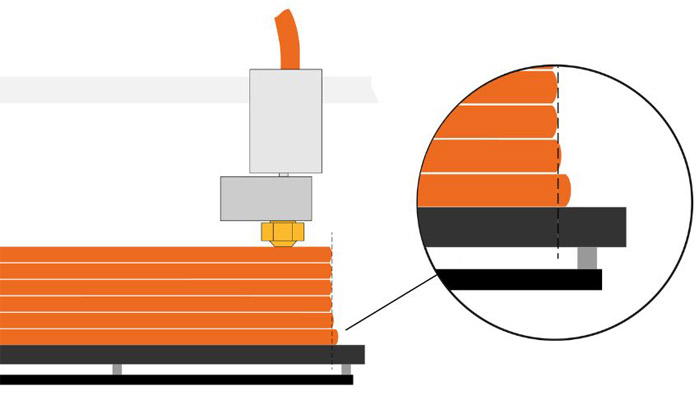
Photo credits: Prusa
Tips to Avoid Elephant Foot In 3D Printing
To begin with, ensuring proper alignment of the printing plate and maintaining an appropriate distance between the nozzle and the plate is crucial. Manual calibration can help achieve this. To calibrate, you’ll need a thin layer of paper or a slim metal piece. The chosen holder is then moved between the nozzle and the printing tray until encountering slight resistance, indicating the correct distance. Conducting a test print of the first layer will verify the calibration’s accuracy.
More from the desk
Six other notes from the rest of the bench.
 ApplicationsADDITIV Aerospace 2.0, the Virtual Event Combining AM and Aerospace, is BackADDITIV Aerospace is back! After the success of the event next year, ADDITIV Aerospace 2.0 will be taking place on April 26th, 2022 at 9:00AM – 5:30PM EDT (3:00 – 11:30 PM CEST). Like last year, the conference will be…
 PrintersThe Dental Resin 3D Printers Currently on the MarketThe dental industry is one of the sectors that makes the most use of additive manufacturing to provide customized devices tailored to each patient. Using 3D scans or medical imaging data, dental professionals can create precise 3D models and print…
 ApplicationsHow is Additive Manufacturing Being Adopted in Defense?When it comes to the military, flexibility and innovation are key in ensuring the success of operations in all corners of the globe. Indeed, when we think of military personnel one of the underlying characteristics of their actions is rapidity,…
 Guides#Working3D: Six Questions for a Manufacturing EngineerAdditive manufacturing has become an important part of the manufacturing industry. With its numerous applications, 3D printing encompasses a wide range of disciplines and therefore also has given rise to a variety of different professions. Indeed, in our Working 3D…
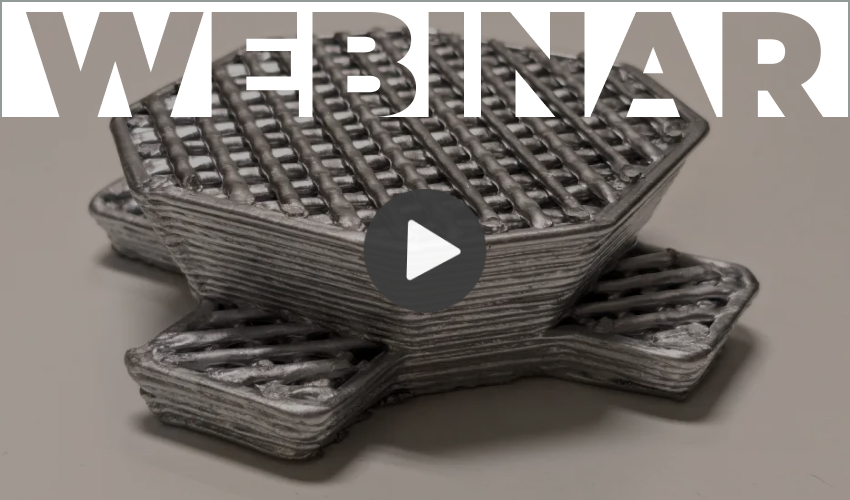 NewsWEBINAR: Aluminum AM Made Simple: Insights from Sirris and ValCUNAluminum is one of the most widely used metals in the world, yet it remains one of the most challenging materials for additive manufacturing. High thermal demands, alloy sensitivities, and complex workflows often push companies toward easier metals, even when…
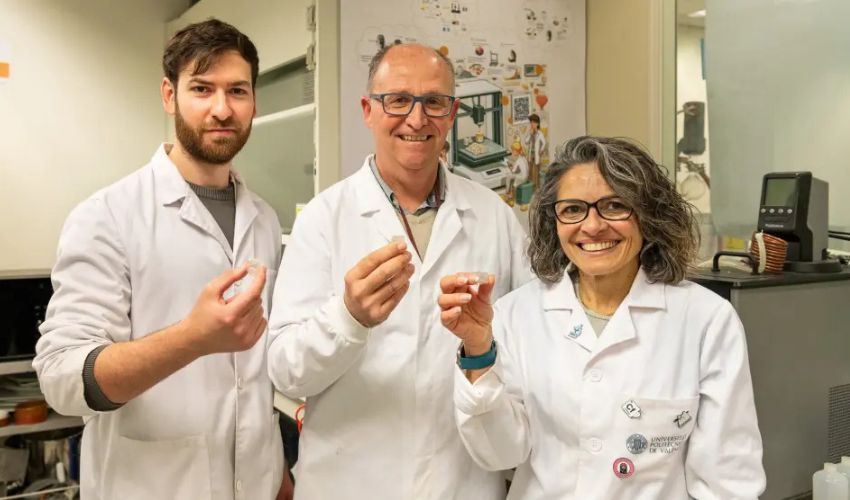 ApplicationsNew 3D Printed Gummies Combat Nutritional DeficienciesImagine having a gummy made just for you, with the right amount of iron, vitamin D or any other nutrient your body needs. A team of researchers from the Universitat Politècnica de València (UPV), in collaboration with the University of…